
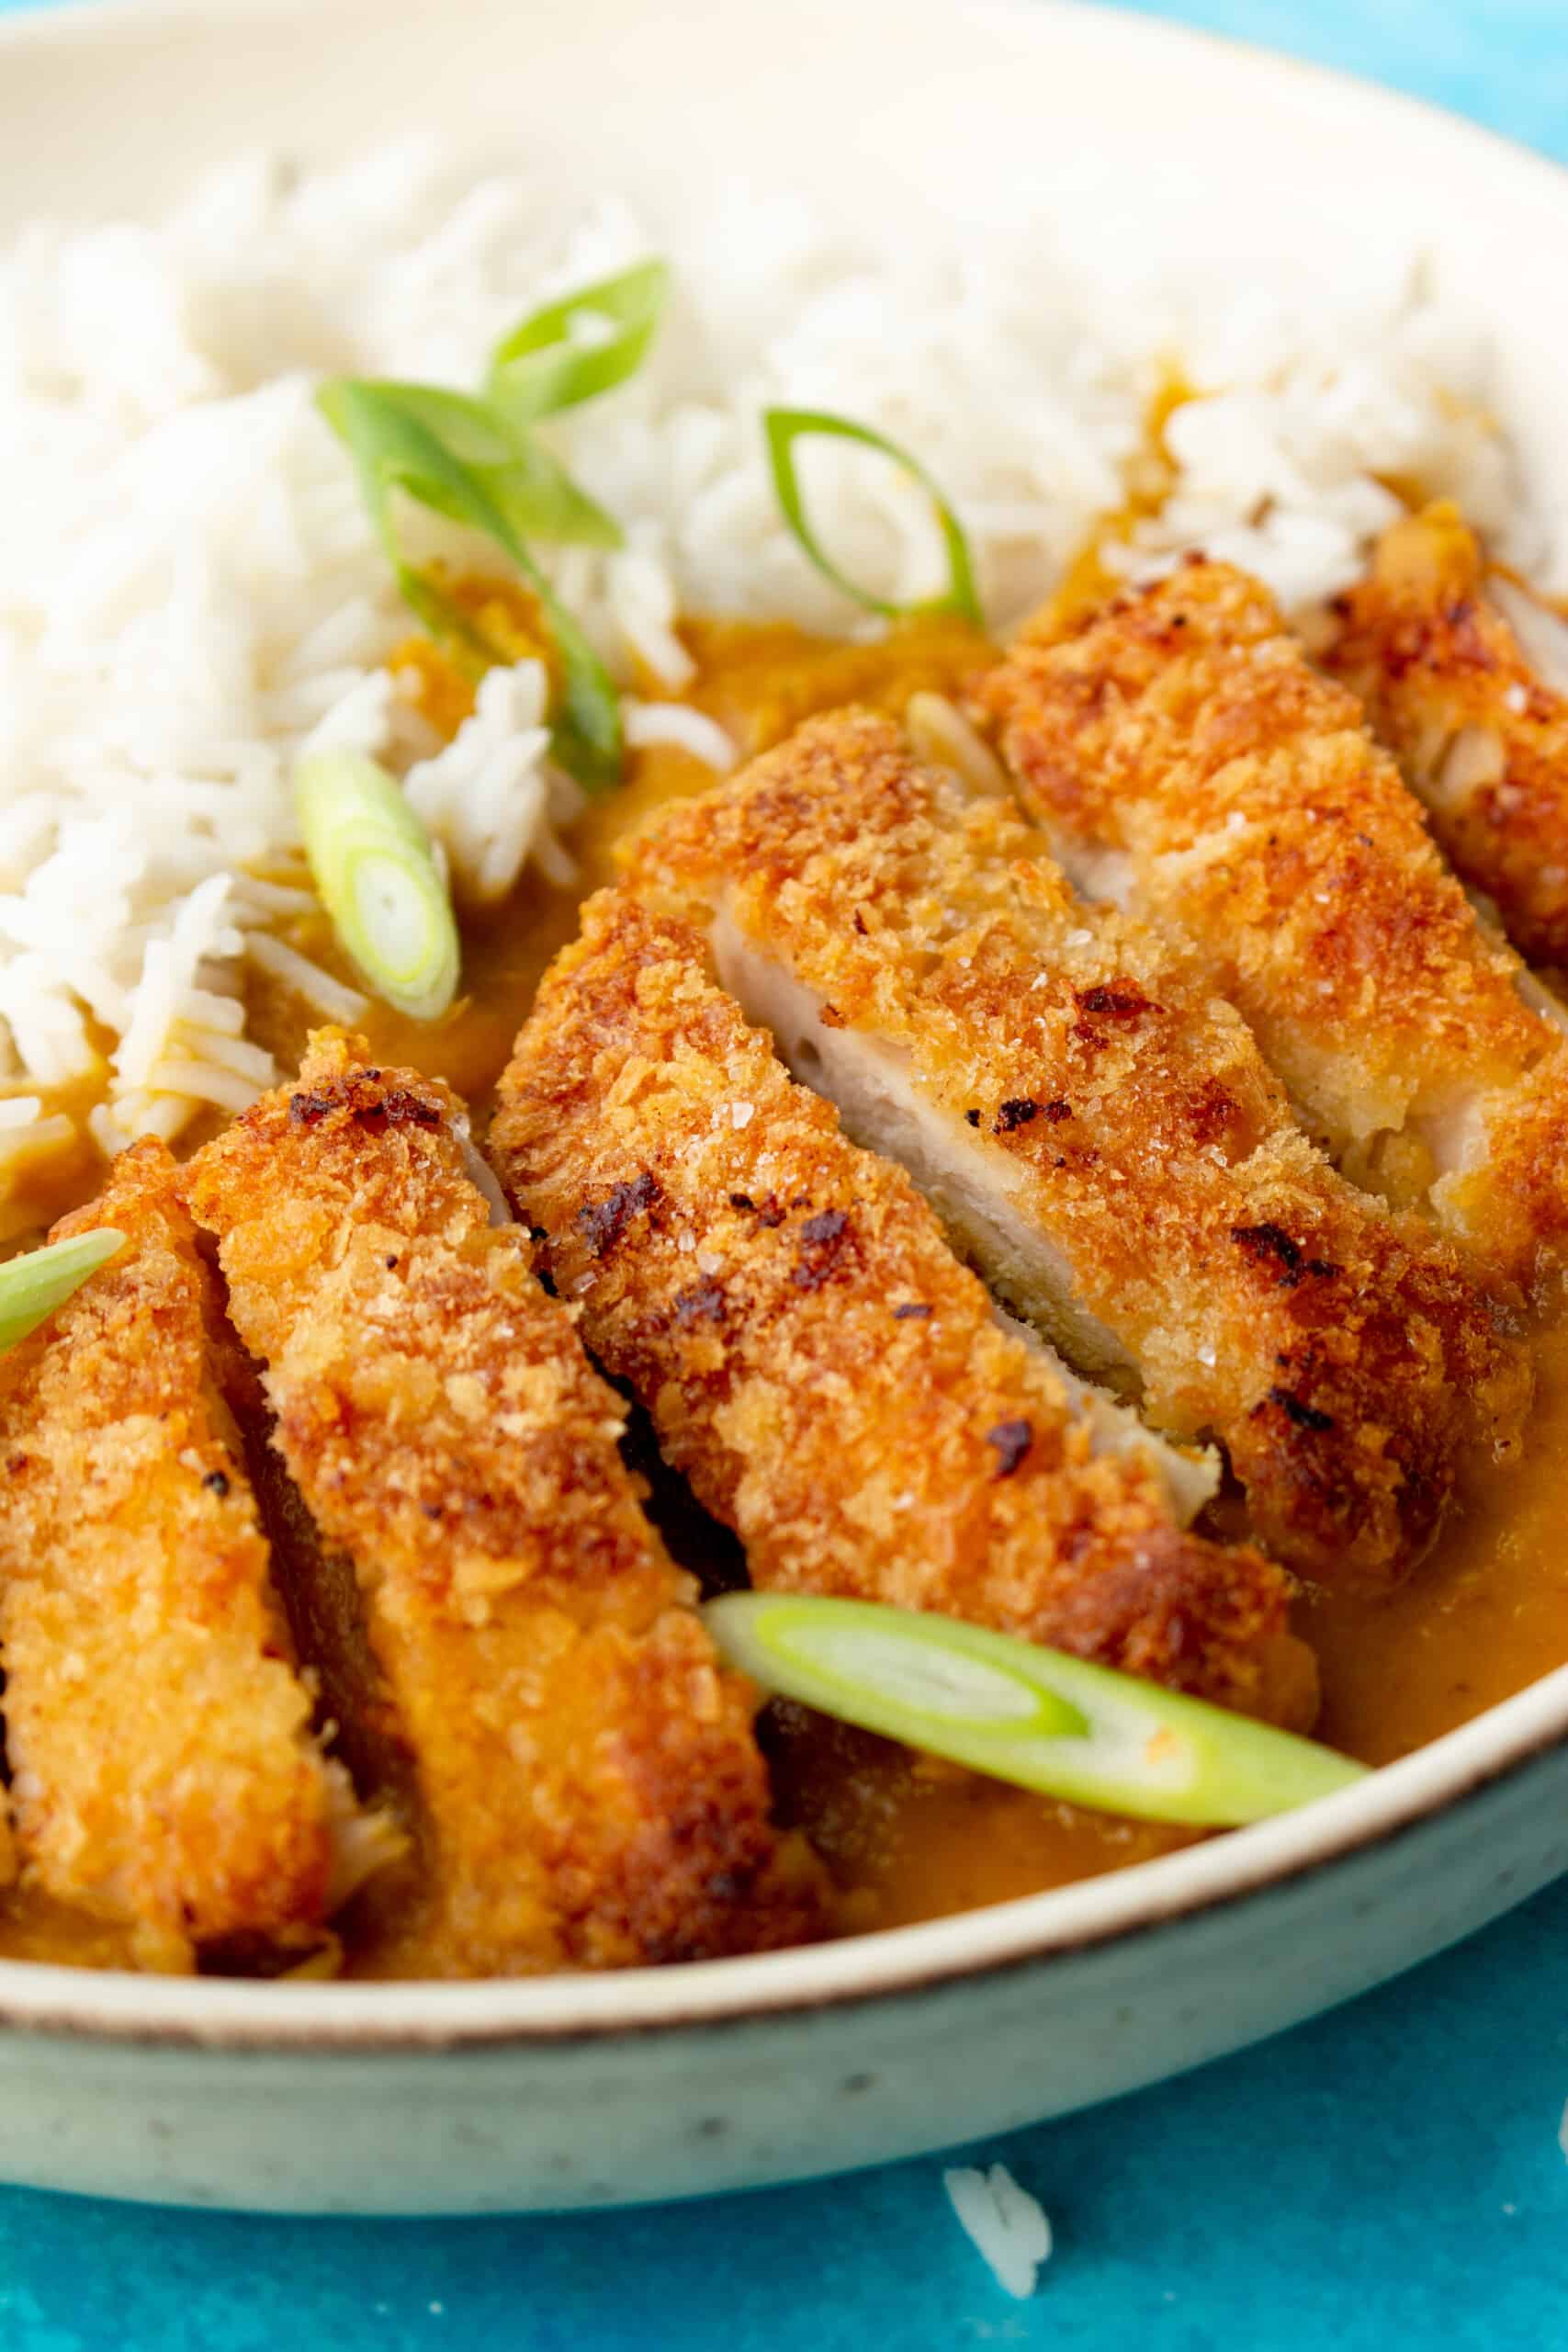
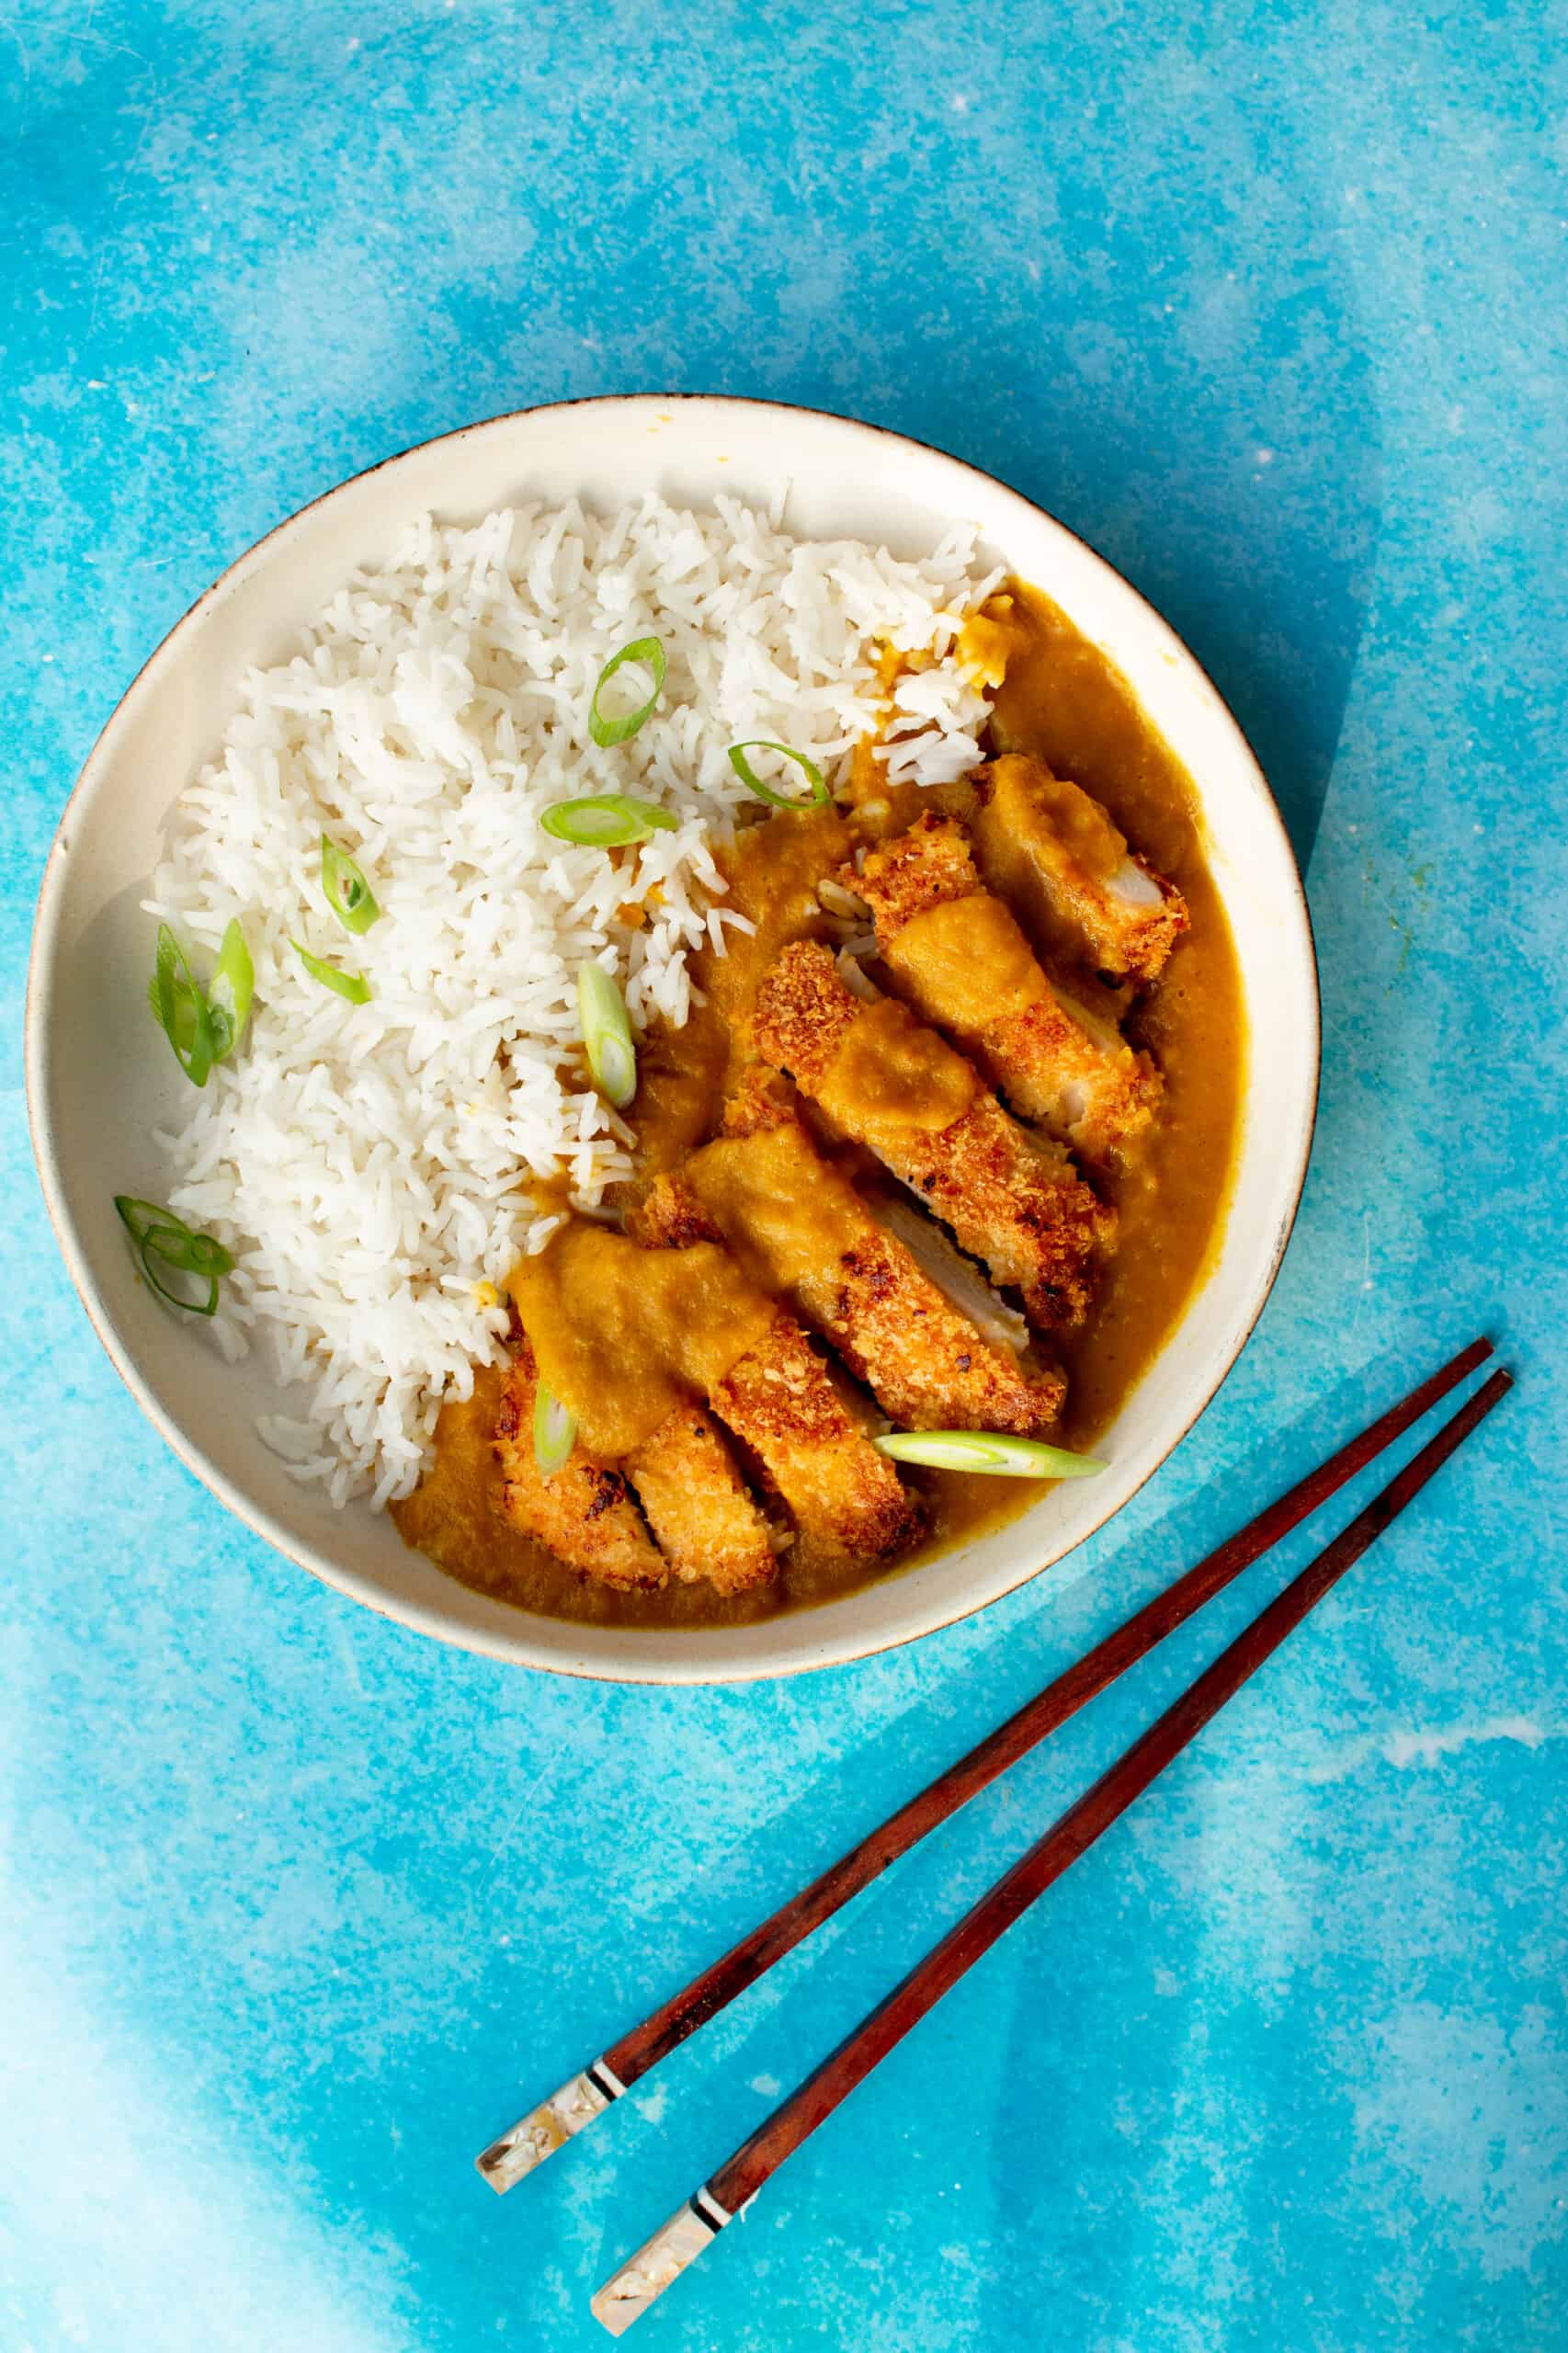
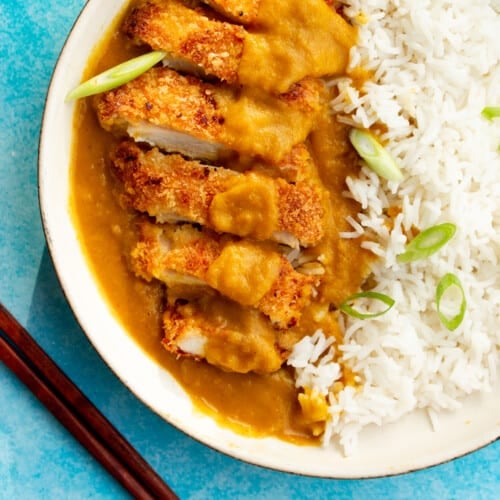
Chicken Katsu Curry
Jump to RecipeTable of Contents
Why this recipe works
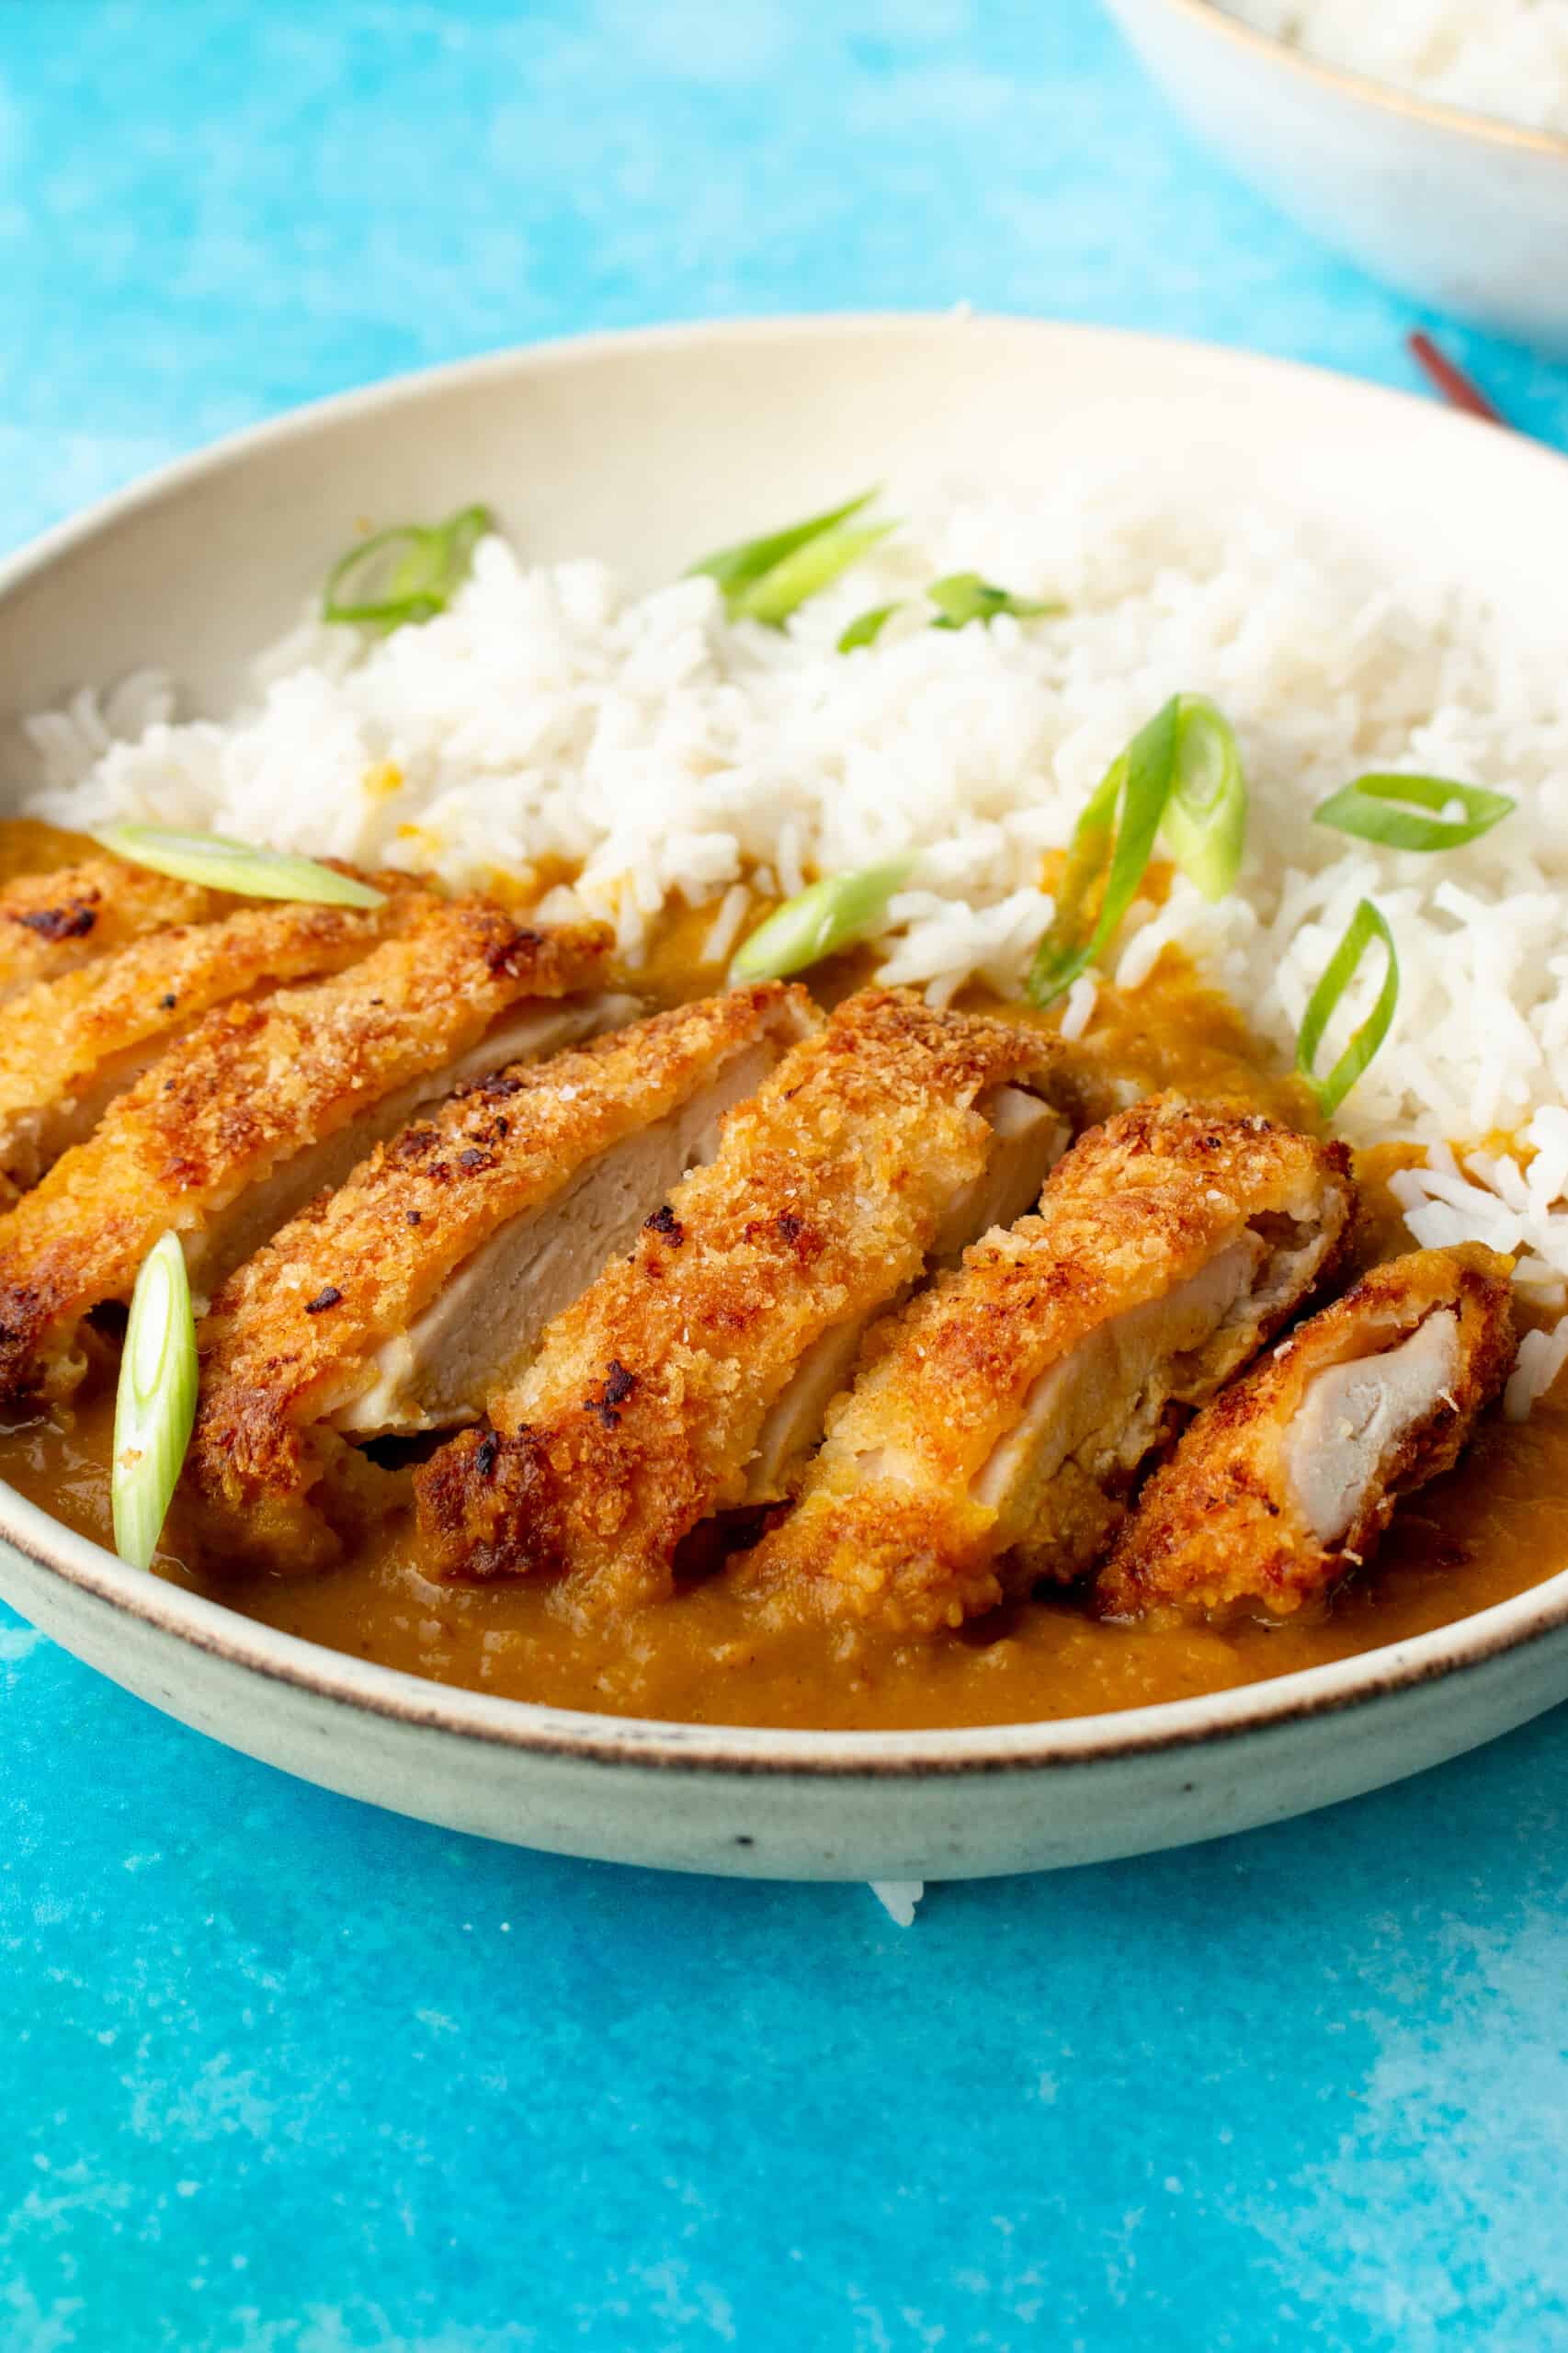
When I first tried the famous Wagamama Katsu curry, I finally understood what all the hype was about. The katsu sauce is so unique to any other curry recipe that I’ve tried. It’s rich & creamy with zingy hits from the ginger. And when paired with the diagonally sliced, crispy breaded chicken- there’s nothing like it. The recipe originates from Japan originally.
This recipe, if I may say so myself, is as good as the Wagamama Katsu curry if not better. You get more sauce per serving and the crispy breaded chicken is larger and less calories, thanks to our baking method.
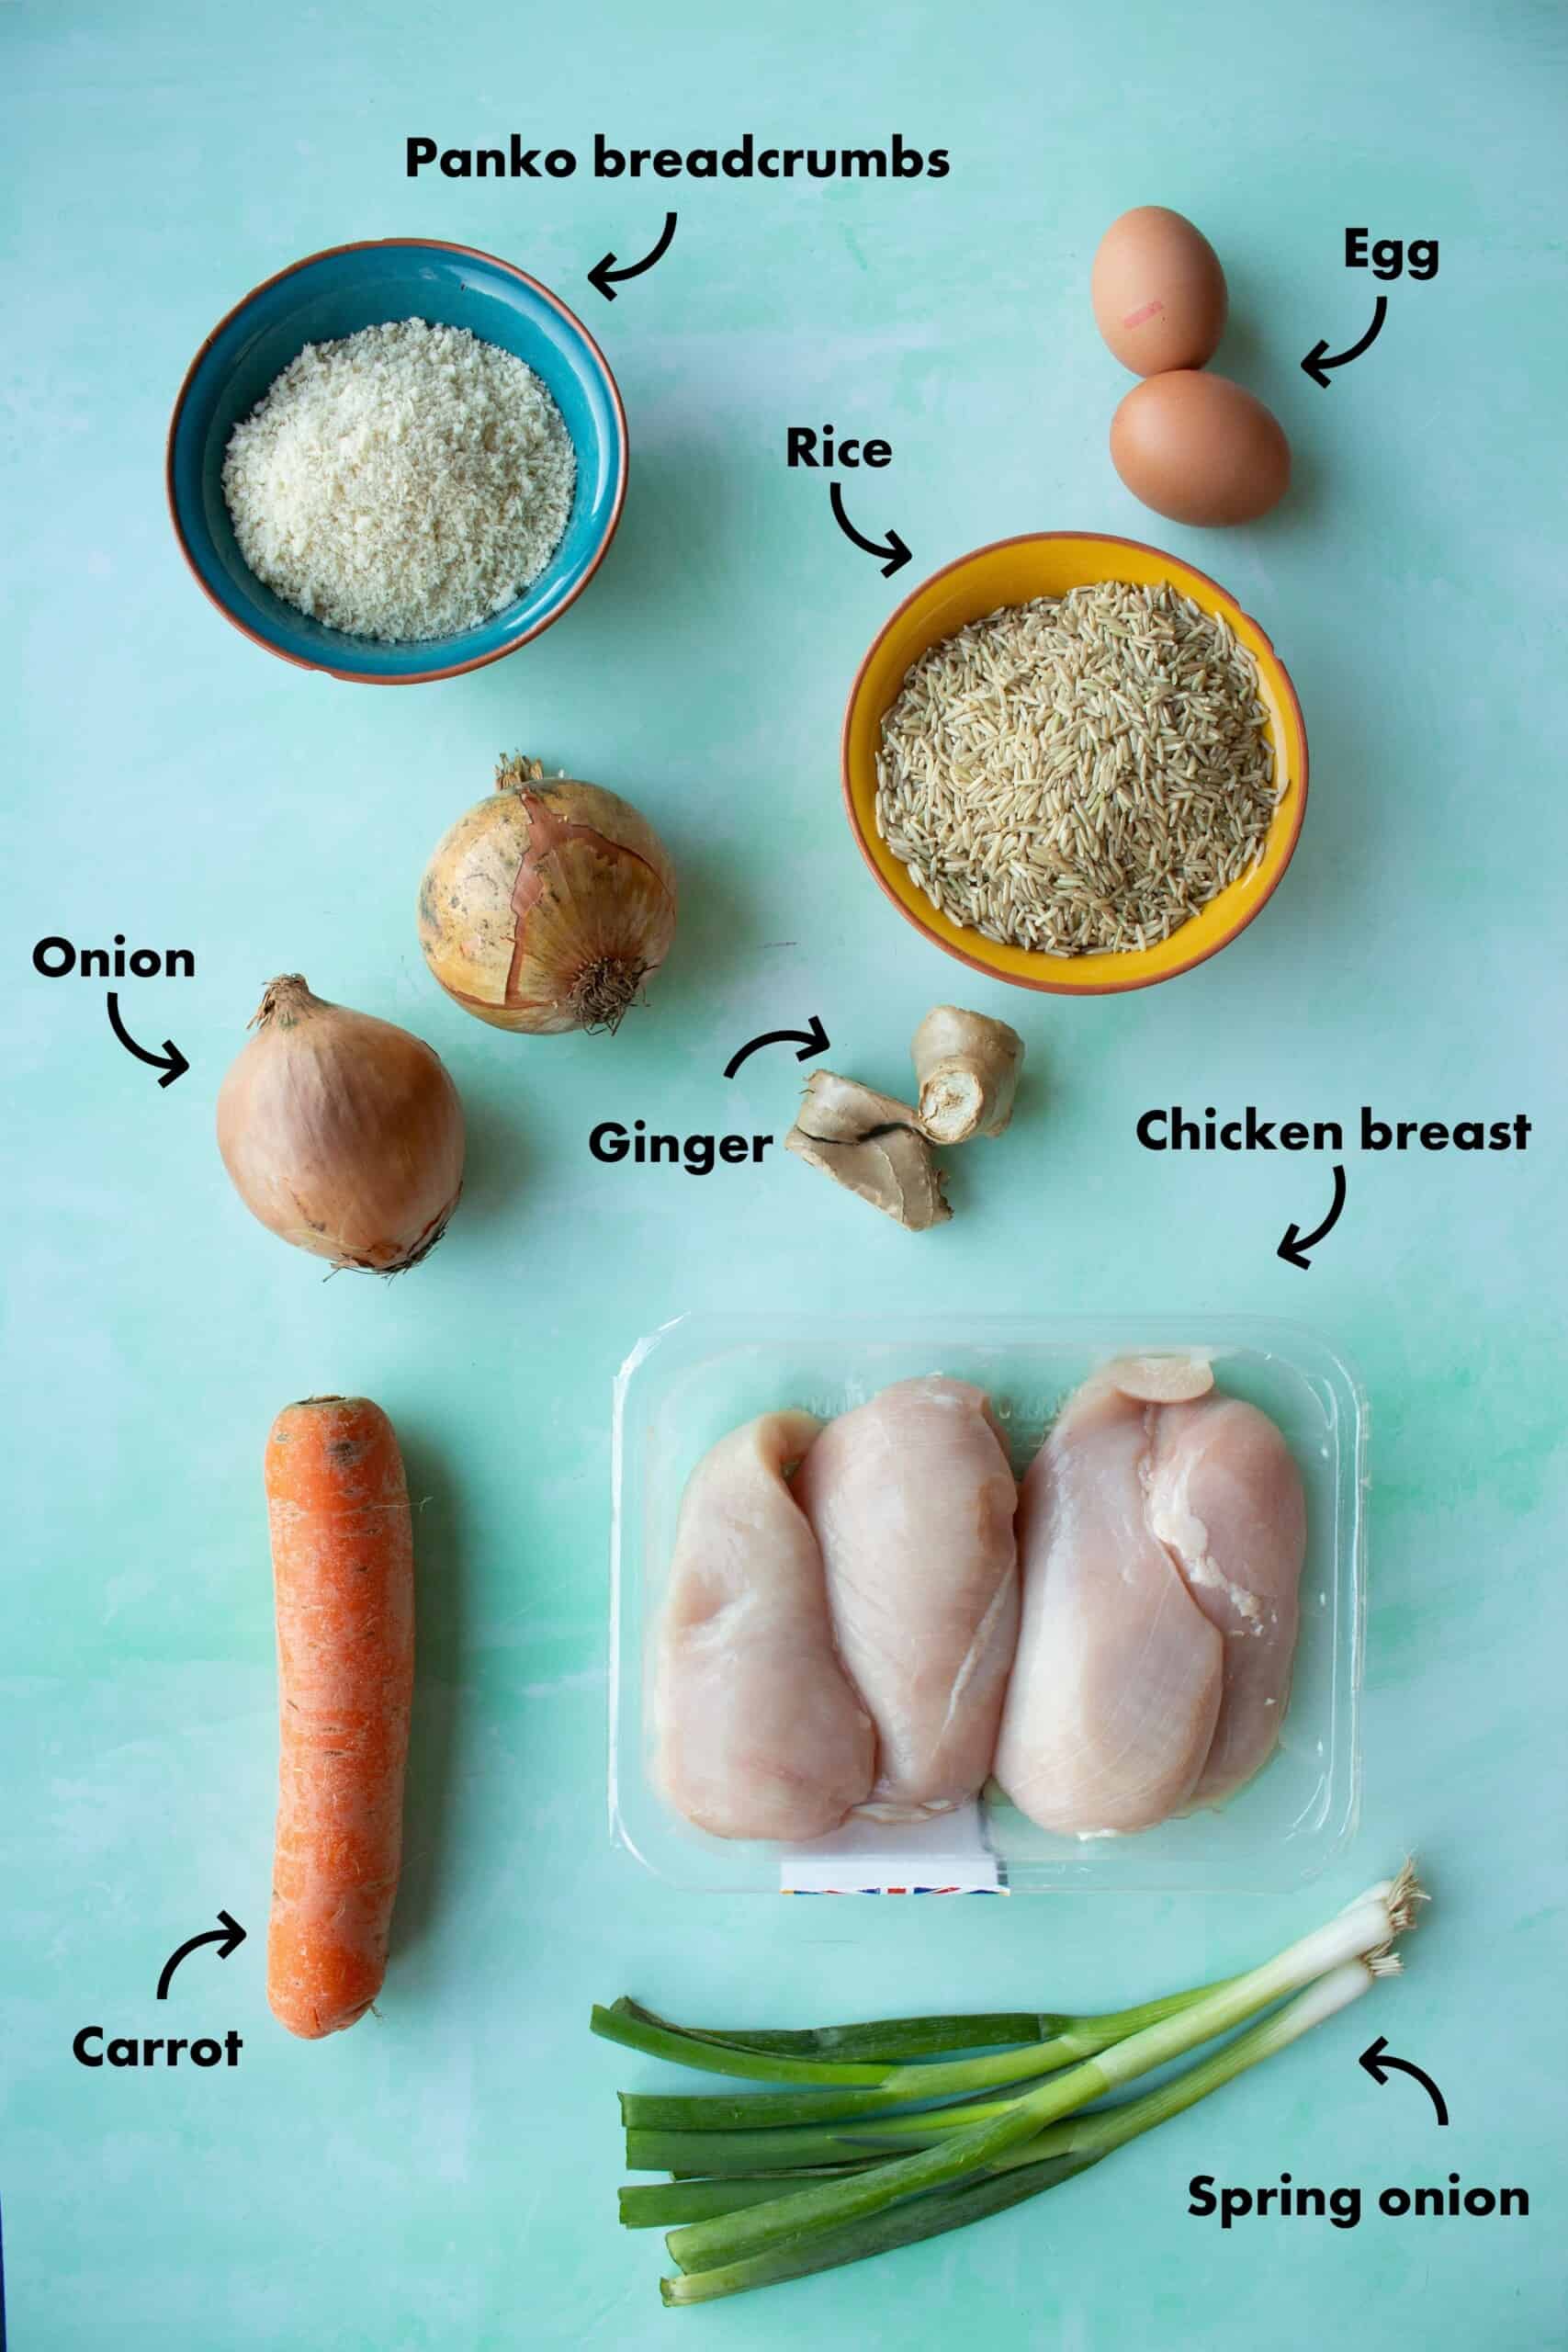
Ingredients
Panko breadcrumbs
These breadcrumbs originated from Japan. The bread is broken down into larger flakes which results in a crispier breading for our chicken which is the best.
Egg
Helps to bind the chicken/flour to the breadcrumbs.
Rice
You can opt for brown or white rice here, both flavours work very well. I used white basmati rice when filming but you could use jasmine rice, sticky sushi rice or any rice that you have on hand.
Onion
This Katsu curry recipe is heavy on the onion, which provides an amazing foundation of flavour.
Ginger
Is one of the most powerful zingy flavours in the sauce without be overpowering.
Chicken breast
For cost, we use 1 chicken breast sliced into two thin planks. This provides you with a decent chicken fillet for each serving with a lot of surface area for the delicious crispy batter.
Carrot
Adds colour & sweetness to balance.
Spring onion
I love the added crunch of spring onion as a garnish at the end. It adds texture & flavour.
How to make Chicken Katsu Curry
Preheat oven to 200° C
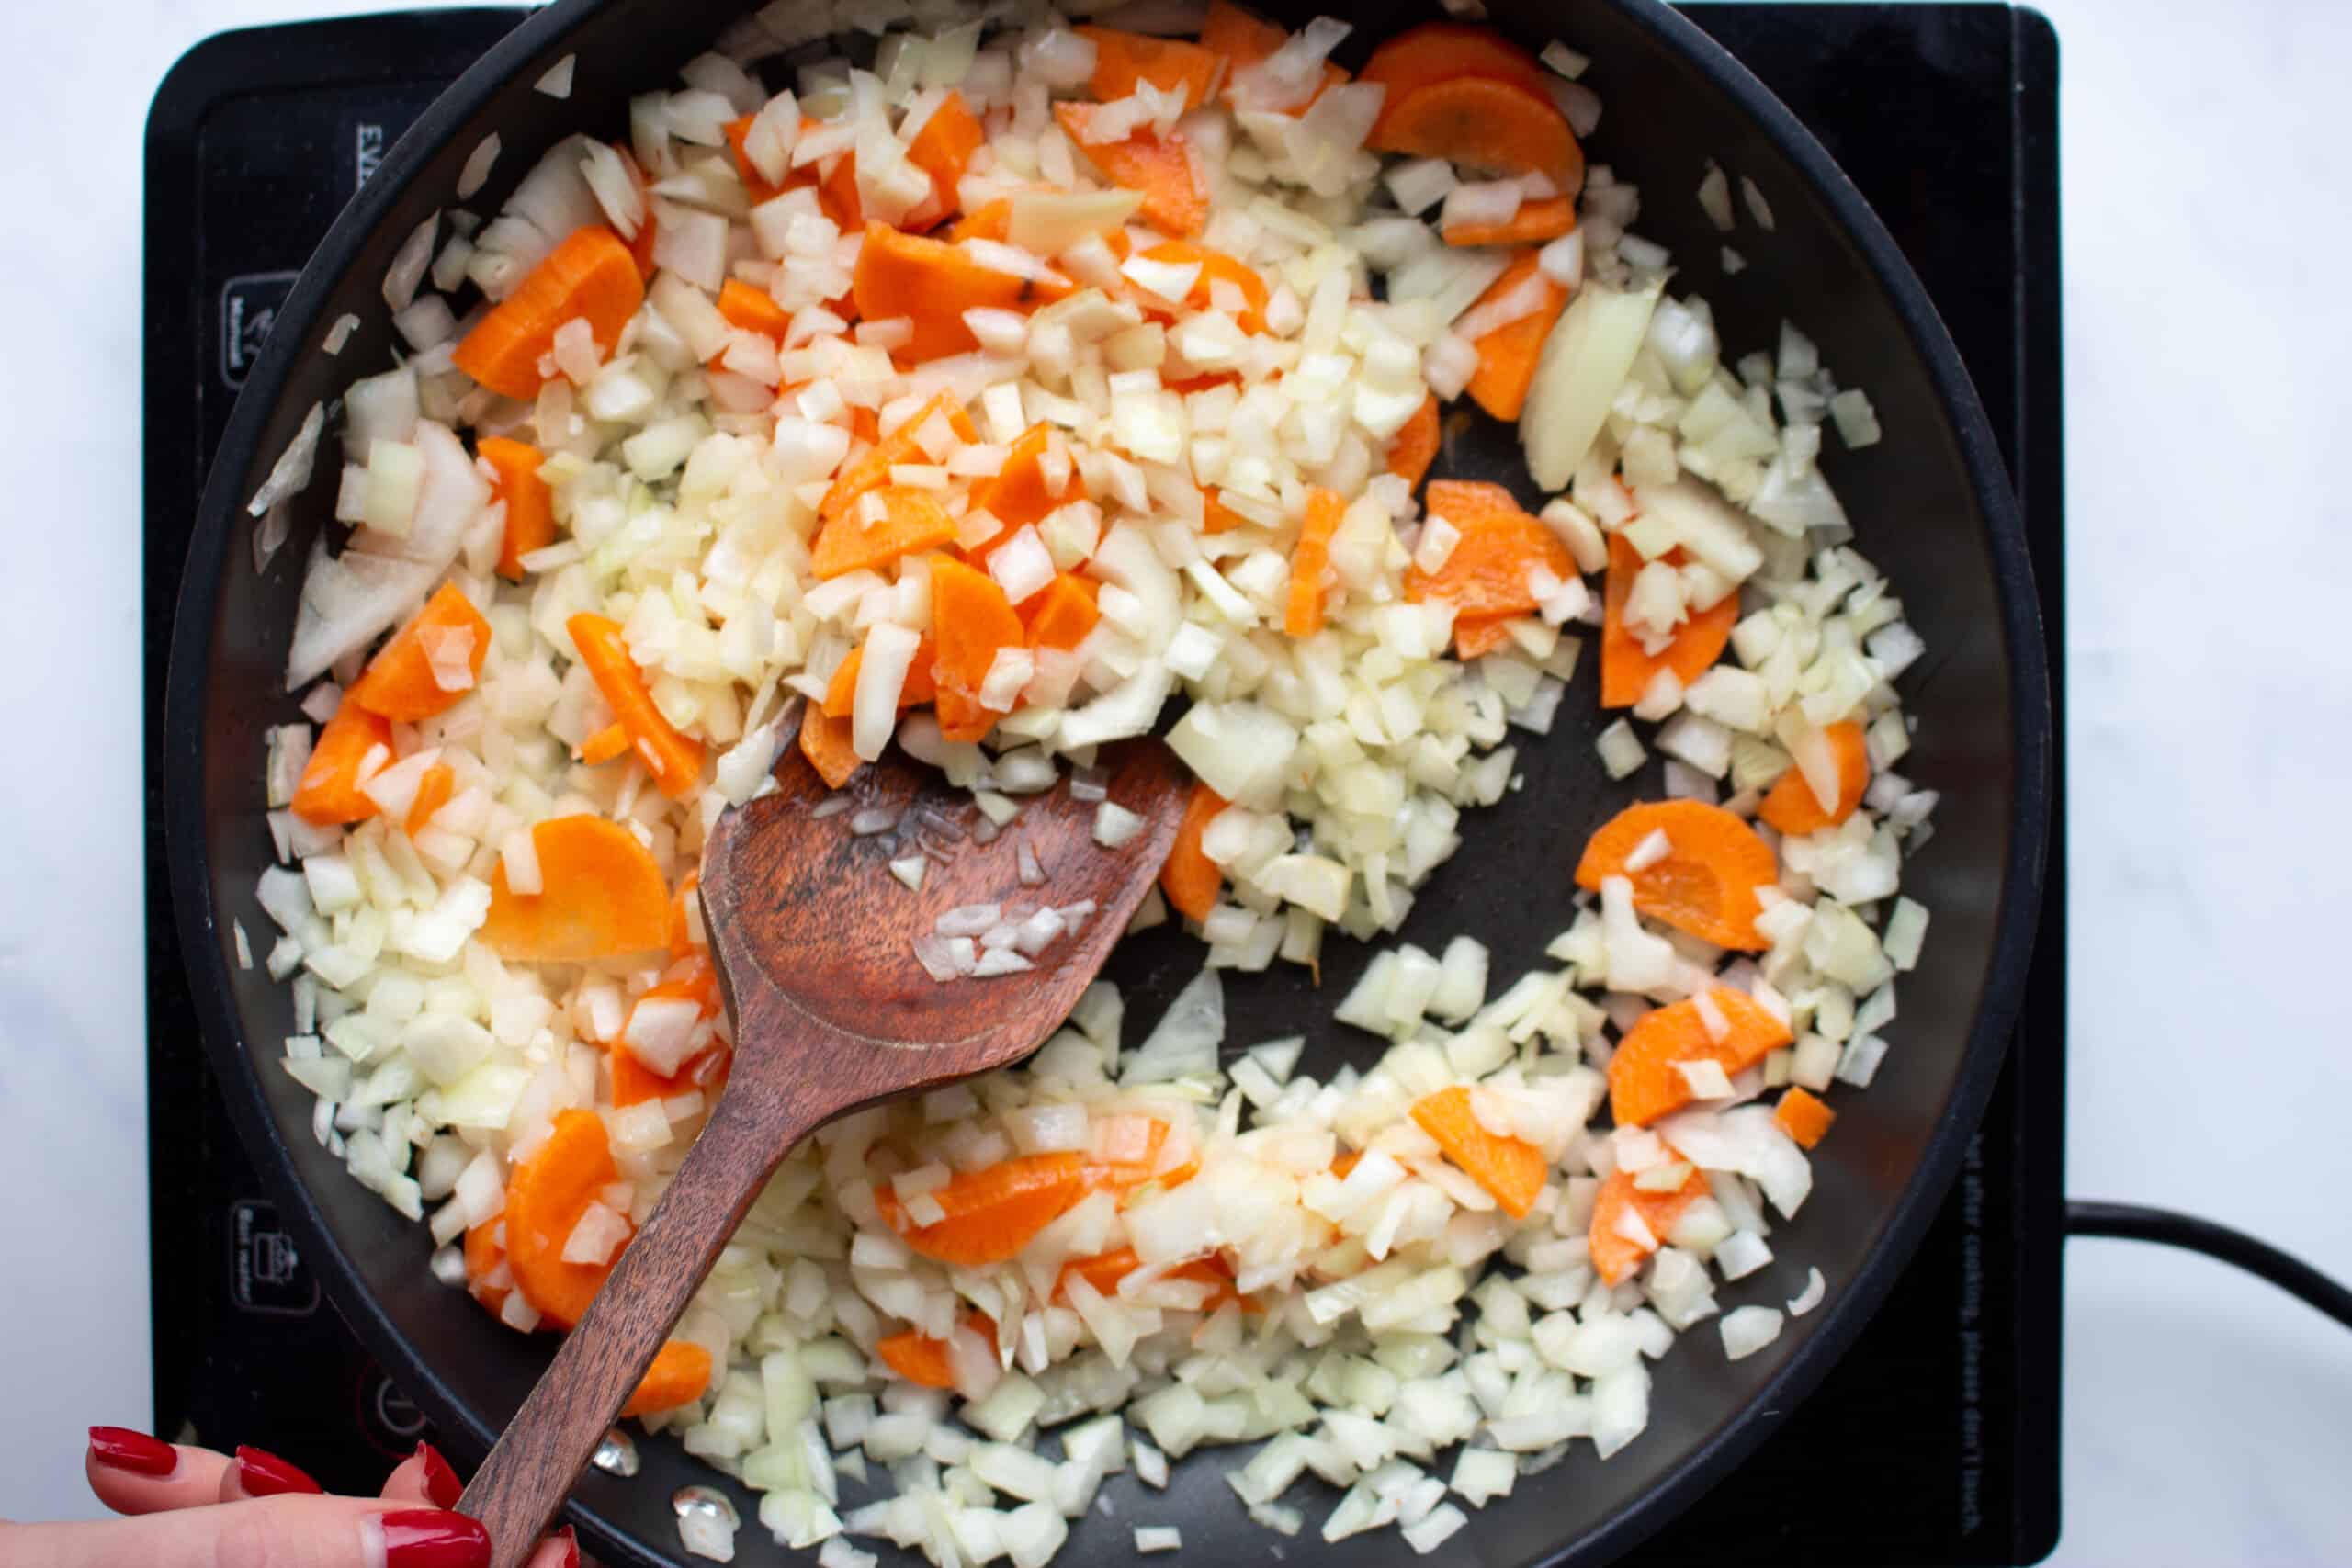
Add the chopped carrot and onion to a deep non-stick frying pan along with the coconut oil and gently fry on a medium/ low heat. Season with salt.
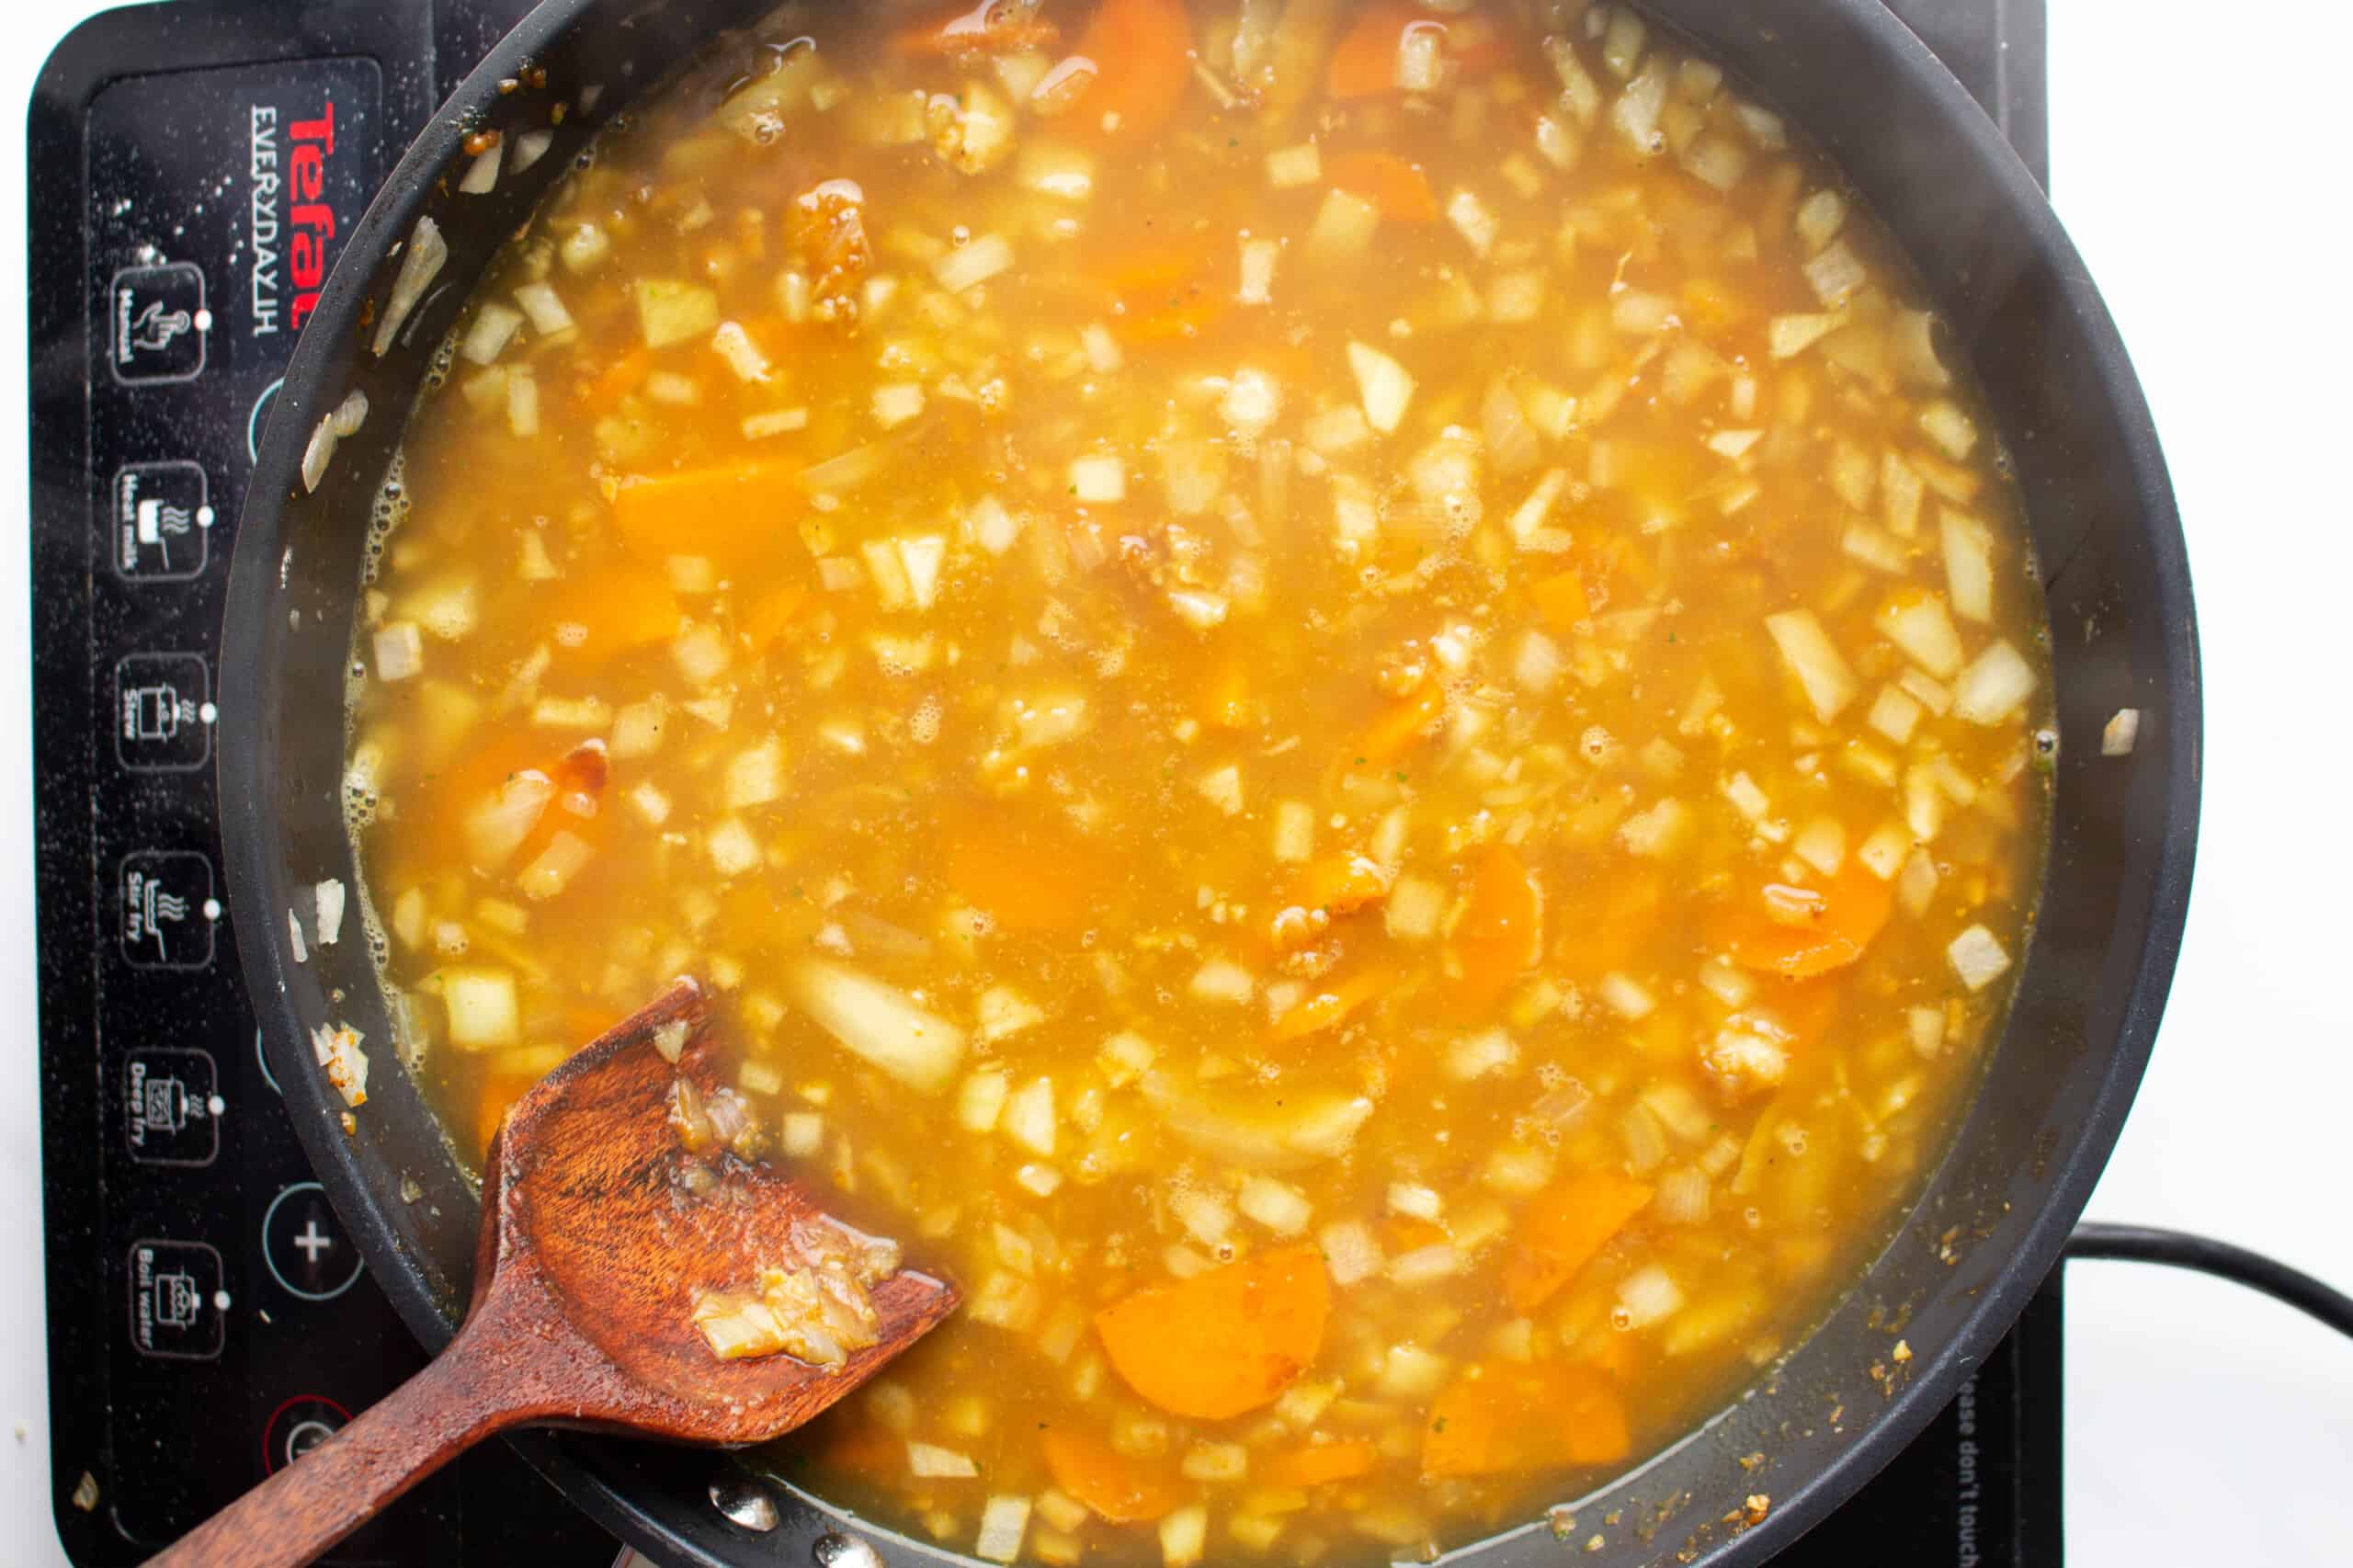
After 5 minutes add the minced garlic, curry powder, ginger, turmeric, honey, soy sauce and flour with a splash of the chicken stock. Gently fry for another minute before slowly adding all of the chicken stock, then reduce to a simmer and set the timer for 20 minutes.
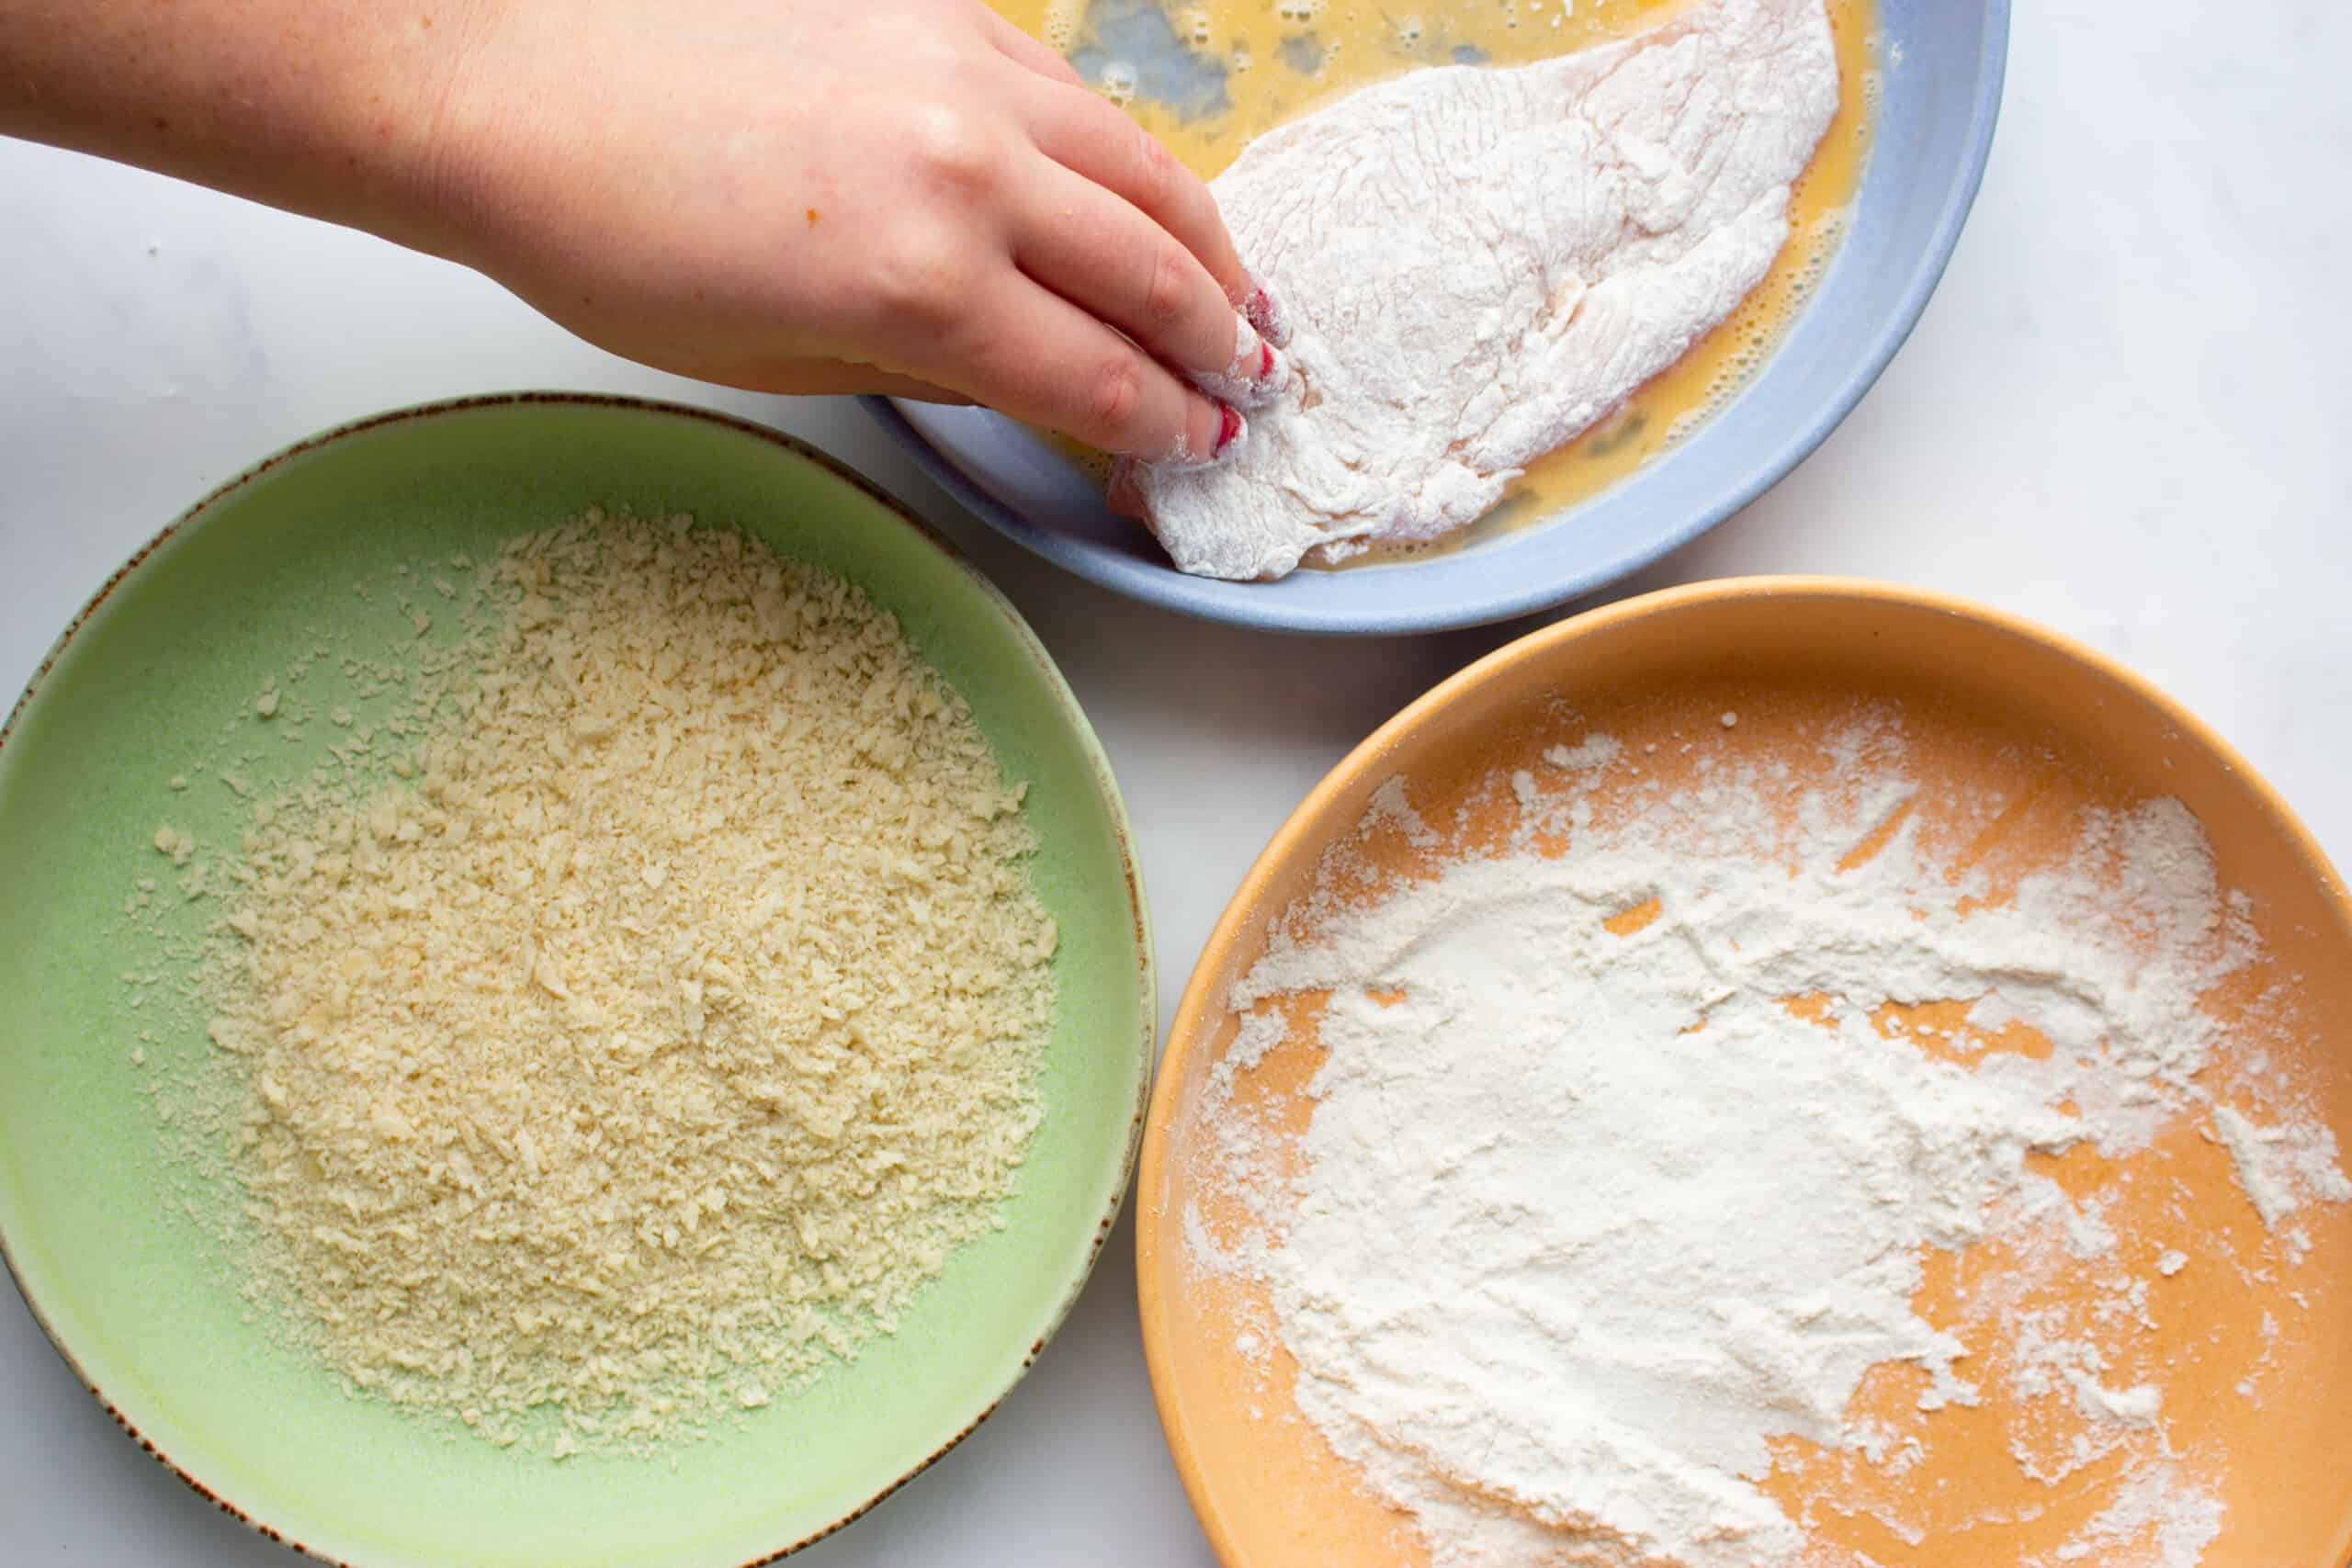
Now start to prepare the chicken by slicing the 3 breasts along the width to create 6 thin chicken pieces. You can start the crispy chicken conveyor belt by rolling it in flour, then the beaten egg and finally in the breadcrumbs. If you want the crispiest chicken, you can double dip into the egg and breadcrumbs although you may require more breadcrumbs.
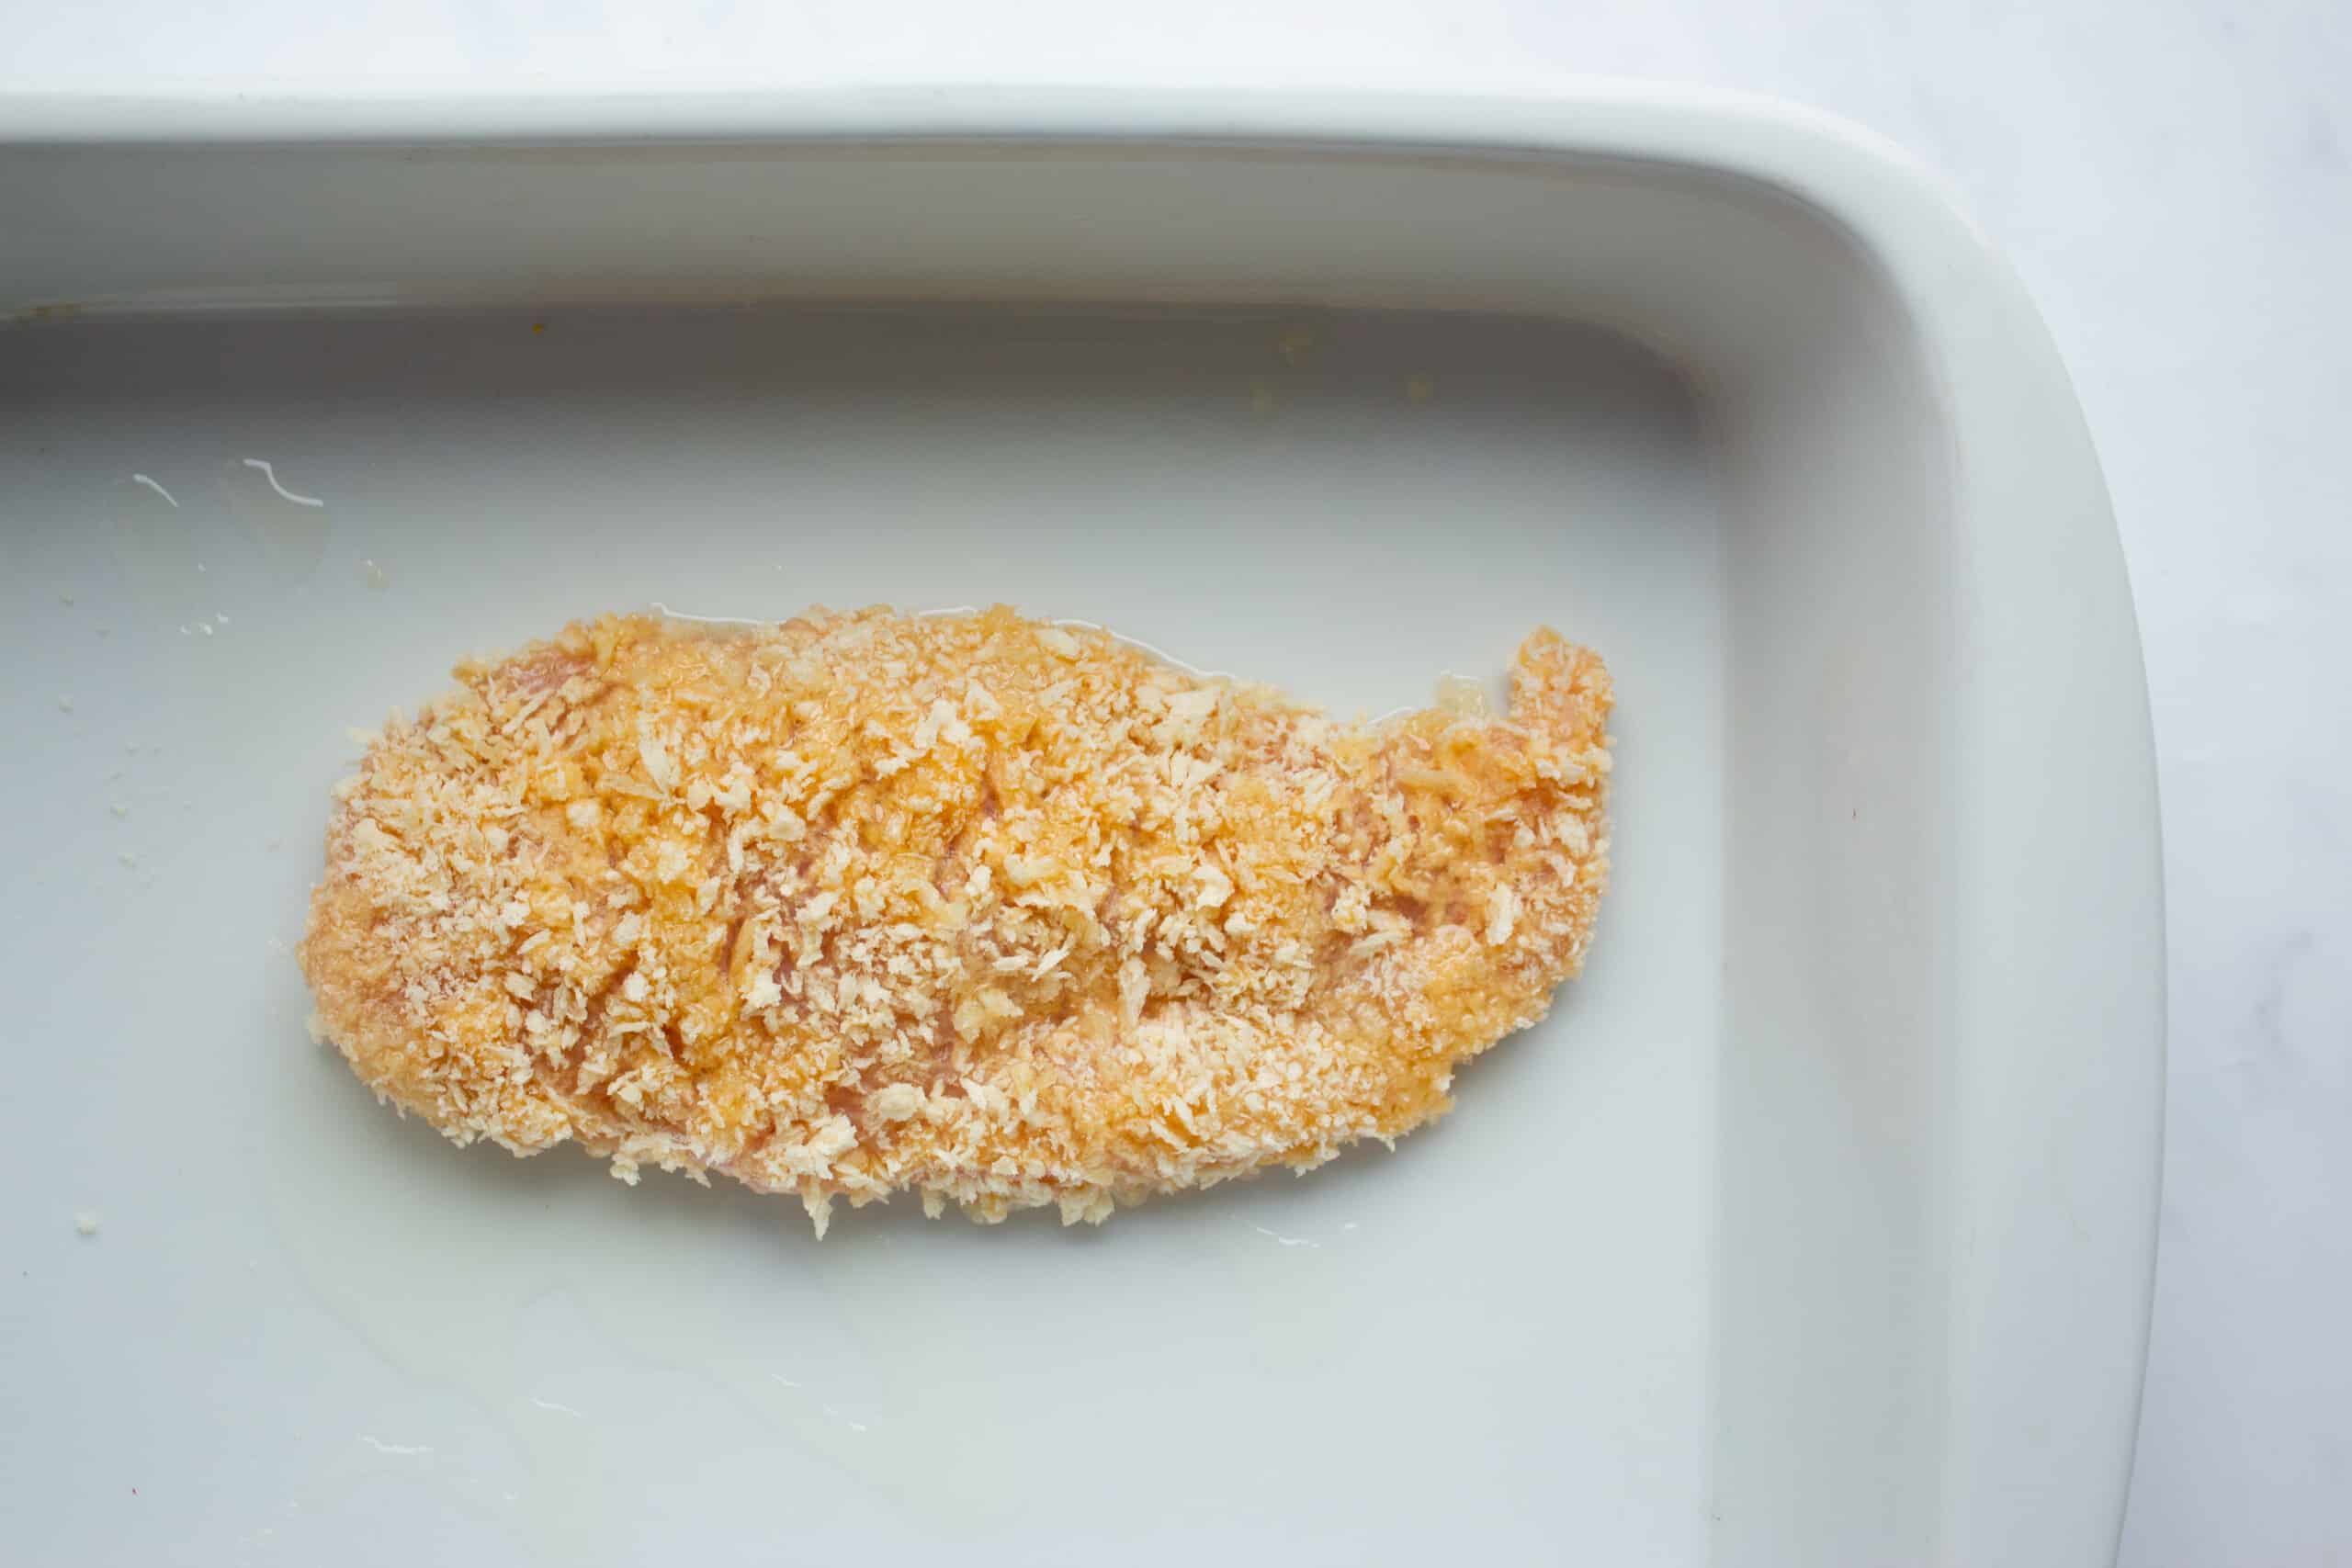
Drizzle half of the rapeseed oil onto a baking tray and then add the battered chicken and then drizzle the remaining rapeseed oil over the top to coat. Pop in the oven, timer set to 12 minutes to rotate and cook for a further 12 minutes on the other side. While the chicken is baking in the oven, boil a kettle and cook the rice according to packet instructions.
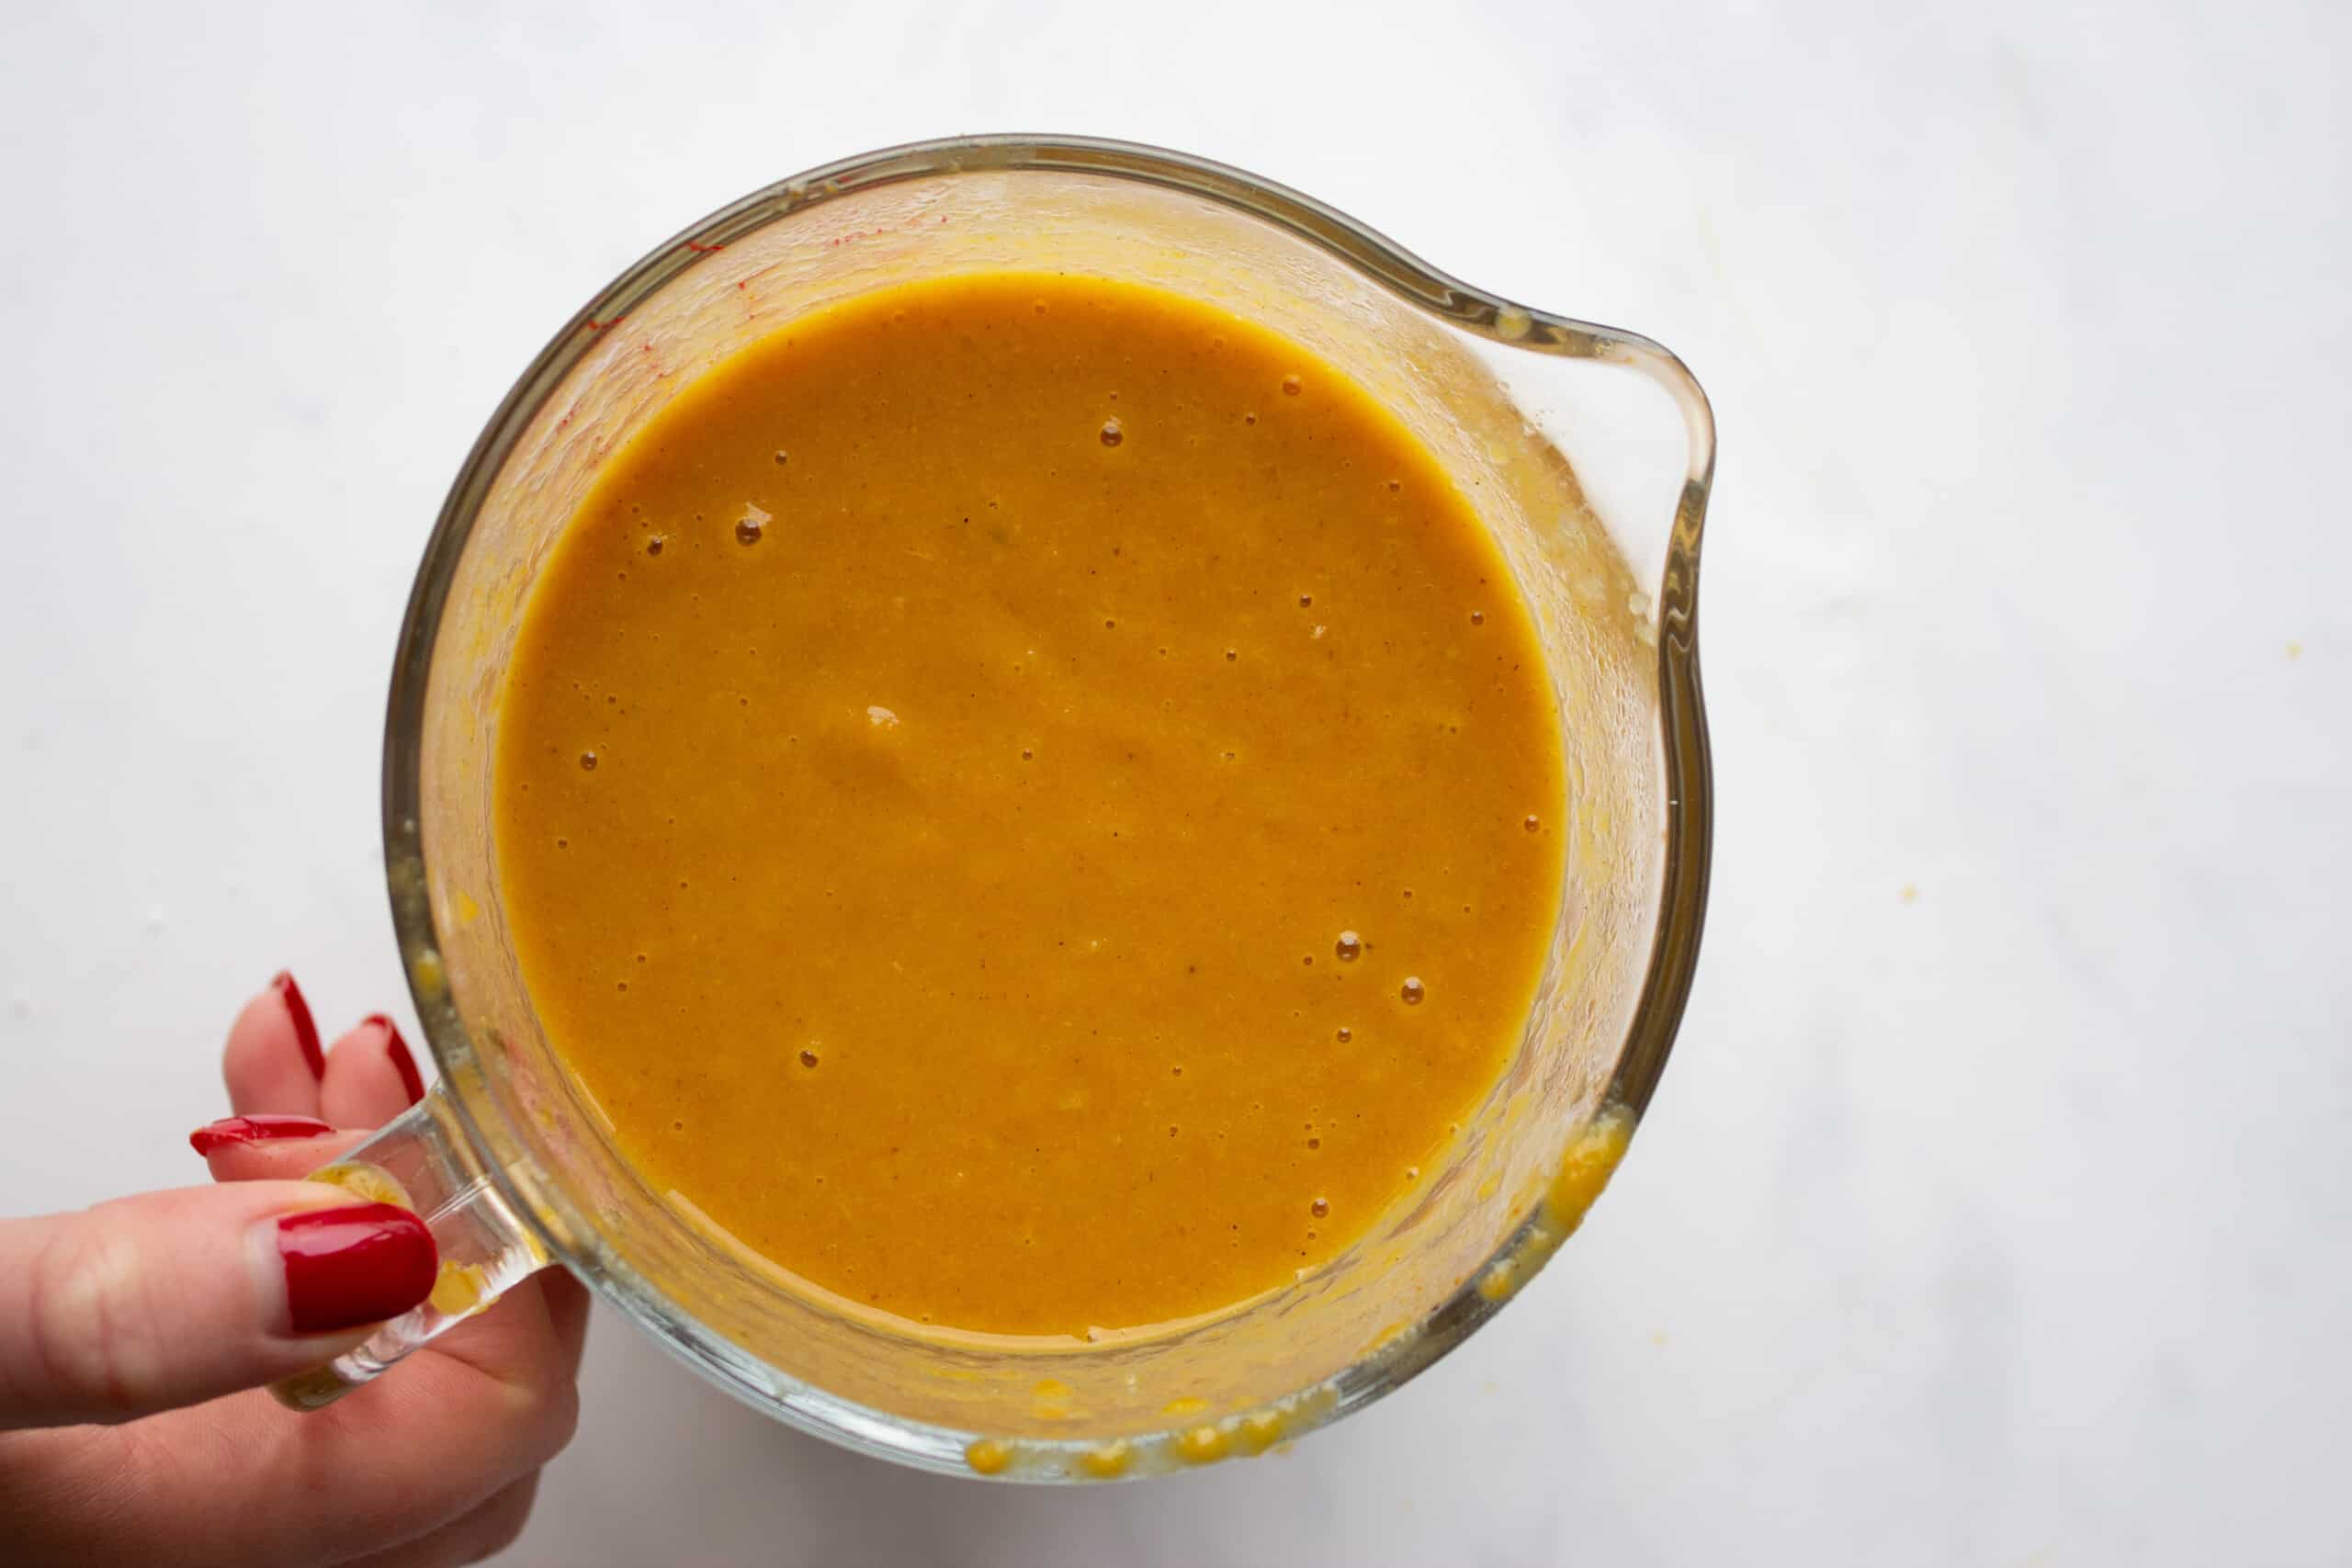
The katsu sauce should have thickened slightly after around 20 minutes, so it’s ready to blend.
What can I pair it with?
Greens you could serve with this chicken katsu curry:
- Pak choi
- Tenderstem broccoli
- Mange tout
- Peas
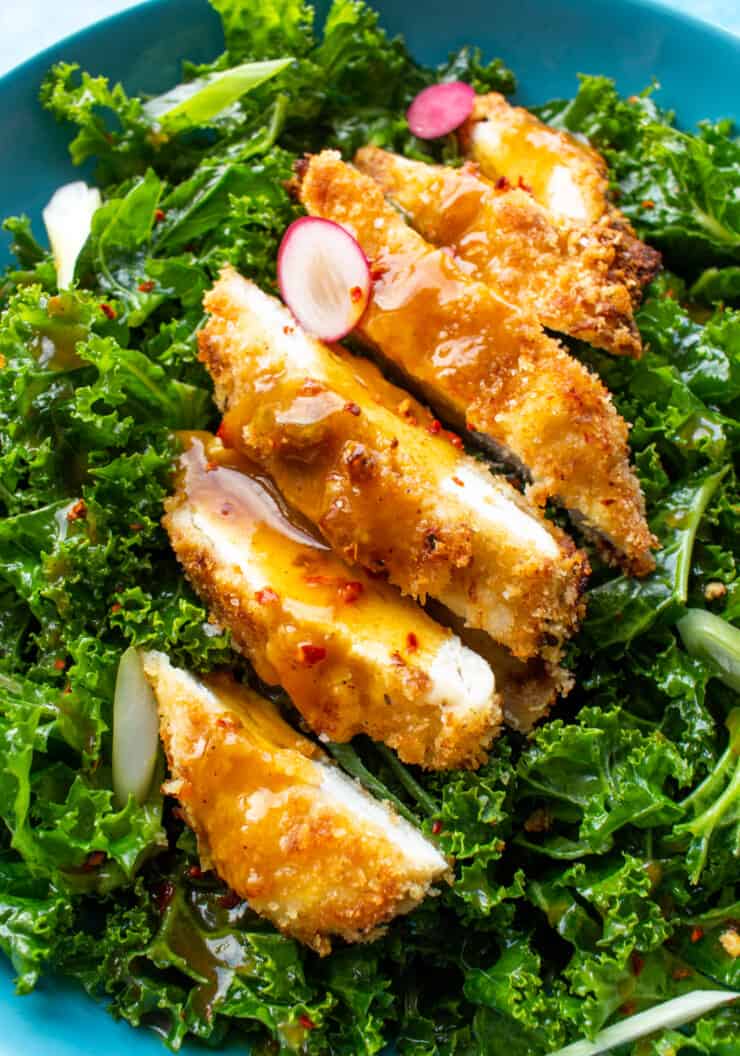
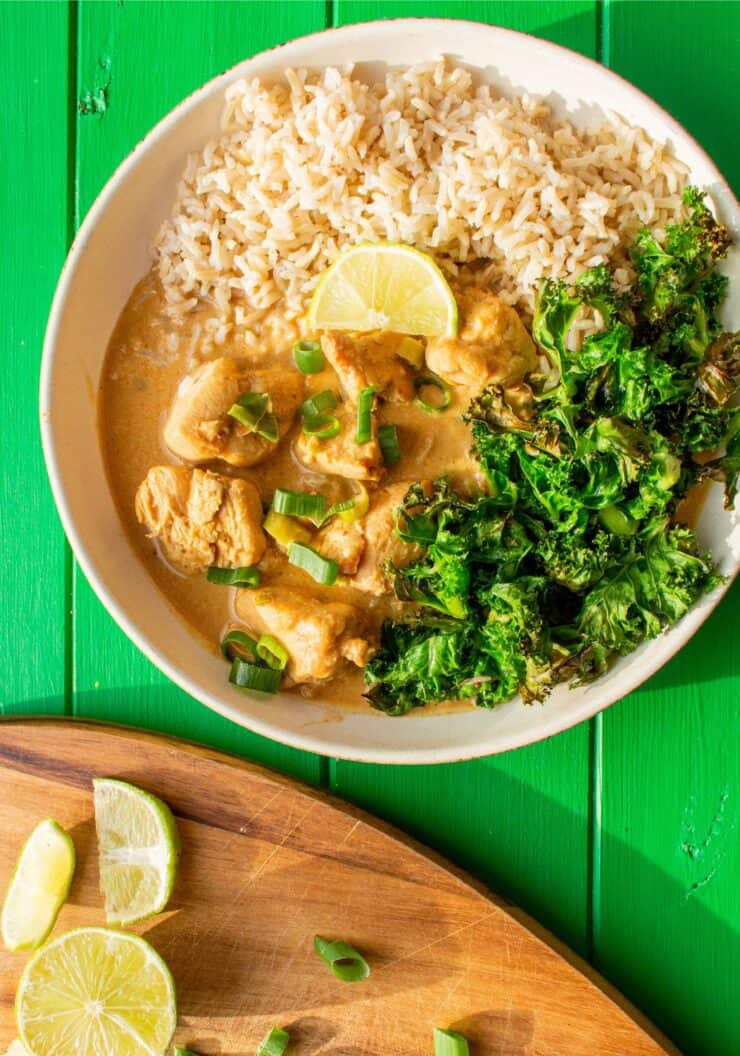
- Crispy baked kale
Extra toppings you could add
- Chili flakes/red pepper flakes
- Pickled ginger/onion
- Coriander
- Pickled cucumber
FAQ
Is the Katsu sauce vegan?
If you substitute the chicken stock with vegetable stock and the honey with brown sugar, you can make the sauce completely vegan. I love to enjoy the sauce with breaded crispy aubergine too, if I’m not eating meat that day.
Is this recipe healthy?
This recipe is definitely a healthier alternative to the Wagamama Katsu curry. I have reduced the quantity of oil in both the sauce and the method of cooking the chicken. Usually the chicken is deep fried, whereas we achieve our crispiness in the oven. The total calories for this recipe is 522kcal which if calories are something you monitor, there would be no issue with this recipe!
Can I pan-fry the chicken instead of baking it?
If you don’t mind using more oil then of course! I’d shallow fry the chicken by adding a layer of oil in a non-stick pan. I’d then wait until the oil is hot and place the breaded chicken in the pan (no more than two pieces at a time). Fry each side for around 3-4 minutes on a high heat. Time will vary depending on how thin your chicken is sliced.
Can I meal-prep this chicken katsu curry recipe/make this recipe ahead of time?
I’d recommend making the sauce ahead of time, as this can be frozen/ stored in the fridge and reheated easily.
I think the chicken is best served immediately for the maximum crisp and texture. There’s a danger when reheating the chicken that the batter would get soggy.
You can definitely meal prep the rice and sauce though and just make the chicken on the day of eating, where the oven does most of the work for you!
Other chicken curry recipes…
Chicken Satay Rice Bowls with Baked Crispy Kale
Other rice recipes…
Chicken Katsu Curry
Ingredients
For the chicken
- 650 g chicken breasts (£4.00)
- 70 g to 140g (6oz) panko breadcrumbs (if double dipping) (£1.25)
- 2 egg (£1.39/12)=(£0.24)
For the sauce
- 1 tbsp ginger, peeled & grated (£0.55)
- 2 onions, diced (£0.65/3)=(£0.22)
- 1 carrot, thinly sliced (£0.09)
- 3 cloves of garlic, minced (£0.69/3)=(£0.23)
- 600 ml chicken stock
- 1 tbsp honey/brown sugar
- 1.5 tbsp curry powder
- ½ tsp turmeric
- 1 tbsp coconut oil
- 2 tbsp rapeseed oil
- 1.5 tbsp soy sauce
- 2 tbsp flour
Other Ingredients
- Other 300g white/brown rice (£1.50/5X3)=(£0.90)
- Spring onions to garnish (£0.50)
- Chilli flakes
Method
PREHEAT OVEN TO 200°C
- Start by adding the onion & carrots into a deep non-stick frying pan along with the coconut oil. Gently fry on a medium/ low heat for around 5 minutes. Season with salt.
- After this time, add the minced garlic, curry powder, ginger, turmeric, honey, soy sauce and flour with a splash of the chicken stock. Gently fry for another minute before gradually adding all of the chicken stock. Reduce to a simmer and set the timer for 20 minutes.
- Meanwhile, prepare the chicken by slicing the 3 breasts along the width to create 6 thin chicken pieces. Start the crispy chicken conveyor belt by rolling it in flour, then the beaten egg and finally in the breadcrumbs. If you want the crispiest chicken, dip into the egg and breadcrumbs one more time (may require more breadcrumbs).
- Drizzle half of the rapeseed oil onto a large baking try and add the battered chicken. Then drizzle the remaining rapeseed oil over the top to coat. Pop in the oven, timer set to 12 minutes to rotate and cook for a further 12 minutes on the other side.
- In the meantime, cook the rice according to packet instructions
- After 20 minutes, the katsu sauce should have thickened slightly so it’s ready to blend. Slice the chicken diagonally for that wagamama look and serve up with a portion of rice, a ladle of the sauce and the optional sliced spring onion & chilli flakes.
Nutrition
Recipe Variations
Increased Portion
Serve 5 portions instead of 6
Nutritional info per serving: 627 kcal |Carbs: 78g | Fats: 14g |Protein: 44g
Decreased Portion
Serve 7 portions instead of 6
Nutritional info per serving: 448 kcal |Carbs: 56g | Fats:10g |Protein: 31g
Vegetarian
Substitute the chicken breast with 2 aubergines, sliced lengthways into planks to mimic the chicken breast. Follow the same method after adding the aubergines in step 3.
Nutritional info per serving: 415 kcal |Carbs: 68g | Fats: 10g |Protein:10g
Low Carb
Instead of serving the Katsu with rice, serve with a green side salad dressed with ½ tbsp of olive oil.
Nutritional info per serving: 395 kcal |Carbs: 22g | Fats: 18g |Protein: 33g
Step by step videos
PREHEAT OVEN TO 200°C
1. Start by adding the onion & carrots into a deep non-stick frying pan along with the coconut oil. Gently fry on a medium/ low heat for around 5 minutes. Season with salt.
2. After this time, add the minced garlic, curry powder, ginger, turmeric, honey, soy sauce and flour with a splash of the chicken stock. Gently fry for another minute before gradually adding all of the chicken stock. Reduce to a simmer and set the timer for 20 minutes.
3 & 4. Prepare the chicken by slicing the 3 breasts along the width to create 6 thin chicken pieces. Roll the chicken pieces in flour, the egg and breadcrumbs. For the crispiest chicken, dip into the egg and breadcrumbs one more time. Drizzle half the rapeseed oil onto the baking try and add the battered chicken. Then drizzle the remaining rapeseed oil over the top. Pop in the oven for 12 minutes, then rotate and cook for a further 12 minutes on the other side.
5 & 6. In the meantime, cook the rice according to packet instructions. After 20 minutes, the katsu sauce should have thickened slightly so it’s ready to blend. Slice the chicken diagonally for that wagamama look and serve up with a portion of rice, a ladle of the sauce and the optional sliced spring onion & chilli flakes.

Leave a comment and a rating!
- Weekly meal plans with a £20 budget
- 150+ exclusive recipes
- Personal dashboard
- Exclusive step by step videos
- Shopping list tools
- Advert Free experience
Comments