Spicy Tuna with Crispy Rice (Budget Recipe)
Jump to RecipeFor a while, I’ve seen these ‘Nobu sushi inspired crispy rice’ recipes, topped with sushi grade salmon that look so so good. I never thought that it was a recipe that I could post or develop though as the recipes require sushi grade fish….
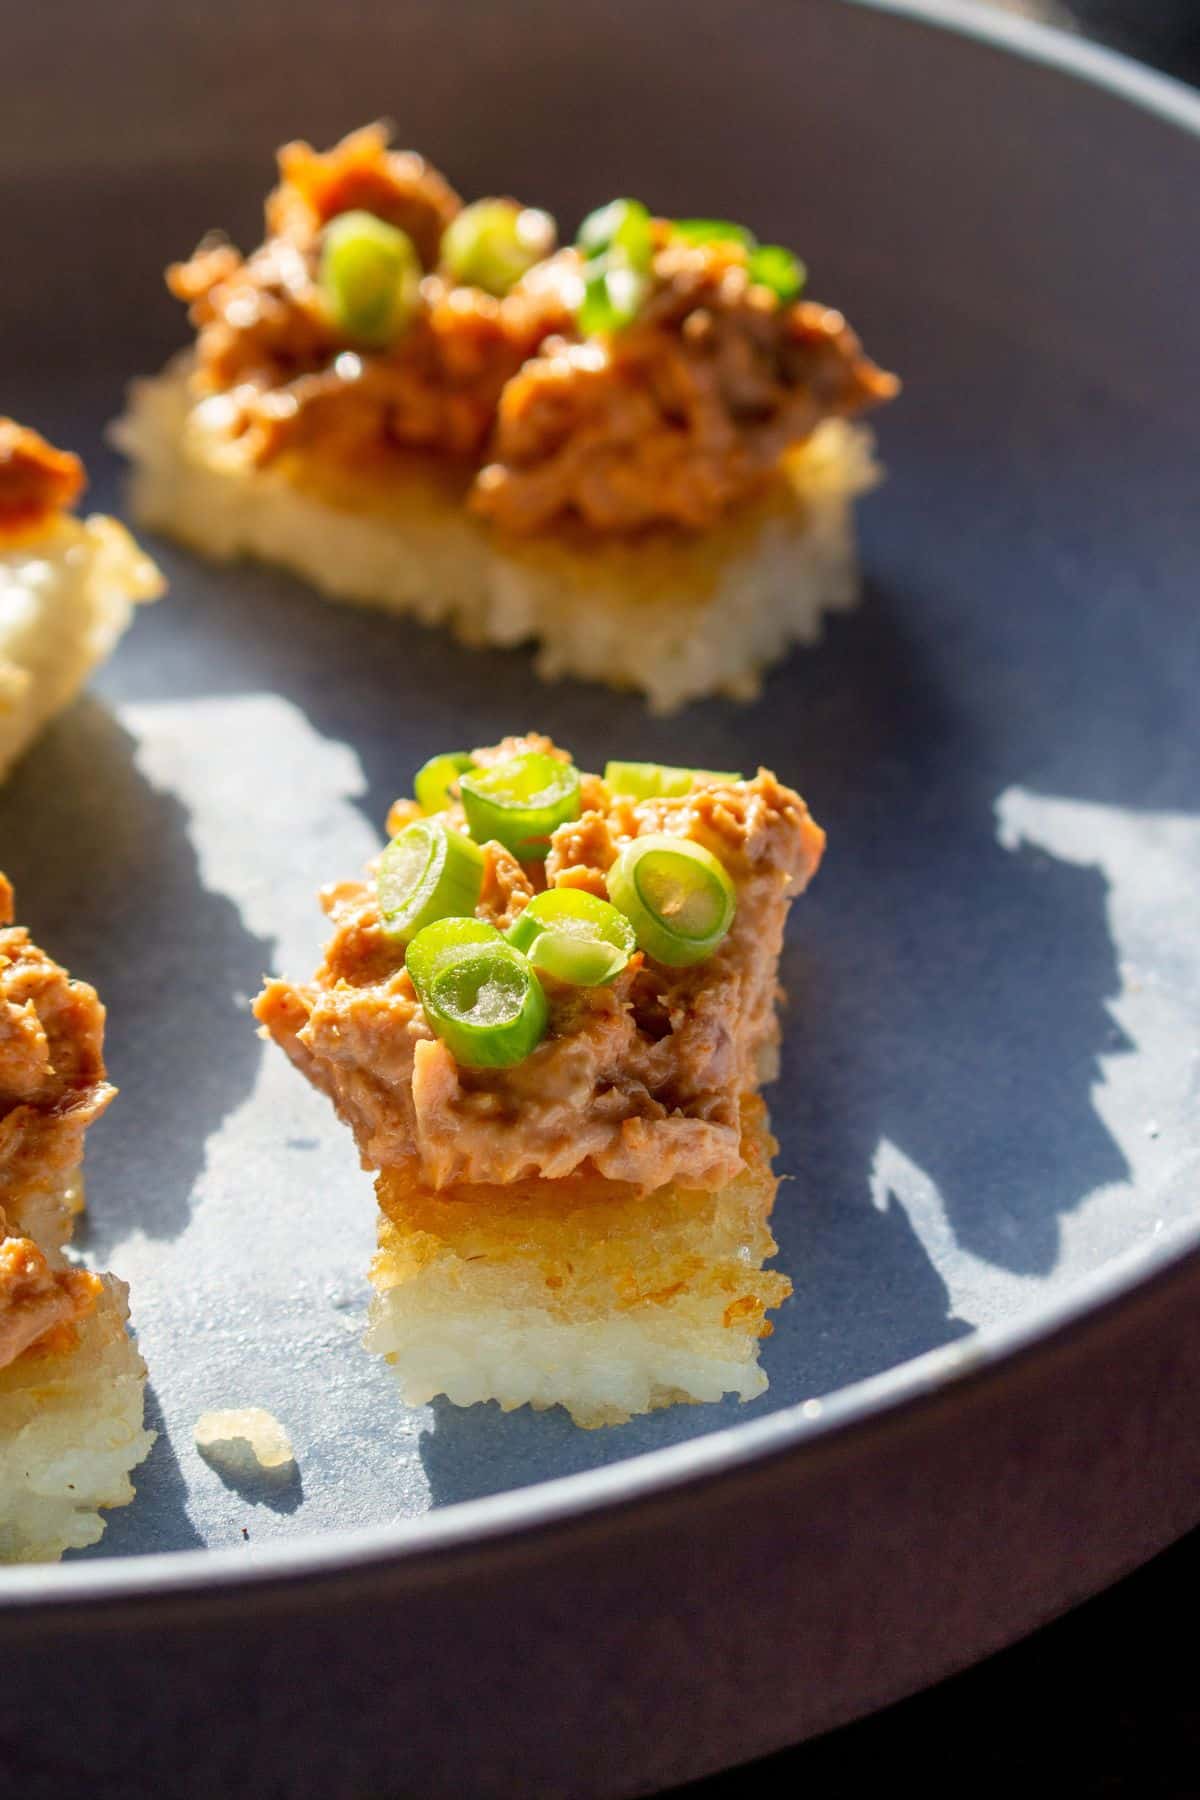
Table of Contents
Why I created this recipe
I then realised this tuna with crispy rice recipe wouldn’t just work with sushi grade tuna. I knew it would definitely work canned/tinned tuna, as everyone knows a winning combination is canned tuna and mayo.
The spicy tuna dressing works so well to top our crispy rice with, I honestly prefer it to regular sushi rolls. You have got to try my take on the spicy tuna with crispy rice trend!
Other tuna recipes for you to try after this one …
Ingredients
Canned tuna
I used tuna in water as we’re adding a lot of delicious fats in the spicy dressing but any oil tuna would also work here.
Sushi Rice
The sushi rice is key here to ensure that the rice sticks together, when placed in the compact container. We don’t want the rice to fall apart, when we add it to the oil!
Sriracha, Mayonnaise + Rice wine vinegar
The sweet, tangy, spiciness to the spicy tuna with crispy rice is thanks to the sriracha and to make this recipe more budget friendly, I use a combo of mayonnaise and rice wine vinegar instead of kewpie mayo. Use full-fat mayo here for the best flavour – I love Hellmans.
See the recipe card for full information on all ingredients and quantities.
How to make the spicy tuna with crispy rice
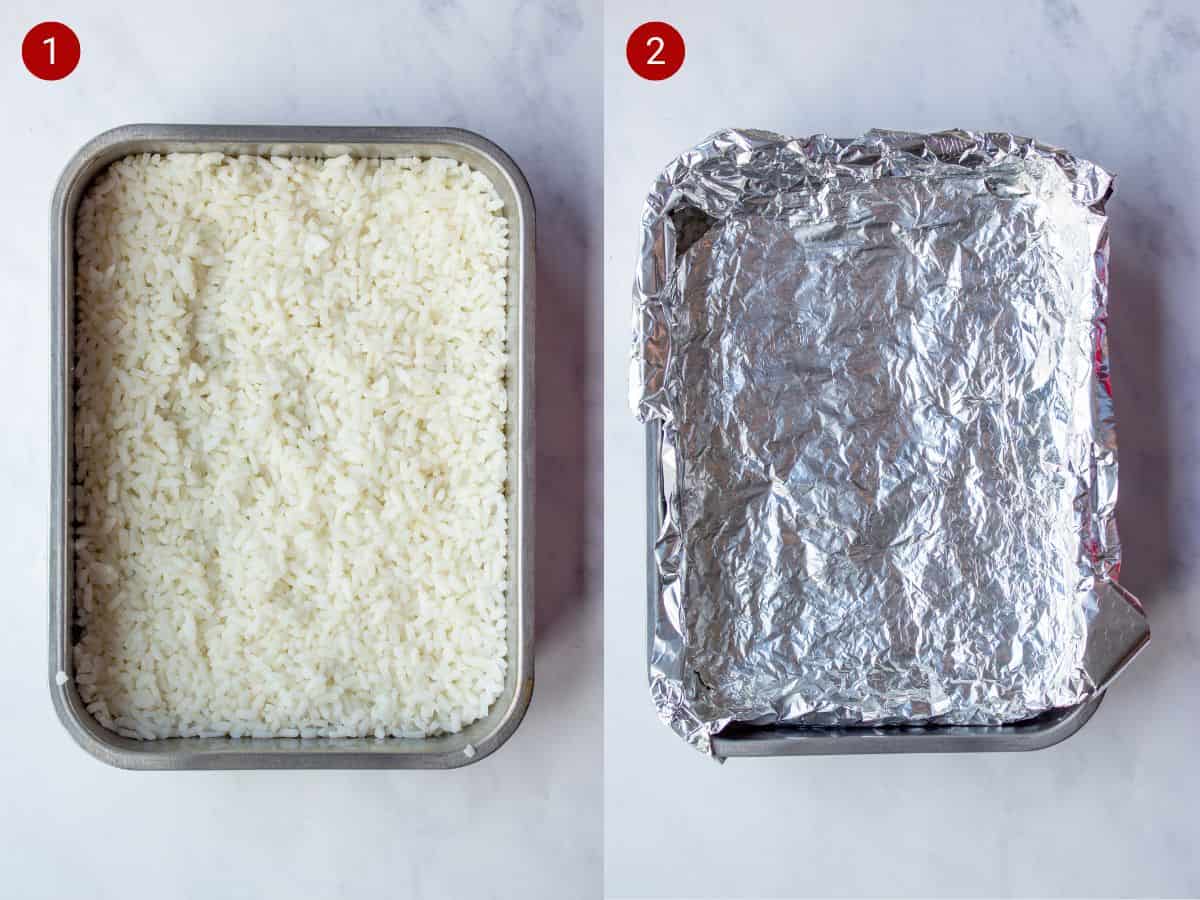
- Season the cooked rice with a splash of rice wine vinegar and salt, then transfer the rice into an 8 by 10 inch container. Using a wooden spoon, firmly press the sushi into the container until compact (Image 1).
- Then add some foil onto the top of the container and continue to press. Pop in the fridge for a couple of hours or leave overnight (Image 2).
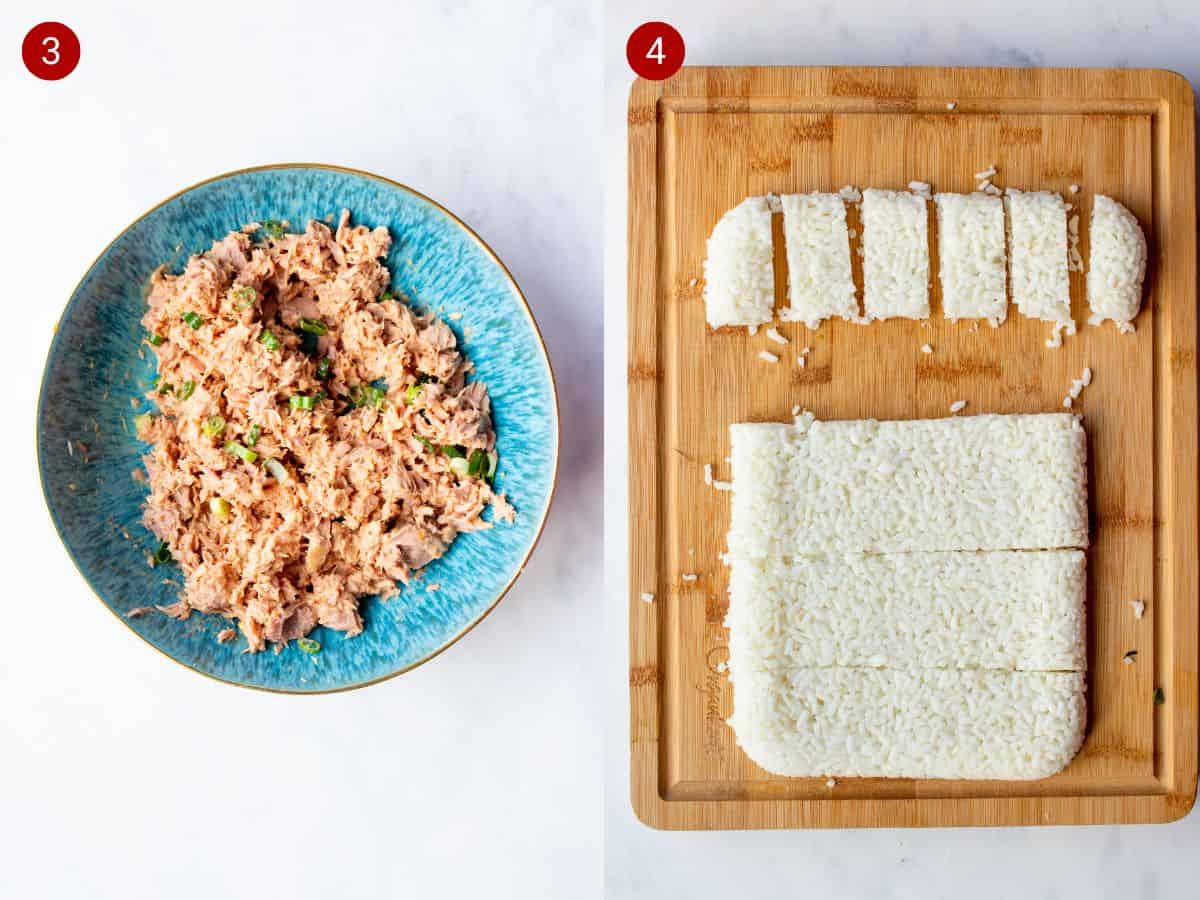
3. Then add the tuna, sriracha, mayonnaise, soy sauce and rice wine vinegar to a bowl and mix together. Also add ⅔ of the thinly sliced spring onion, while reserving some for garnish later (Image 3).
4. When you are ready to make your sushi bites, remove the foil and flip the container onto a chopping board and tap until the rice falls out in one piece. Slice into around 20 pieces (Image 4).
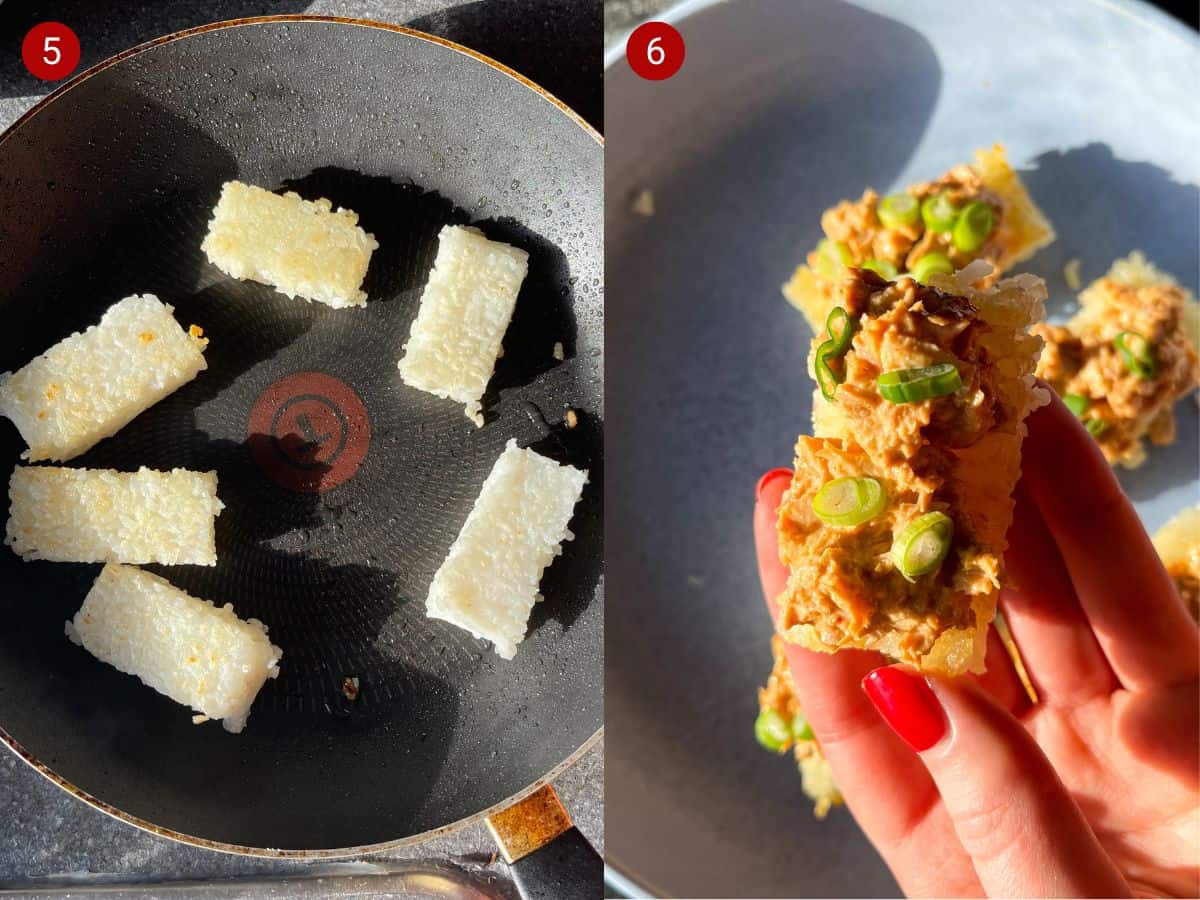
5. Using a non stick frying pan, add rapeseed oil and increase the heat to high. In batches, fry the rice squares/rectangles for 2 minutes (or until golden and crispy) on each side (Image 5).
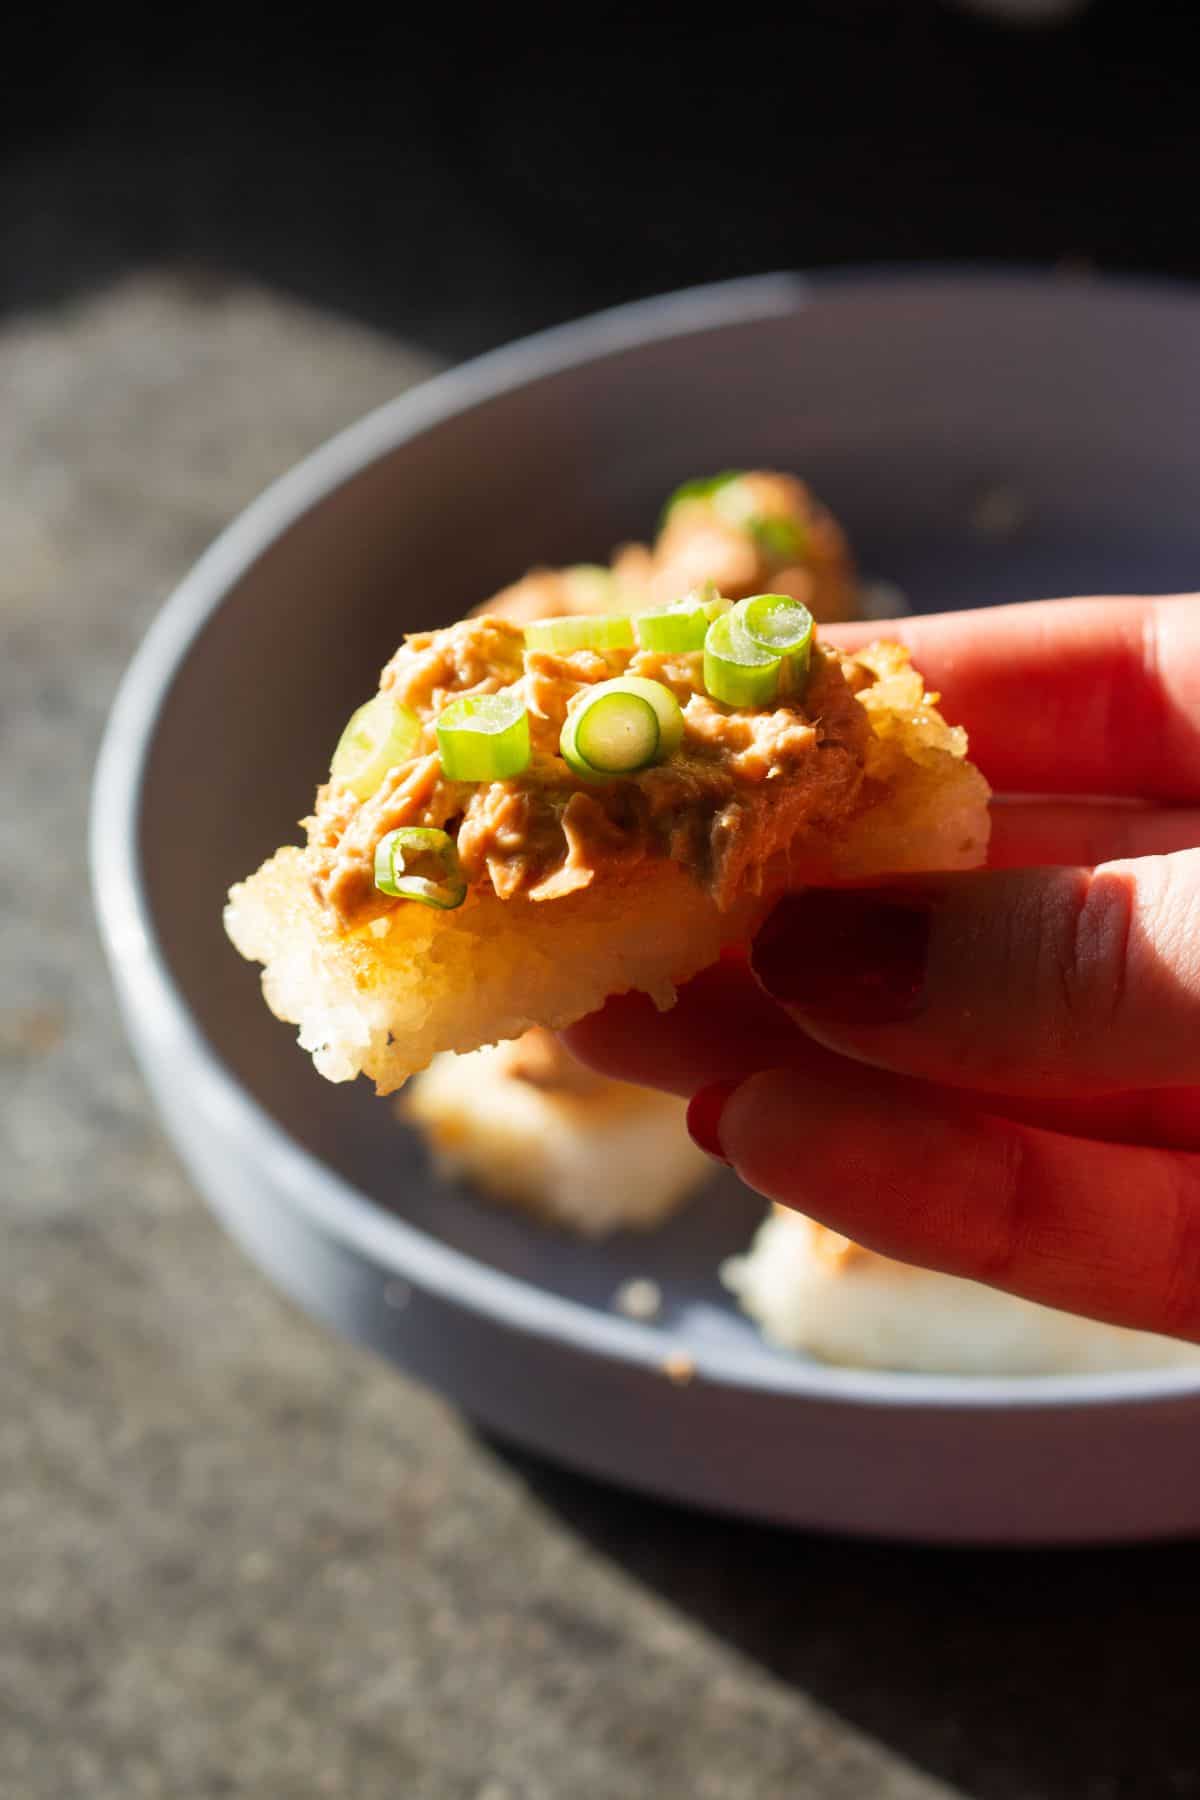
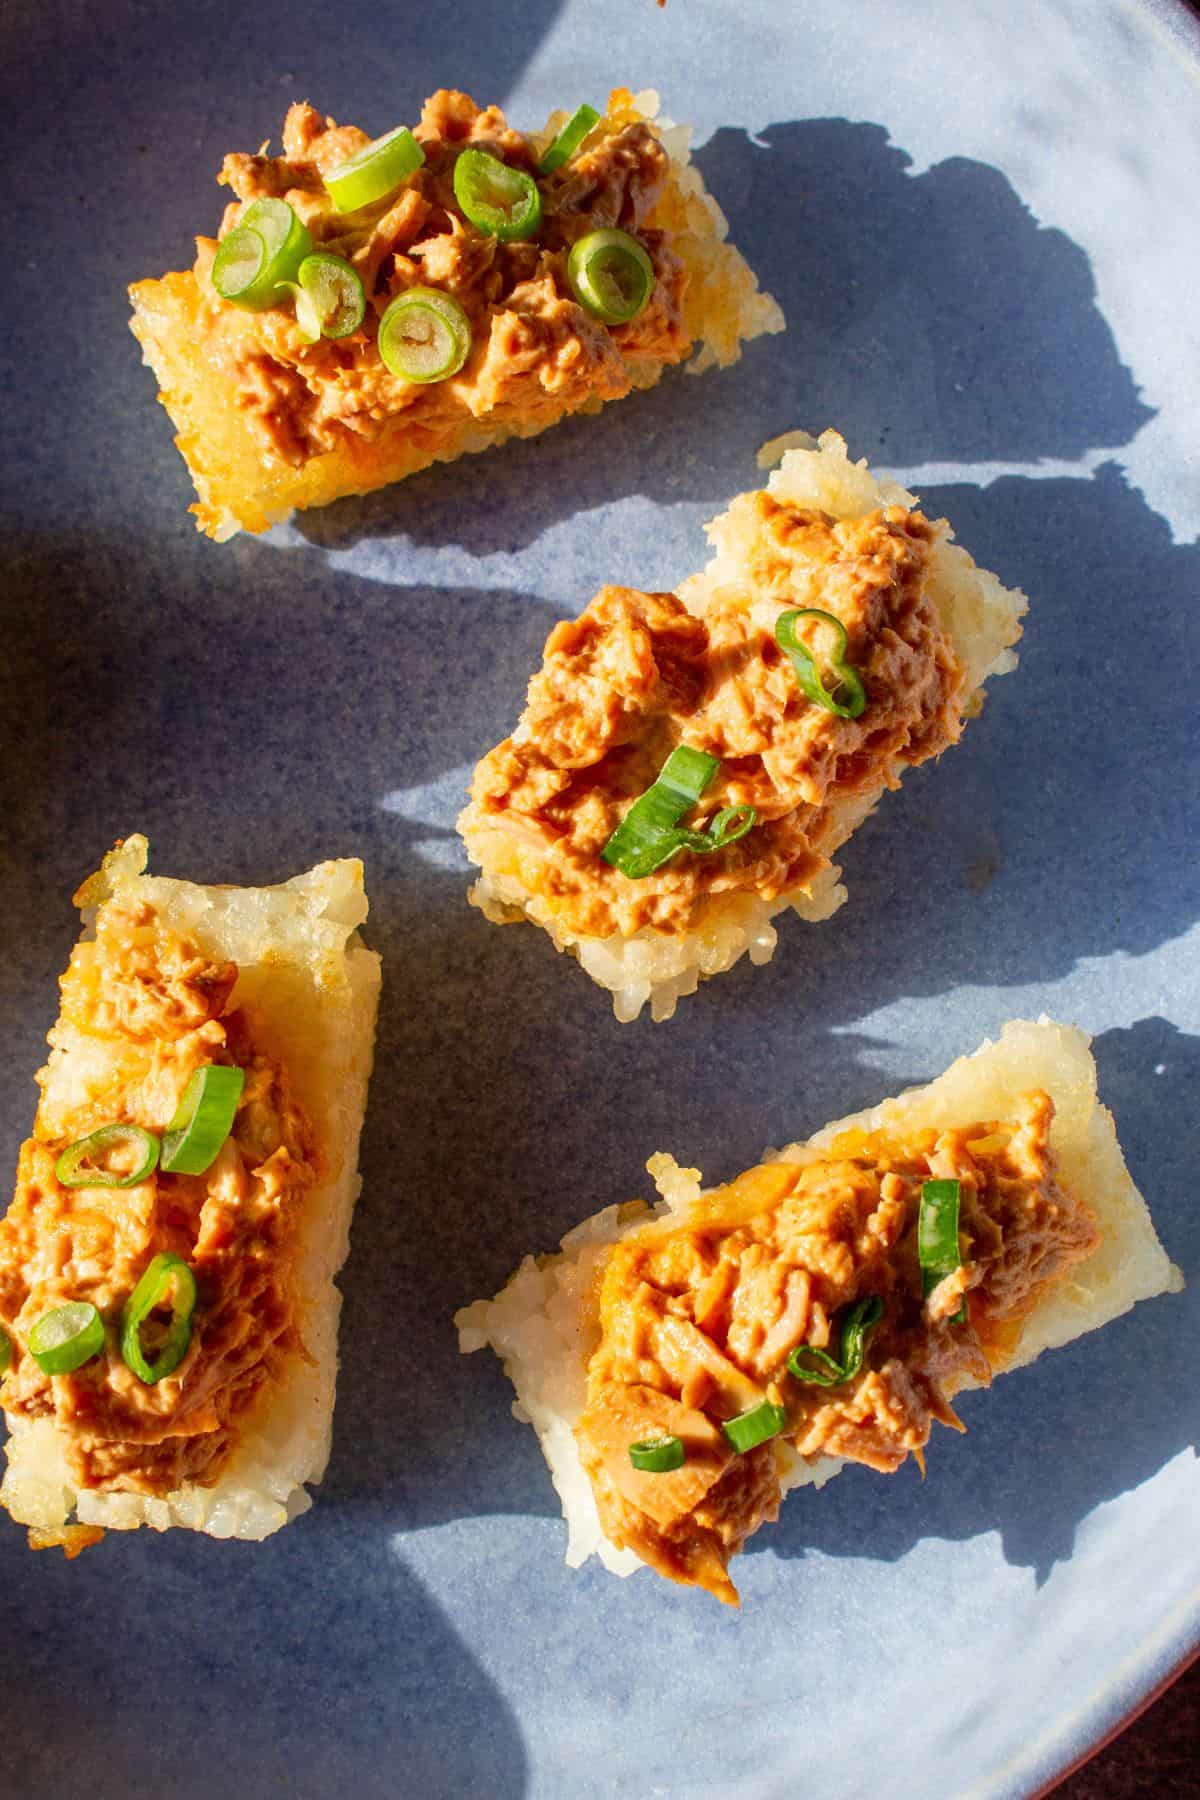
6. Top the crispy rice with the spicy tuna and garnish with the reserved spring onion. Delicious! (Image 6).
Tips and Tricks
- Once the sushi rice is cooked and cooled, using a flat spoon or heavy object, firmly press the sushi into the container until it is compact, this is key as you want the rice to stick together!
- Prep the tuna mix with the mayo, mayonnaise, soy sauce and rice wine vinegar. Adjust the amount of sriracha based on your desired level of spiciness. Mix well until the tuna is evenly coated with the sauce. Store separately until you are ready to fry the rice and serve.
- Carefully place the rice squares/rectangles into the hot oil and fry them until they turn golden brown and crispy on the outside for about 2-3 minutes per side. Use tongs to carefully flip them over and assemble with the tuna topping once cooled.
Other easy snacks for you to try after this one … Whipped Feta Dip with Harissa and Baked Buffalo Cauliflower Bites
Other rice recipes to give you inspiration …
- Easy Chicken and Chorizo Risotto
- Creamy Green Risotto with Crispy Bacon and Mushrooms
- Chicken and Chorizo Paella
FAQs
I would make this recipe fresh, as you want the rice to be crispy and tuna to be mixed into the dressing fresh out of the can. The spring onion would also get wilted as a topping.
If you wanted to replicate the spicy tuna with crispy rice, you could use smoked salmon sliced into little pieces instead of the canned tuna.
A substitute for tuna, that I love is smashed chickpeas so you could use 1 can, drained, rinsed and smashed to substitute the 2 cans of tuna.
If you tried this Spicy Tuna with Crispy Rice recipe it would be mean so much to me if you could leave a review & a star rating to let me know how you found it! I love hearing about your experiences – it motivates me to keep creating more and more recipes for you guys 💛 Let’s get cooking! – Mimi x
Spicy Tuna with Crispy Rice (Budget Recipe)

Ingredients
- 200 g sushi rice, cooked according to packet instructions (£2.12)
- 290 g (2 tins) drained tuna (£0.59x2)=(£1.18)
- 3 spring onion, thinly sliced (£0.40)
- 2 tbsp Sriracha (£1.80)
Cupboard Essentials
- 4 tbsp mayonnaise
- 1 tbsp rice wine vinegar
- 1 tbsp soy sauce
- 2 tbsp rapeseed oil
Method
- Start by seasoning the cooked sushi rice with a splash of rice wine vinegar and salt.
- Pour the rice into an 8 by 10 inch container. Using a wooden spoon, firmly press the sushi into the container until compact. Add foil onto the top of the container and continue to press. Pop in the fridge for a couple of hours or leave overnight.
- Next, remove the foil and flip the container onto a chopping board and tap until the rice falls out in one piece. Slice into around 20 pieces.
- In a mixing bowl, combine the tuna, sriracha, mayonnaise, rice wine vinegar and soy sauce. Also add ⅔ of the thinly sliced spring onion, reserving some for garnish later.
- Add rapeseed oil to a non-stick frying pan and increase the heat to high. In batches, fry the rice squares for 2 minutes (or until golden and crispy) on each side.
- Top the crispy rice with the spicy tuna and garnish with the reserved spring onion
Notes
- Using a flat spoon or heavy object, firmly press the sushi rice into the container until it is compact, this is key as you want the rice to stick together!
- Prepare tuna mix with mayo, soy sauce, rice wine vinegar, and adjust the sriracha for desired spiciness.
- Fry rice squares/rectangles in hot oil until golden brown and crispy for around 2 minutes on either side, then assemble with toppings once cooled.
Nutrition

- Weekly meal plans with a £20 budget
- 150+ exclusive recipes
- Personal dashboard
- Exclusive step by step videos
- Shopping list tools
- Advert Free experience