How to Make Homemade Butter
Jump to RecipeElevate your dishes (and slash your grocery bill while you’re at it!) with this simple homemade butter recipe. Honestly, the first time I made butter at home I couldn’t believe how easy it was – and how much better it tasted than anything from the shop. All you need when learning how to make butter is double cream, a hand mixer & about 10 minutes – then slather it straight onto sourdough for my Creamy Mushroom Toast.
Recipe Summary: Homemade Butter
- ✅ Recipe Name: How to Make Homemade Butter
- 🕦 Ready in: 10 minutes
- 🤝 Serves: 2
- 🍴 Calories: 63kcal
- 🧑🍳 Main ingredients: double cream, optional salt
- ✨ Summary: Learn how to make homemade butter in 10 minutes with one ingredient! Richer, creamier and cheaper than shop-bought – you’ll never go back.
Why you’ll love this recipe
If you’ve ever wondered how to make homemade butter, you’re in exactly the right place. And trust me, once you try it, you won’t go back. I started making my own butter a few years ago on a whim, and now it’s just part of how I cook.
- So easy: It only takes one main ingredient and about 10 minutes!! I promise this is one of the simplest things you’ll ever make in your kitchen. This Homemade Avocado Mayo Recipe is up there too!
- Cheap: It’s a great way to reduce your grocery bill, especially when you cook as much as I do! 300 ml of double cream will run you about £1.25 while buying a carton of butter will cost you about £2.50. For one of my favourite budget meals, try these Mango Sticky Noodles.
- Customisable: Another great note about this homemade butter recipe is that you can alter it based on your taste preferences. For example, you can turn this into an unsalted butter or salted butter recipe.
- You get a bonus ingredient: Ever heard of buttermilk? When you make butter at home, you get fresh buttermilk as a by-product – don’t throw it away! I save mine for pancakes, scones, or marinades.
This DIY butter is an excellent addition to breakfast dishes, like Healthy French Toast with Cinnamon, and Mini Pancakes with Biscoff.
Table of Contents
Ingredients for Homemade Butter
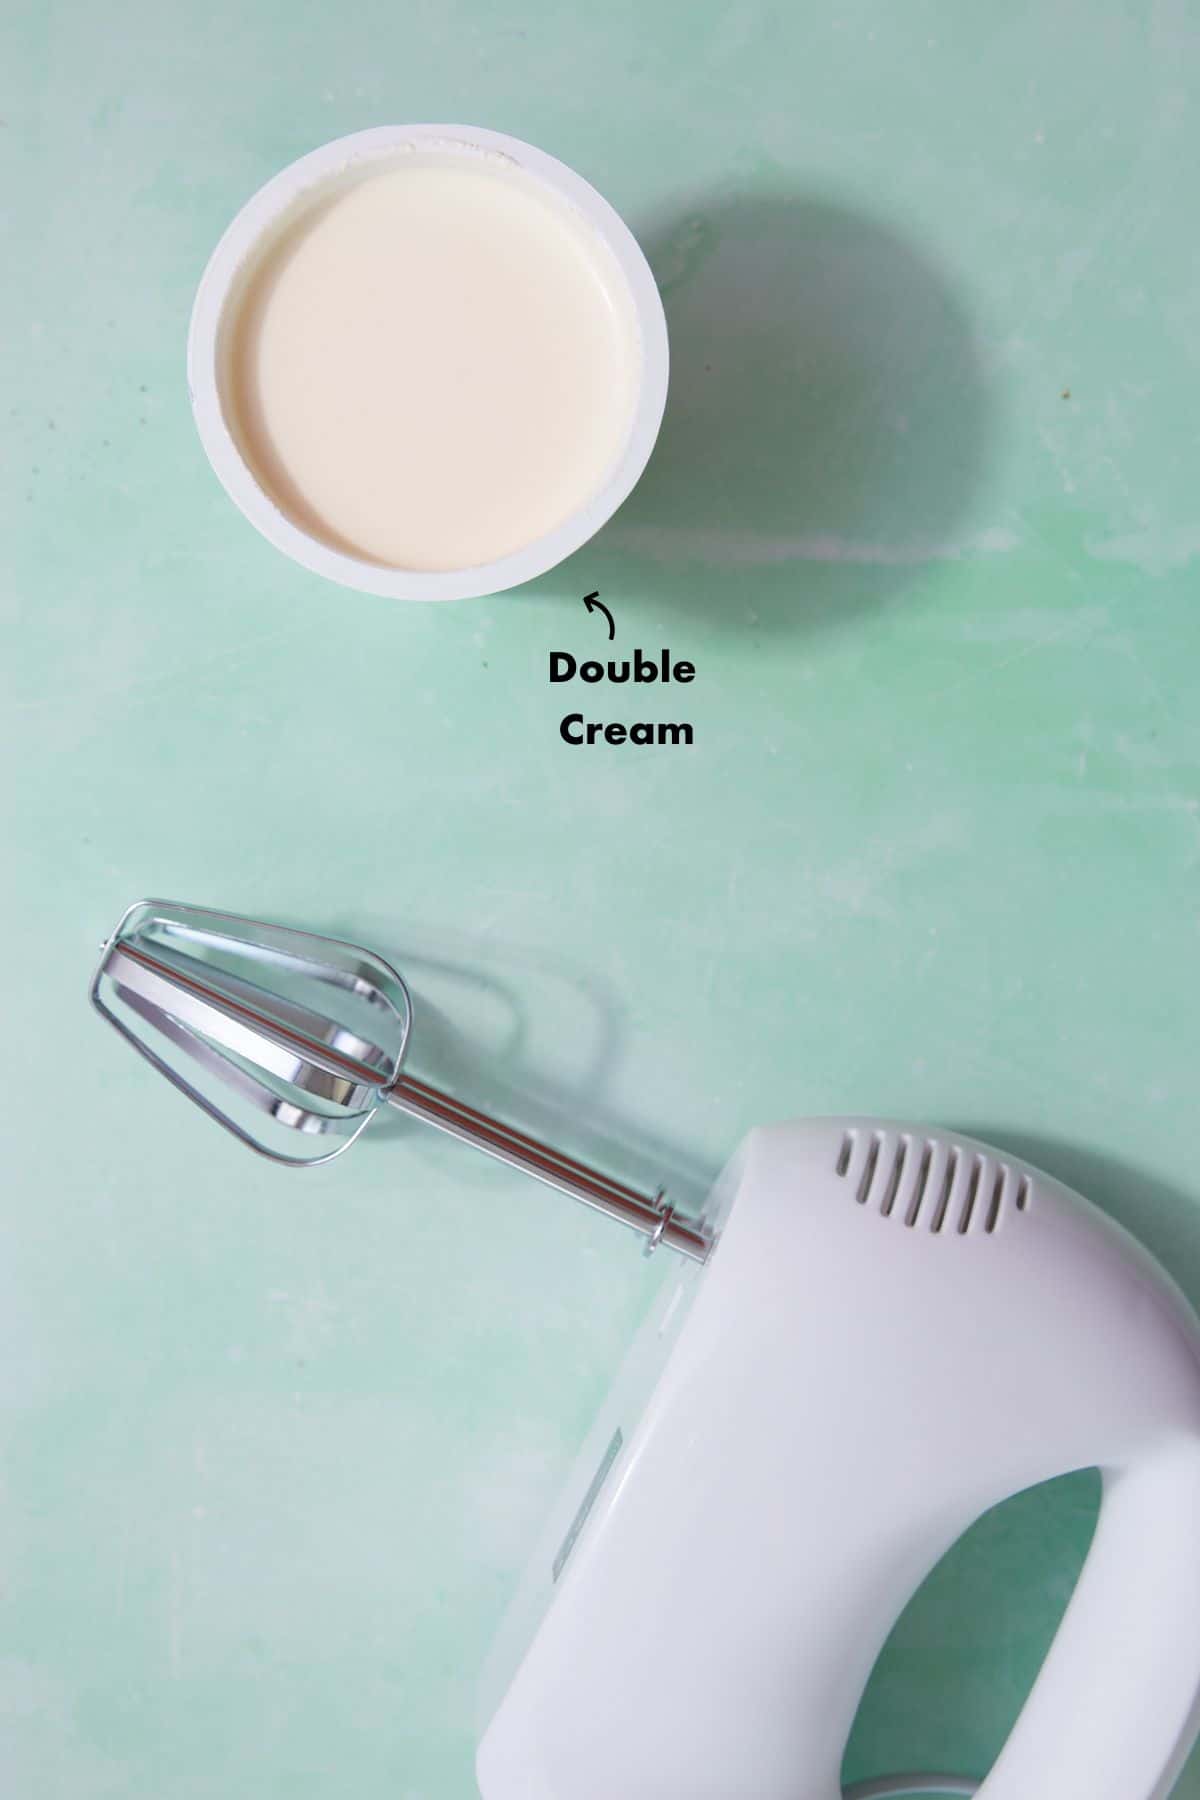
- Double cream: I prefer using double cream for homemade butter since it will yield 200g of butter (what you normally find at the store). You can also use heavy cream, heavy whipping cream, or whipping cream to make butter. Note: Depending on the type of dairy you use, you may need to whisk it for longer to create butter.
- Salt: Totally optional, but a few pinches make a difference to the final flavour when making butter recipes. Leave it out if you need unsalted butter for baking or something like this Cowboy Butter.
- Ice water: A small bowl of cold water with ice cubes helps firm up the butter and squeeze out the last of the buttermilk.
Variations/Adaptations
- Make it vegan: You can turn this recipe into a dairy-free/vegan butter by swapping the cream with unsweetened, unflavoured non-dairy milk. If you’re creating vegan butter, you’ll also need almond flour, coconut oil, neutral oil, apple cider vinegar, and turmeric (for colour).
- Make it salted or unsalted: This is the beauty of DIY butter – you’re in control. Knead in a pinch of flaky sea salt for salted butter, or leave it plain for unsalted, which is better for precise baking recipes like these Chocolate Protein Muffins.
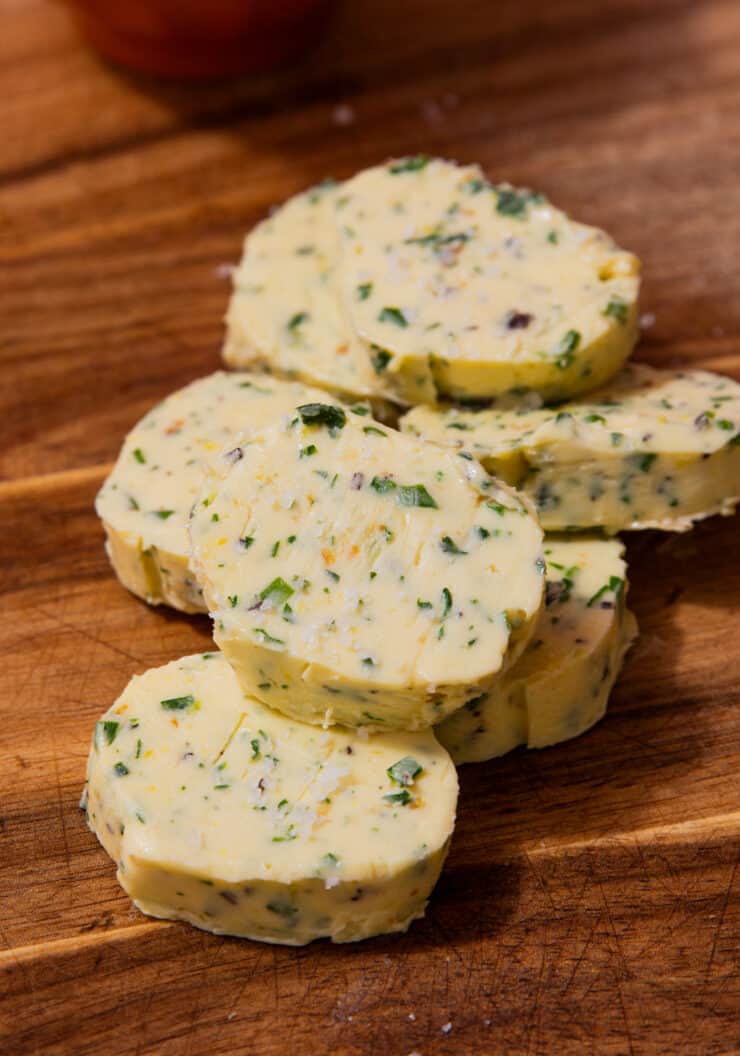
- Compound butter: Once your homemade butter is made, you can knead in anything you like, like fresh herbs, roasted garlic, lemon zest, chilli flakes. I love doing this for dinner parties – it looks impressive & takes about two minutes. This Healthy Buffalo Chicken Dip is another go-to.
How to make butter at home
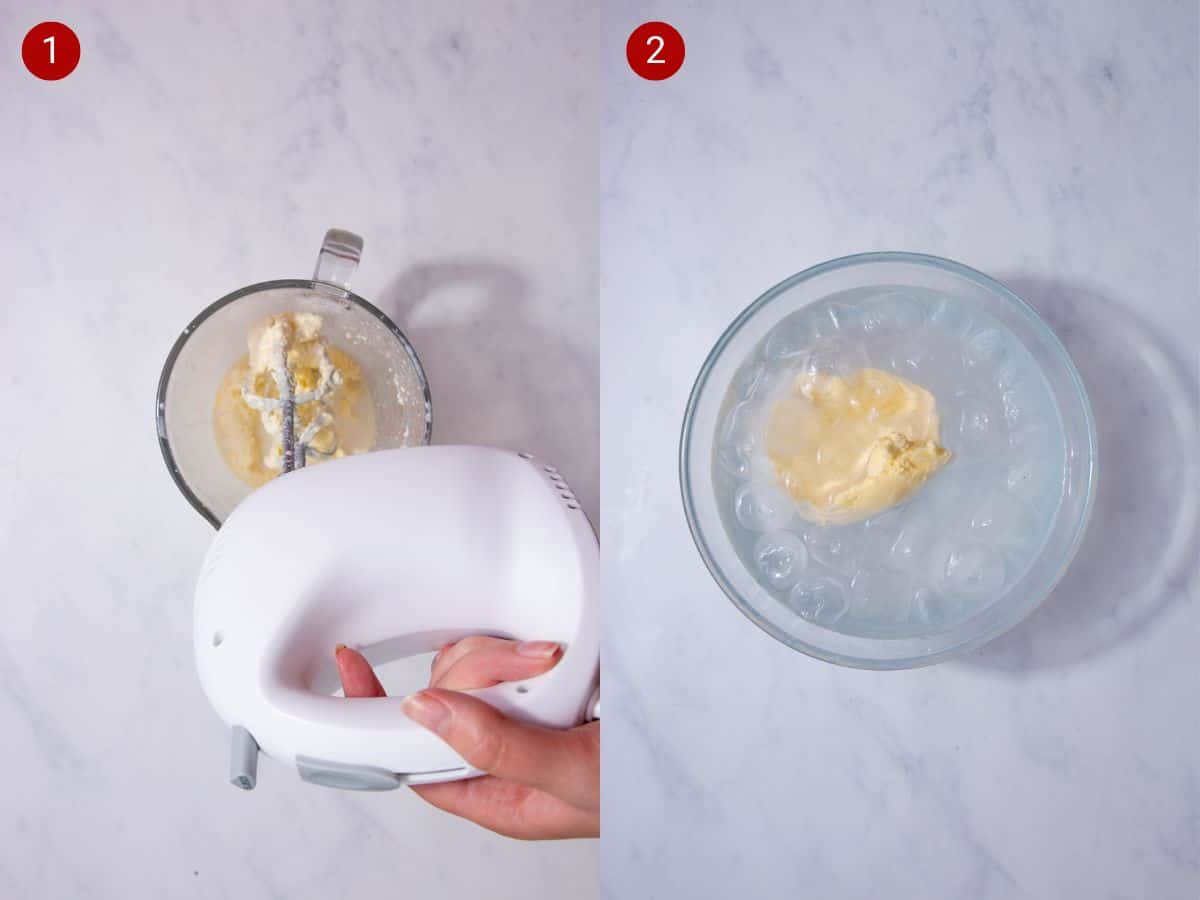
- Start by placing your cream into a tall, narrow jug/bowl/container. Wide enough so that your hand blender can still fit though of course! Whisk the cream for 7-8 minutes, you have to be patient here as it takes a while for the butter to separate from the buttermilk, but it will happen!
There will be a noticeable moment where the butter clumps around your blender and the separated liquid is the consistency of milk. Now it’s time to stop blending and pour the contents of the jug through a fine-mesh sieve. Make sure you place a bowl underneath to catch the buttermilk to use separately (Image 1). - Place the butter into an ice bath (bowl with water and ice cubes) (Image 2).
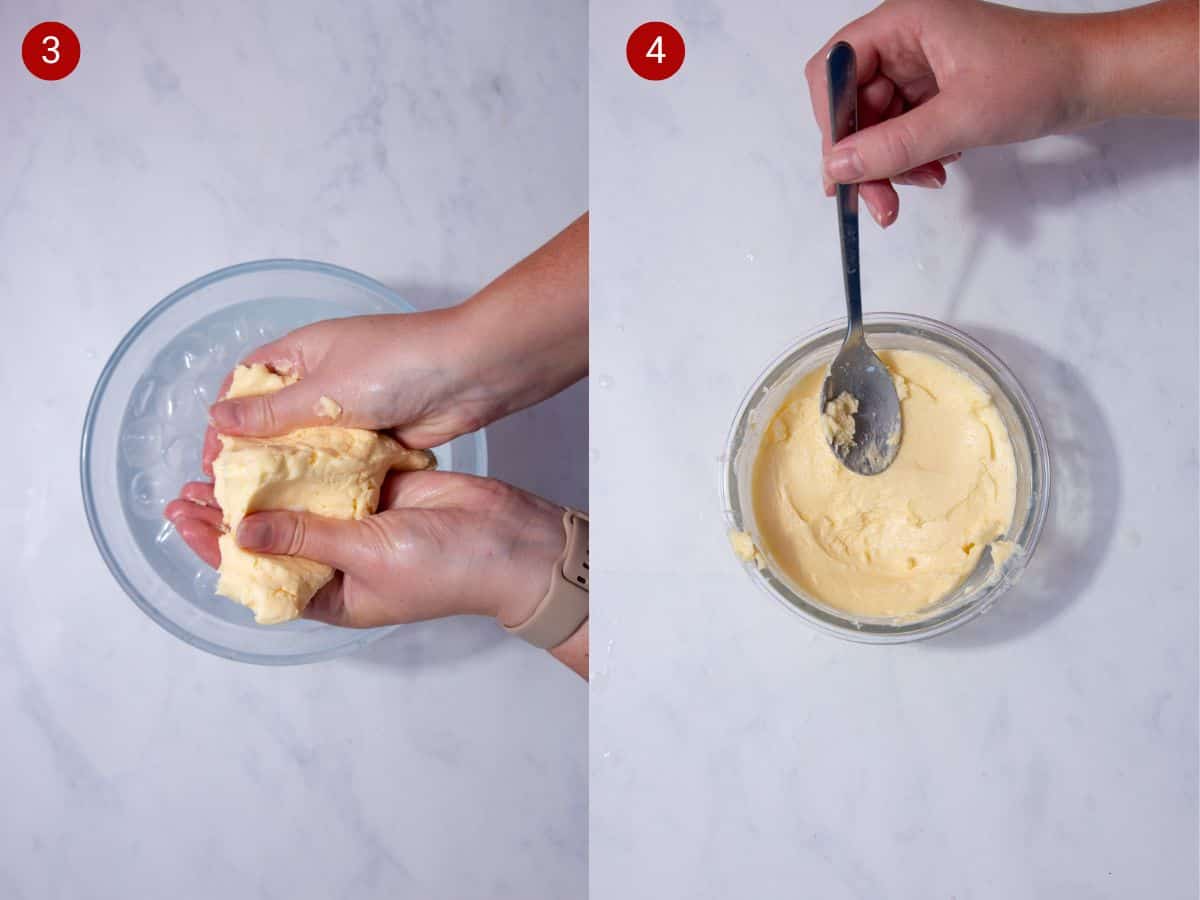
3. Use your hands to squeeze the butter and form into a ball. This will separate the last of the buttermilk in butter (Image 3).
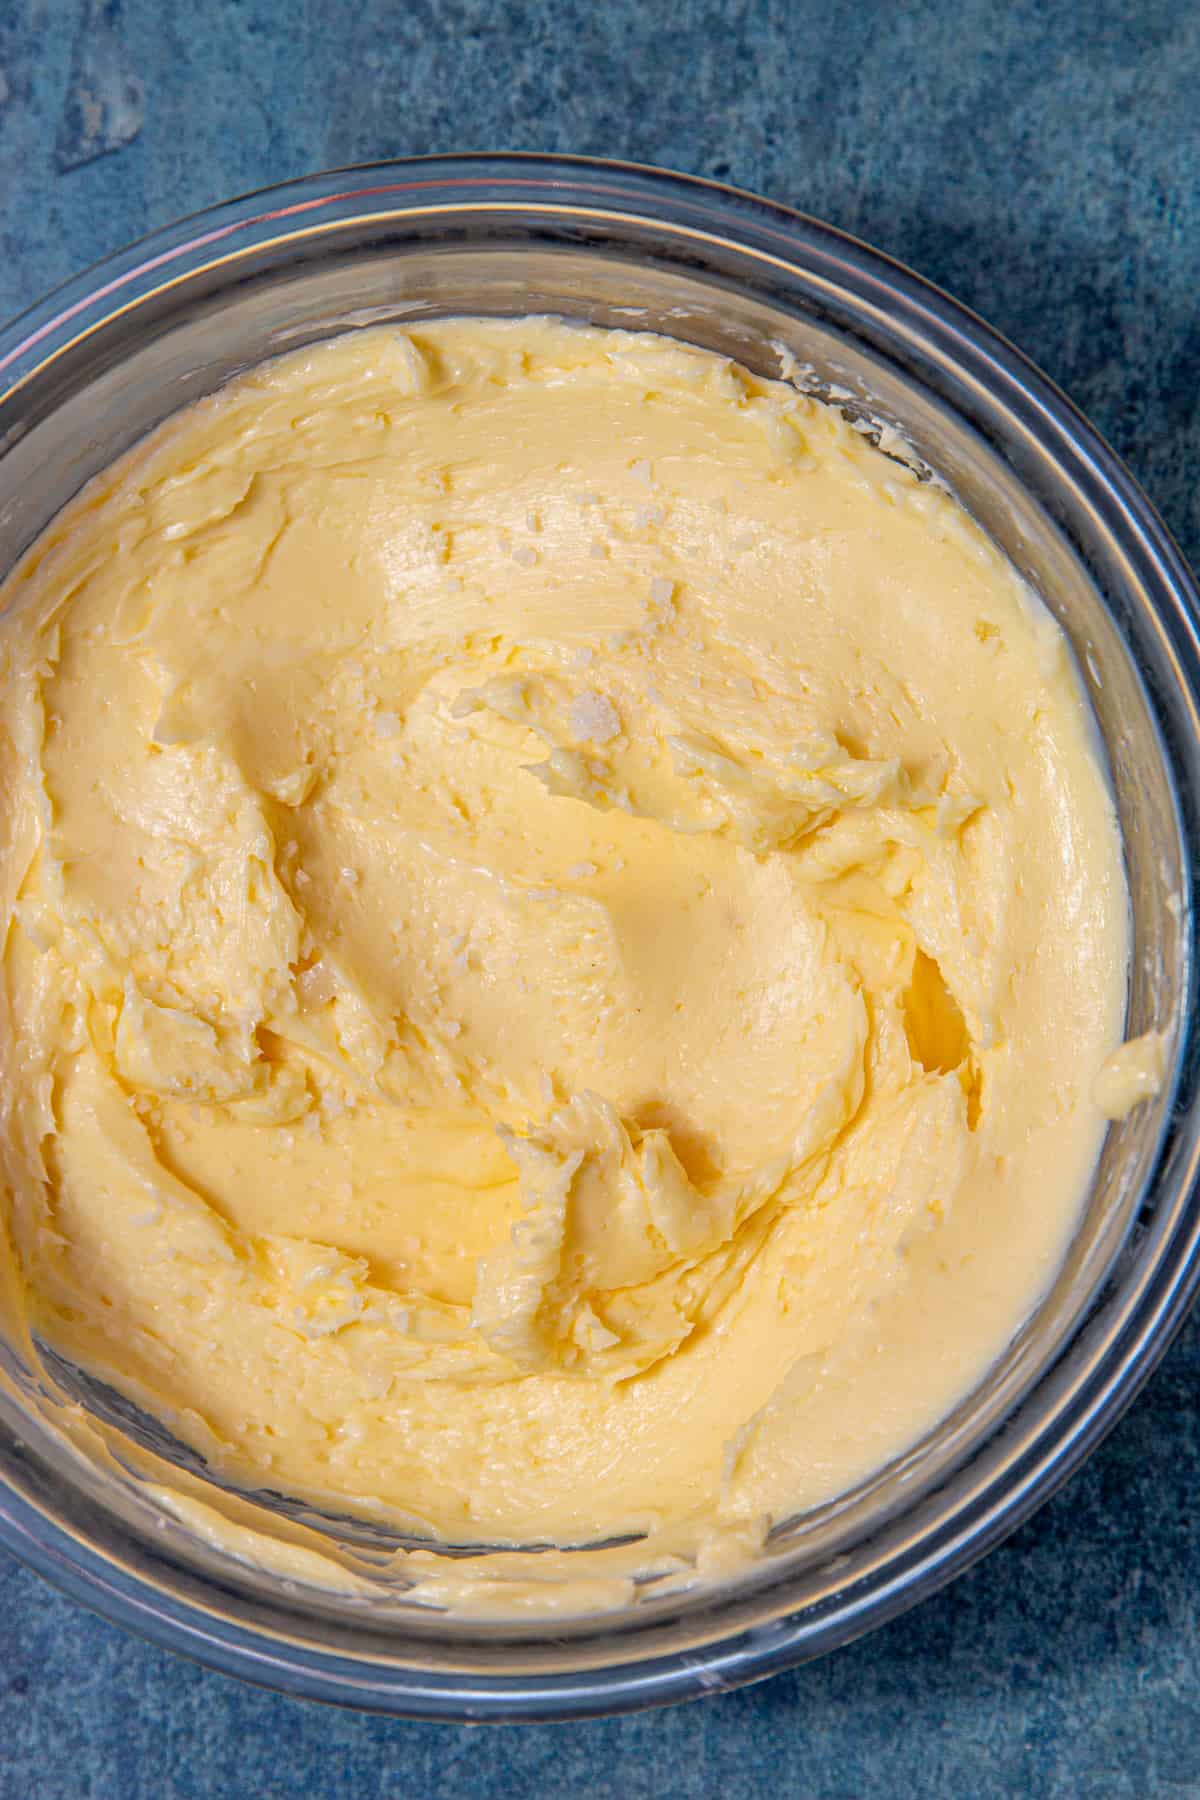
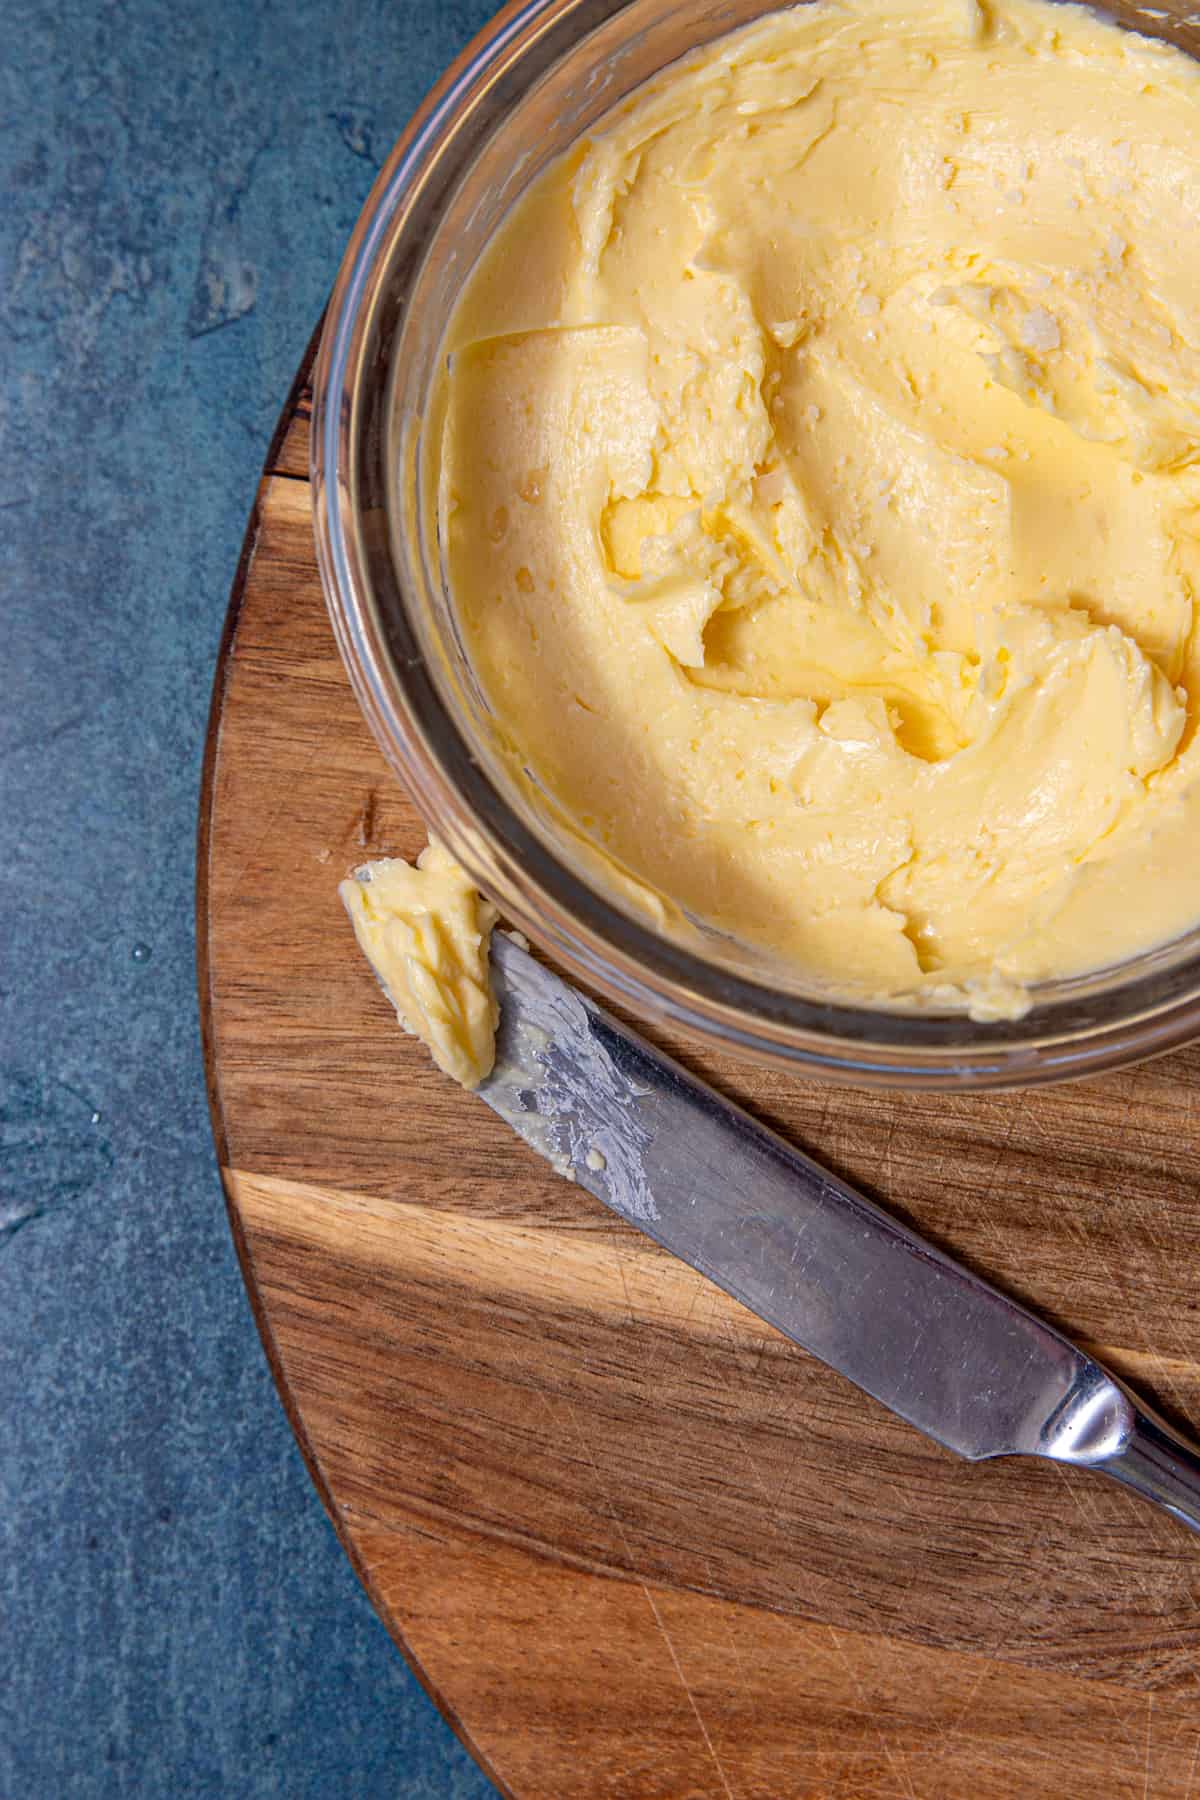
4. Add to a sealable container and spread to form the base. Add an optional extra sprinkle on top and store in the fridge (Image 4).
Optional – season your homemade butter with salt by adding a few pinches of salt and then kneading it gently into the butter. Serve with a fresh loaf of bread and enjoy!
For homemade seasonings, check out The Best Collard Greens Seasoning, Homemade Nando’s Seasoning (Easy Peri-Peri Spice Mix), and The Ultimate Pork Chop Seasoning.
Tips for the best result
- Homemade butter can be a messy recipe, as it’s easy for the liquid to splatter around the kitchen. Avoid extra cleanup by using a stand mixer with a splatter guard.
- Knead/squeeze the butter in ice water until clear. This step is essential for separating the butter milk from the butter. Ensure you keep needing and squeezing the butter until the water is clear before moving on to the next step.
- If you’ve ever wondered how do you make butter that keeps longer, ensure you wash the butter well in water to remove any foreign matter.
- Right before placing your butter in an airtight container, add fresh herbs, salt, or other flavourings, like I do in The BEST Compound Butter For Steak.
- Don’t throw away the buttermilk! Save the liquid you strain off! That’s real fresh buttermilk & it’s brilliant for making pancakes, scones, or even marinating chicken. I keep mine in a jar in the fridge for up to a week.
- If your fresh butter is at the end of its fridge life, you can use it to make homemade whipped cream. You’ll need to use whole milk, powdered sugar, and vanilla. Combine melted butter with whole milk, add the remaining ingredients, and whip until you have whipped cream.

What Equipment Do You Need to Make Butter at Home?
I usually reach for my hand mixer as it’s what I have on the counter, it’s quick, and it does the job perfectly for a small batch. But over the years I’ve tried a few different methods, and here’s the honest truth about each one.
A stand mixer is great if you’re making a larger batch of homemade butter and don’t want to hold anything – just set it and keep an eye on it. A food processor is actually the fastest method of all – the blades get through the cream in under 5 minutes, which is handy when you’re short on time. A blender can work too, but use short pulses and don’t walk away from it. And yes, you can make butter by shaking cream in a sealed mason jar – it works, it’s fun to do with kids, but your arms will ache. A lot. Stick to the mixer.
The one thing that matters more than which gadget you use is that your cream is cold. Room temperature cream takes much longer to separate and the results aren’t as good. Go straight from the fridge every time.
What cream do I need to buy to make homemade butter?
I prefer using double cream for homemade butter since it yields the same amount as in one carton from the grocery store. In the UK, double cream is the easiest to find and gives you a lovely creamy result. If you’re in the US, heavy cream or heavy whipping cream works just as well – you can look for one with at least 36% fat content. The higher the fat, the better and faster the butter comes together.
Serving Suggestions
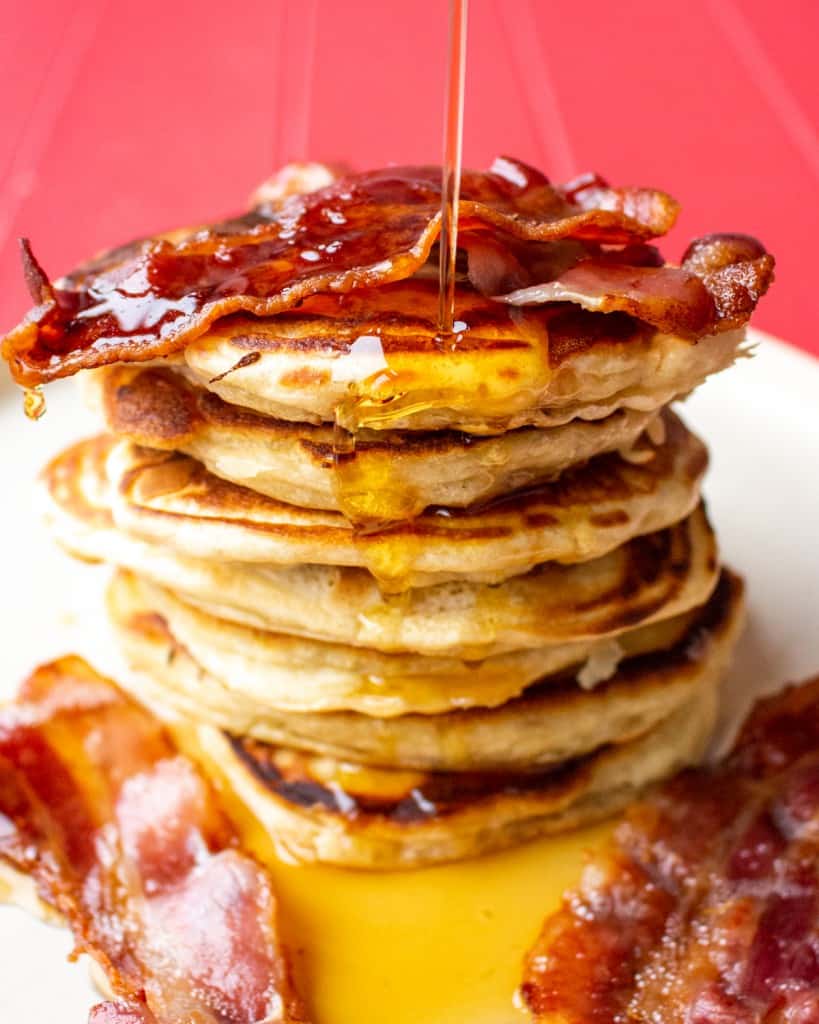
Fresh homemade butter goes on EVERYTHING & I don’t mean that loosely. Melted over a stack of fluffy American pancakes with crispy bacon, it’s an instant upgrade. Stirred into a pan sauce for garlic butter chicken while the butter’s still cold, it makes the sauce super glossy in a way that shop-bought just doesn’t. And for baking – honestly, once you’ve made your own, you won’t want to use anything else. It goes into easy brownies so well, and the difference in a batch of gooey flapjacks is def noticeable. Even something as simple as chocolate tiffin tastes so much better when you know exactly what went into it.
Leftover Storage and Reheat Instructions
Refrigerator: Store your homemade butter in an airtight container in the fridge for up to 3 weeks. Make sure you’ve squeezed out as much buttermilk as possible first as any leftover liquid will shorten how long it keeps.
Freezer: Homemade butter freezes really well for up to 3 months. I like to roll mine into a log using cling film, then I can just slice off what I need straight from frozen.
Reheat: No need to reheat, just move it to the fridge the night before you need it and let it thaw slowly. For baking, you can grate it straight from frozen if a recipe calls for cold butter.
Homemade Butter FAQs
From start to finish, you’re looking at around 10-15 minutes, including the washing and shaping. The actual mixing takes 7-8 minutes with a hand mixer, or as little as 4-5 minutes with a food processor.
Yes! A hand mixer is one of the easiest ways to make homemade butter, and it’s what I use most often. Use a deep, narrow bowl to keep the splatter under control, and whisk on high speed until the cream separates, which is usually around 7–8 minutes.
Yes, creating homemade butter helps cut down the cost by about half (depending on the butter you usually reach for at the grocery store).
Yes, it’s worth making butter at home! It allows you to season the butter to your taste preference. Plus, you can adjust the salt content to your needs.
Once you make butter, you can keep it in the fridge for about 2-3 weeks. If you aren’t eating it quickly enough, you can also freeze it for up to nine months.
If you like making your own sauces & dipping sauces, try My Secret Peppercorn Sauce for Steak, Easy Gyoza Dipping Sauce {In Just 5 Minutes!}, Low Sugar BBQ Sauce Recipe, and Best Miso Dressing Recipe.
Explore more buttery desserts

If you tried this Homemade Butter recipe, it would mean so much to me if you could leave a review & a star rating to let me know how you found it! I love hearing about your experiences – it motivates me to keep creating more and more recipes for you guys 💛 Let’s get cooking! – Mimi x
Homemade Butter

Ingredients
- 300 ml double cream (£1.25)
Cupboard Essentials
- Pinch of salt
Method
Note: This yields 200g of butter
- Start by placing your cream into a tall, narrow jug/bowl/container. Wide enough so that your hand blender can still fit though of course!
- Whisk the cream for 7-8 minutes, you have to be patient here as it takes a while for the butter to separate from the buttermilk, but it will happen!
- There will be a noticeable moment where the butter clumps around your blender and the separated liquid is the consistency of milk. Now it’s time to stop blending and pour the contents of the jug through a fine-mesh sieve. Make sure you place a bowl underneath to catch the buttermilk to use separately.
- Place the butter into an ice bath (bowl with water and ice cubes) and use your hands to squeeze the butter and form into a ball. This will separate the last of the buttermilk in butter.
- Optional- season your butter with salt by adding a few pinches of salt and then kneading it gently into the butter.
- Add to a sealable container and spread to form the base. Add an optional extra sprinkle on top and store in the fridge.
Notes
- Utilize a splatter guard when making homemade butter to prevent messy splattering during the process, especially when using a stand mixer.
- Separate butter and buttermilk by kneading and squeezing the butter in ice water until the water becomes clear, ensuring complete separation.
- Thoroughly wash the butter in water to eliminate any foreign particles, contributing to its longevity and quality.
- Incorporate seasonings like fresh herbs, salt, or other flavorings into the butter before storing it in an airtight container to enhance its taste.
Nutrition

- Weekly meal plans with a £20 budget
- 150+ exclusive recipes
- Personal dashboard
- Exclusive step by step videos
- Shopping list tools
- Advert Free experience