
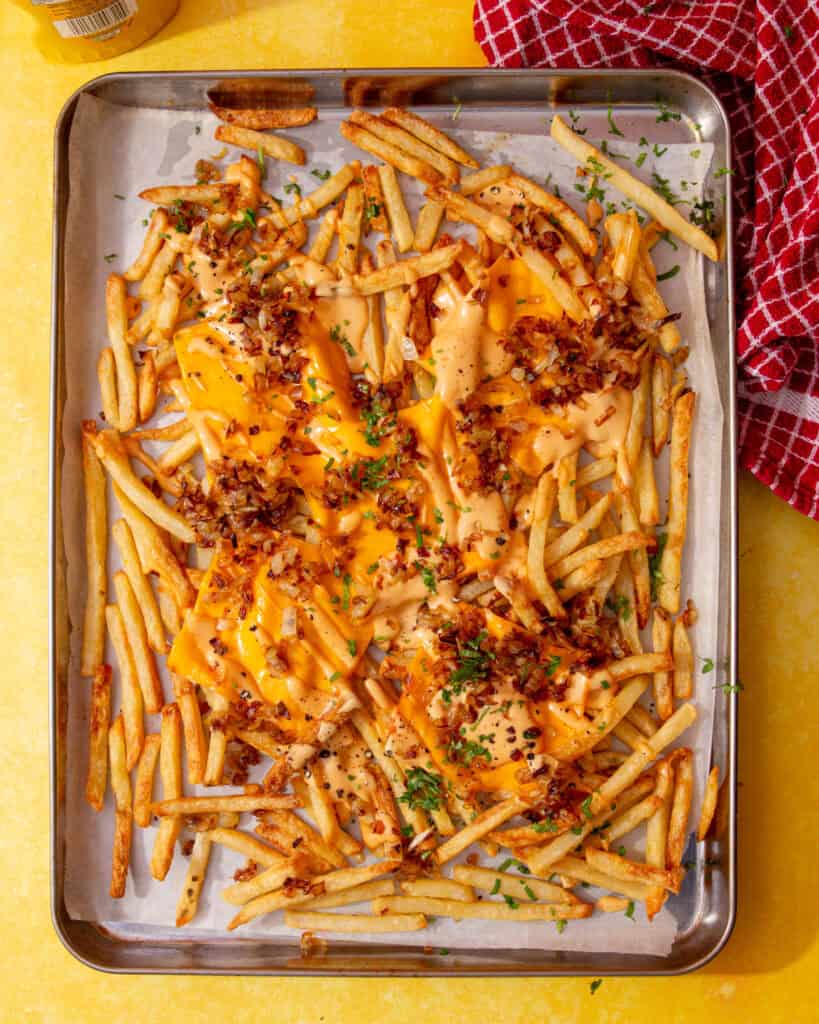
Crispy Garlic Fries at Home
Jump to RecipeIf you love a salty, seriously garlicky side dish, these garlic fries are it. Crispy outside, wonderfully buttery inside, and finished with parmesan and fresh parsley, this garlic fries recipe is ready in less than 30 minutes and makes an amazing quick snack or the perfect side dish with my Chicken Patties in Airfryer.
Why you’ll love this recipe
Garlic fries are quick, crisp, and just absolutely packed with flavour.
- Fast and easy: We’re keeping things simple by using frozen fries – it’s the ultimate hack! You’ll go from oven to table in less than 20 minutes, similar to my favourite Baked Camembert.
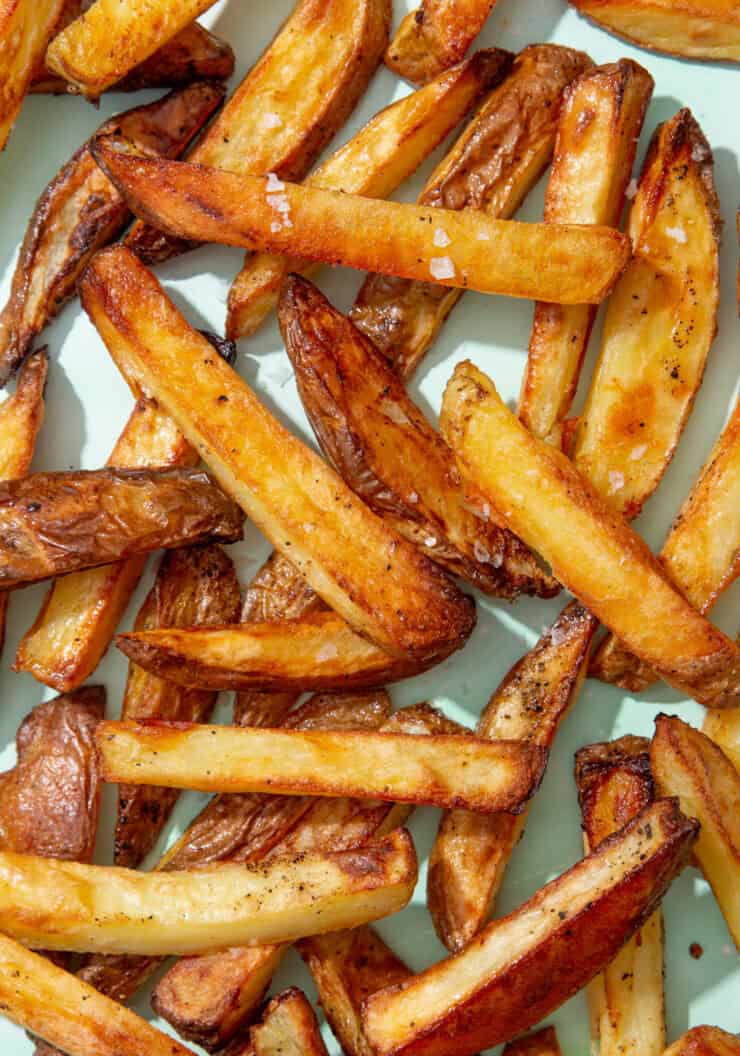
- Crispy texture: A super-hot oven and giving the chips space on the tray helps those garlic french fries stay perfectly crisp. Tossing them hot in garlic butter seals the deal!
- Bold flavour: Garlic, butter, and parmesan bring a gorgeous, zesty finish. If you’ve ever wondered how to make garlic fries that truly taste like fast food (but better!), this is it! Pair them with the Ultimate Grilled Cheese Burger and you’re set.
Try the fries with one of these dips: Whipped Feta Dip with Harissa, Easy Tzatziki, Knorr Spinach Dip.
Table of Contents
Ingredients

A few easy basics are all we need to create the ultimate garlic fries. We’re keeping it simple and budget-friendly!
- Fries: Use frozen fries for maximum speed, it’s the quickest hack! Or feel free to chop your own if you’ve got the time. Either way, we’re chasing those super crisp edges that everyone loves, just like in my Easy Burger Bowls.
- Garlic: Finely chop or grate it super fine so it blends perfectly into the butter and coats every single fry evenly. In fact, this is the punchy flavour base I use in my Garlic Parmesan Chicken Pasta too!
- Parmesan or Pecorino: This is the magic touch! The cheese melts over these homemade garlic fries and gives them that perfect salty, zesty finish. For the best results, grate it fine so it spreads evenly.
See the recipe card for full information on all ingredients and quantities.
Variations/ Adaptations
There are loads of super-quick ways to adjust these garlic fries, and I love to change things up depending on what I’ve got in the cupboard.
- No garlic: If you’re out of garlic or don’t love the flavour, you can still make this! Instead, use a little truffle oil or truffle paste for an indulgent savoury twist on this garlic fry recipe. It tastes incredible.
- Make your own fries: If you’re feeling fancy or you’ve got some potatoes that need using up, totally slice and bake fresh potatoes if you want to go from-scratch.
- Spicy: Throw some chilli flakes into the garlic butter, or drizzle with a little hot honey right before serving for a sweet-spicy kick, which would also be perfect with this Tender Cast Iron Chicken Breast.
- Loaded fries: Finally, for the ultimate indulgence, melt some extra cheese over the garlic frites and sprinkle over some crispy bacon pieces for a proper loaded version. You won’t regret it!
How to make Crispy Garlic Fries
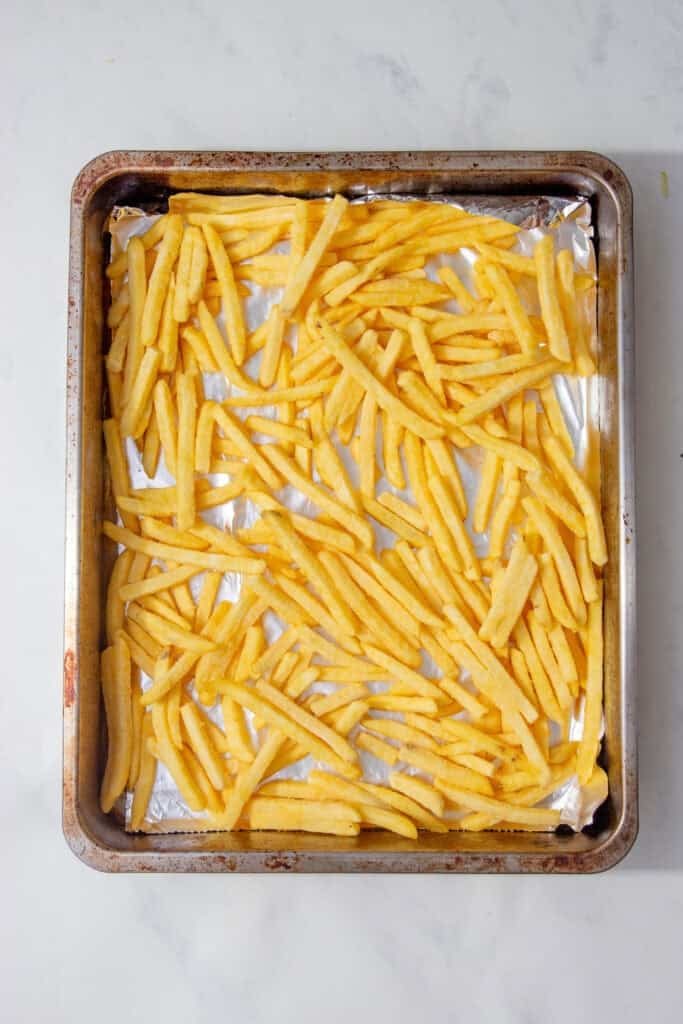
Step 1: Preheat your oven to 200°C (400°F) or follow your packet’s directions. Then, spread frozen fries evenly on a foil-lined baking tray.
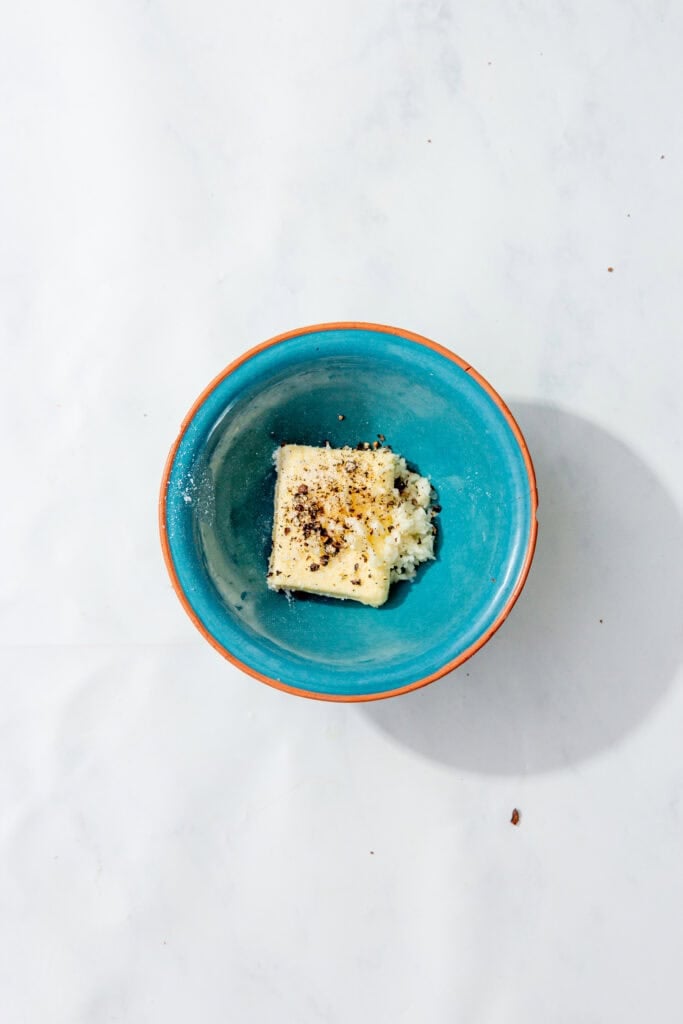
Step 2: In a small microwave-safe bowl, combine butter, minced garlic, salt, and pepper.
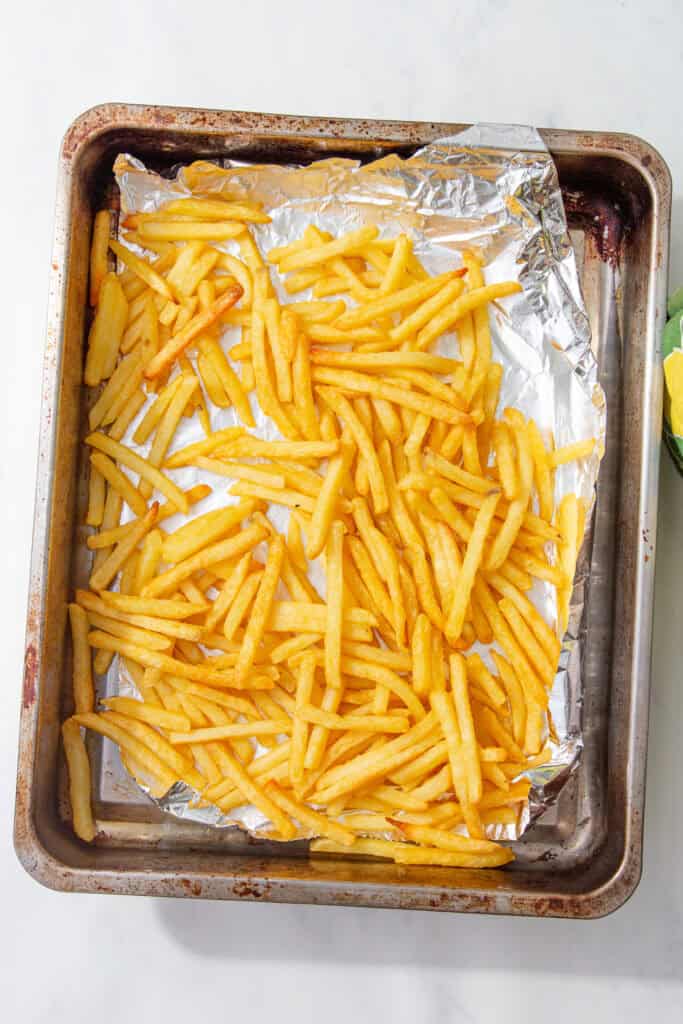
Step 3: Bake the fries for 12-18 minutes, or until golden and crisp.
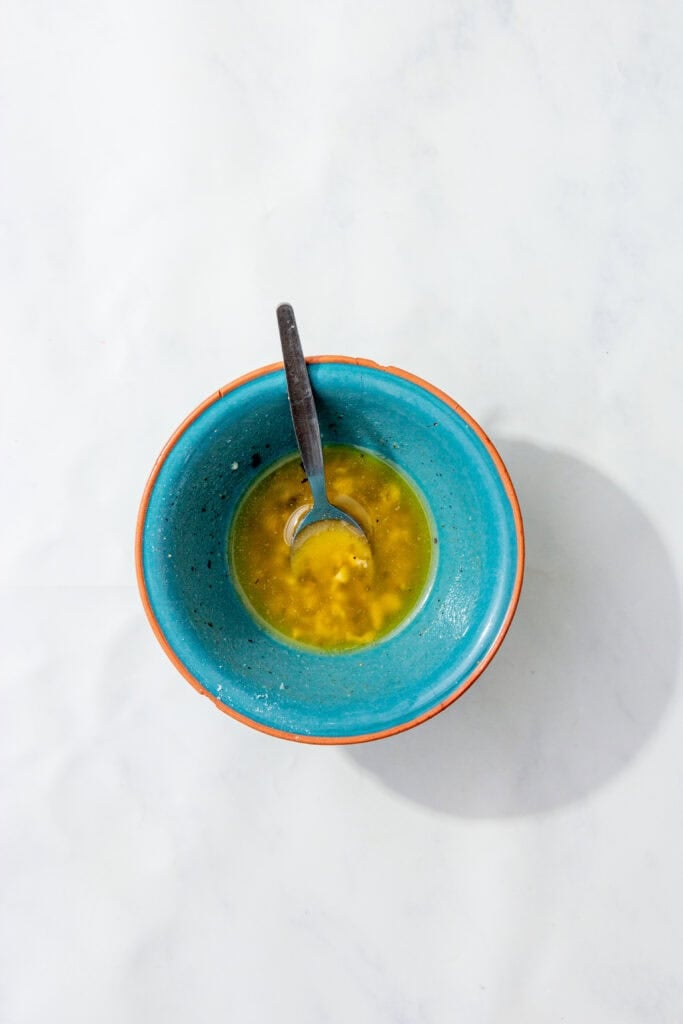
Step 4: While the fries bake, microwave the butter mixture for about 1 minute, stirring halfway through, until melted and fragrant.

Step 5: Transfer the hot fries into a large mixing bowl. Pour over the melted garlic butter and toss gently to coat the fries evenly.

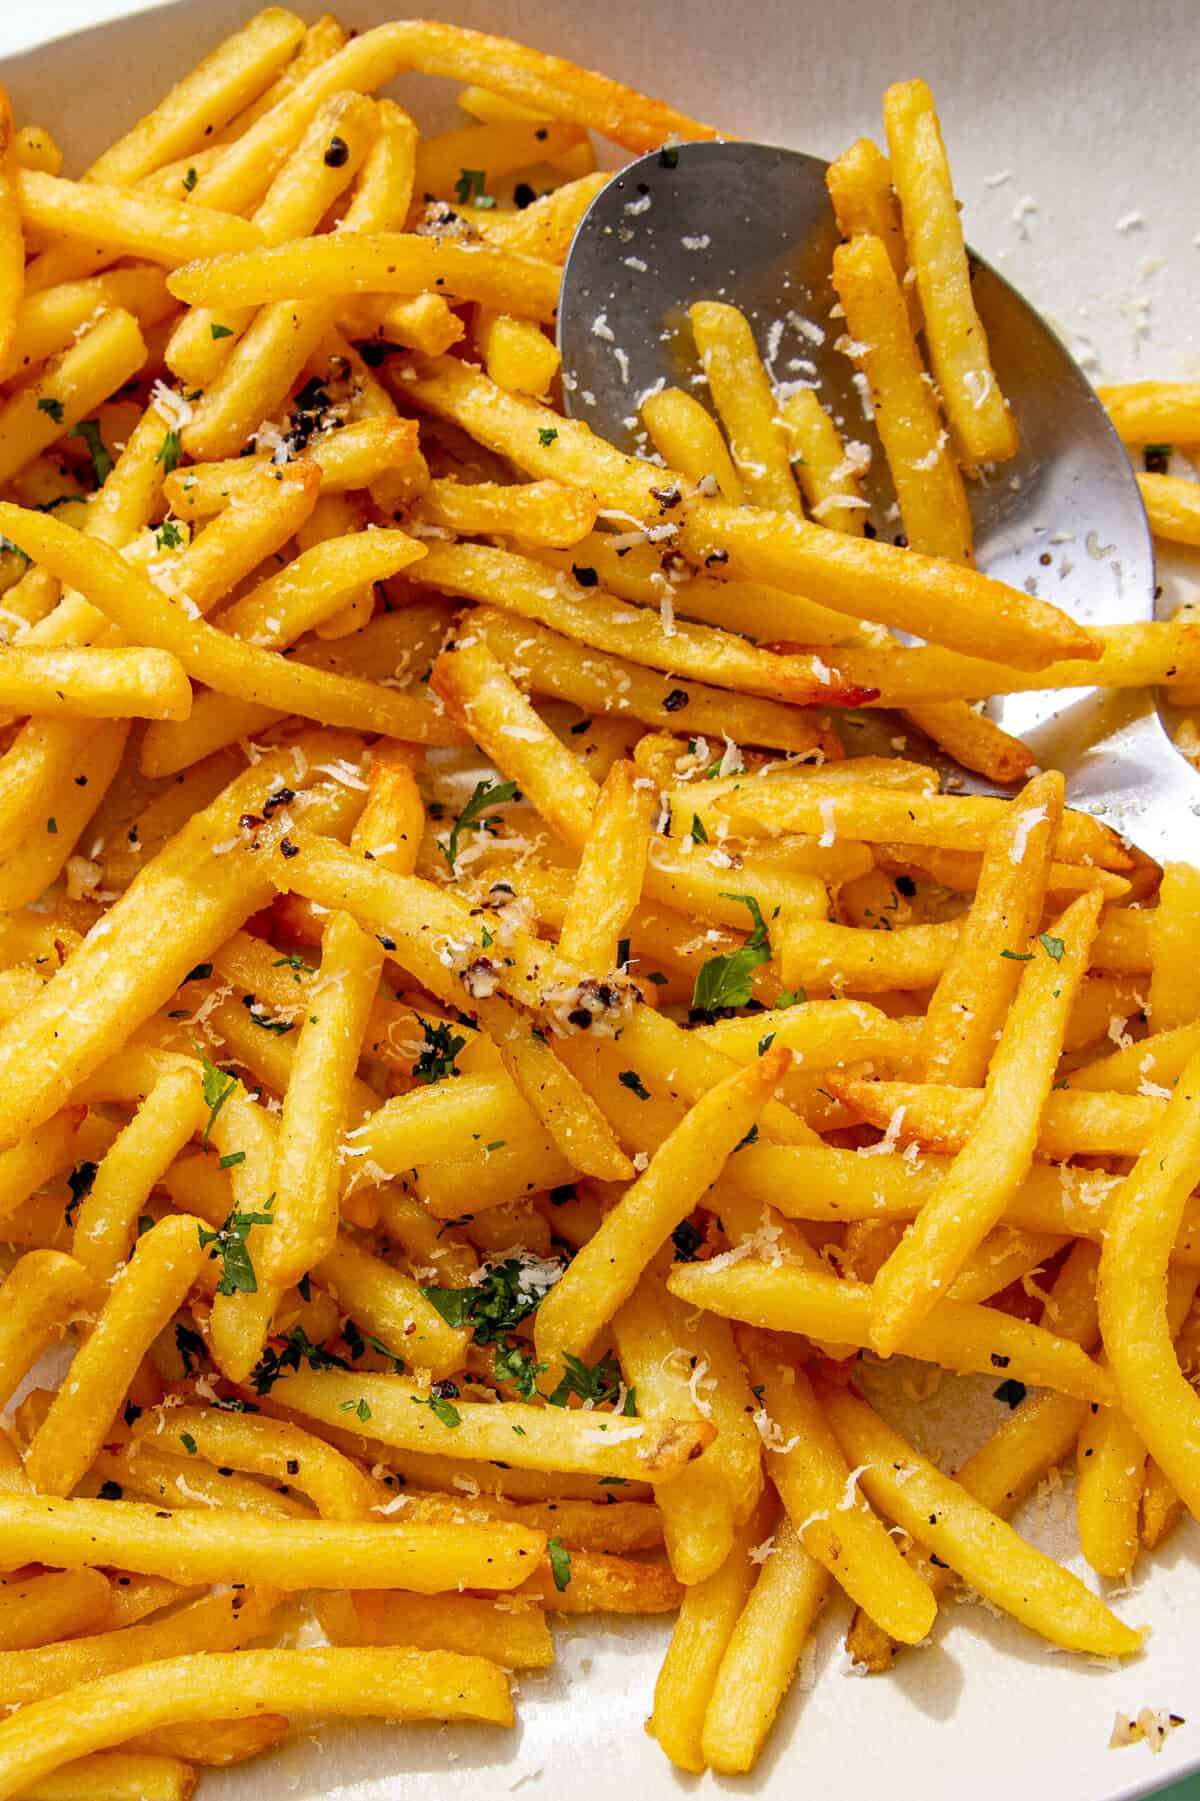
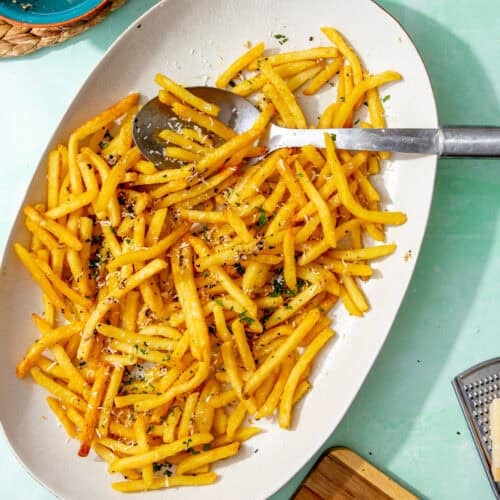
Step 6: Serve your garlic fries on a platter and finish with grated parmesan, chopped parsley, and a sprinkle of salt and pepper. Enjoy!
You can serve the fries with main dishes like Amazing Air Fryer Steak Bites with Garlic Butter, The Best Halloumi Burger or Crispy Pork Schnitzel Recipe.
Tips for the best result
- Salt the garlic fries the second they come out as seasoning sticks best when they’re piping hot!
- Adjust the garlic quantity according to your preference. I found that 3 medium cloves was the sweet spot for this garlic french fries recipe!
- Finely grate the parmesan for the best distribution. And feel free to use leftover parmesan to make Crispy Smashed Broccoli with Parmesan – SO good.
- Spread the fries evenly on the baking tray so they turn crispy. If you’re asking how do you make garlic fries stay crisp, this step is non-negotiable!

Serving Suggestions
Garlic fries work for literally anything! They can be great as a side, a quick snack, or even a sharing plate when you have friends around. I love to serve garlic fries with burgers, some simple grilled chicken, a big salad, or just some yummy dips for balance.
Try them with:
Leftover Storage and Reheat Instructions
Refrigerator: Just pop the leftover garlic fries in an airtight container for up to 2 days. That way, they’ll stay fresh and ready for a quick snack later. Easy!
Freezer: Honestly, I don’t recommend freezing this french fries recipe. They just lose that essential crunch we worked so hard for, so try to eat up this easy side dish within 48 hours.
Reheat: The best way to get that crunch back is in your Air Fryer or oven! Heat them at 180°C for about 5-7 minutes until they are piping hot and perfectly crisp again.
Recipe FAQs
Essentially, garlic fries are regular chips tossed with beautiful melted butter, loads of fresh garlic, and often finished with parsley or parmesan cheese. In fact, you’ll also hear them called garlic frites in some places, but they’re the same thing!
Absolutely, you can! If you want to go totally from-scratch, slice your potatoes, parboil them, then dry them really well, and bake them off before tossing for those amazing homemade fries.
They are super flexible! They pair perfectly with creamy dips like aioli or ranch, but this recipe for garlic fries is super flexible and genuinely goes with everything.
Use hot baking trays, make sure you don’t crowd them (give them space!), and toss them while they are still piping hot for the best garlic fries texture. And that’s the secret to crunchy garlic french fries every time!
For other potato recipes, try Delicious Boulangere Potatoes, Parmentier Potatoes, Easy Cheesy Mashed Potatoes Recipe.

If you tried this Crispy Garlic Fries recipe, it would mean so much to me if you could leave a review & a star rating to let me know how you found it! I love hearing about your experiences – it motivates me to keep creating more and more recipes for you guys 💛 Let’s get cooking! – Mimi x
Crispy Garlic Fries
Ingredients
- 900 g frozen French fries
- 2-3 cloves of garlic, finely chopped
- 2 tbsp butter
- Handful of fresh parsley, finely chopped
- 50 g pecorino or parmesan
Cupboard Essentials
- Salt
- Pepper
Method
- Preheat the oven according to the packet instructions. Mine instructed 200°C/ 400°F.
- Place the fries on a baking tray and spread them evenly to promote maximum crispiness.
- Pop in the oven for 12-18 minutes, or as per the instructions on the packet.
- When the fries are almost ready, place the butter, garlic and a pinch of salt and pepper in a microwave-safe bowl. Heat in the microwave for 1 minute, stirring halfway through.
- Remove the fries from the oven and immediately season with salt. Transfer into a mixing bowl. Combine the garlic butter with the fries, then pour into your serving dish.
- Top with the pecorino/parmesan, fresh parsley, flakey salt and a crack of black pepper. Enjoy!
Notes
- Salt those garlic fries the second they come out as seasoning sticks best when they’re piping hot!
- Adjust the garlic quantity according to your preference. I found that 3 medium cloves was the sweet spot for this garlic french fries recipe!
- Finely grate the parmesan for the best distribution.
- Make sure to spread the fries evenly on the baking tray so they turn crispy.
Nutrition

Leave a comment and a rating!
- Weekly meal plans with a £20 budget
- 150+ exclusive recipes
- Personal dashboard
- Exclusive step by step videos
- Shopping list tools
- Advert Free experience


Comments